Morning Menus have been a constant in our homeschool, and the consistency they add to our daily rhythm has been a noticeable feat! They are a resource that even my youngest learners have utilized to build habits, practice letter formation, and connect through sweet poems. And much like my children’s curriculum, their Morning Menu and the resources I have included in them have grown with my children over time.
What is a Morning Menu?
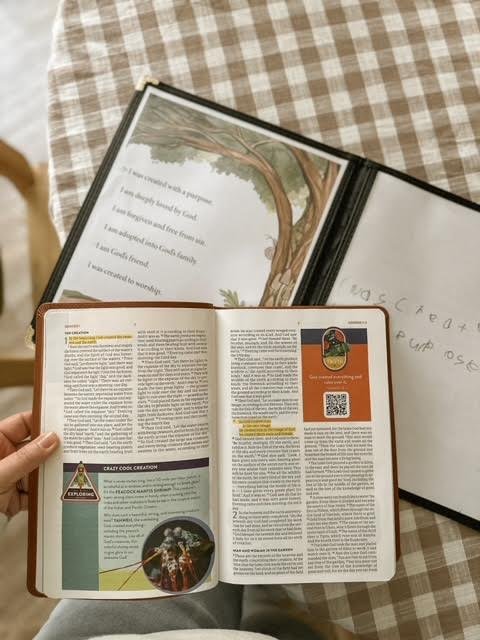
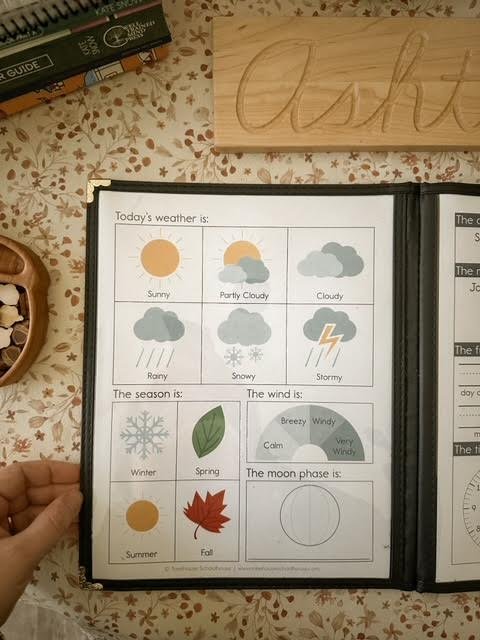
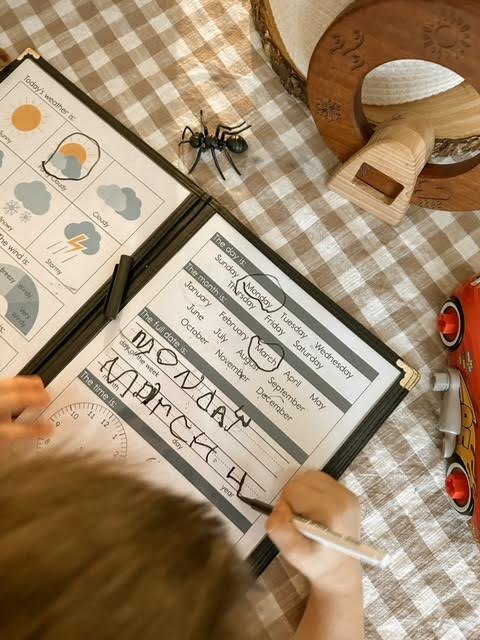
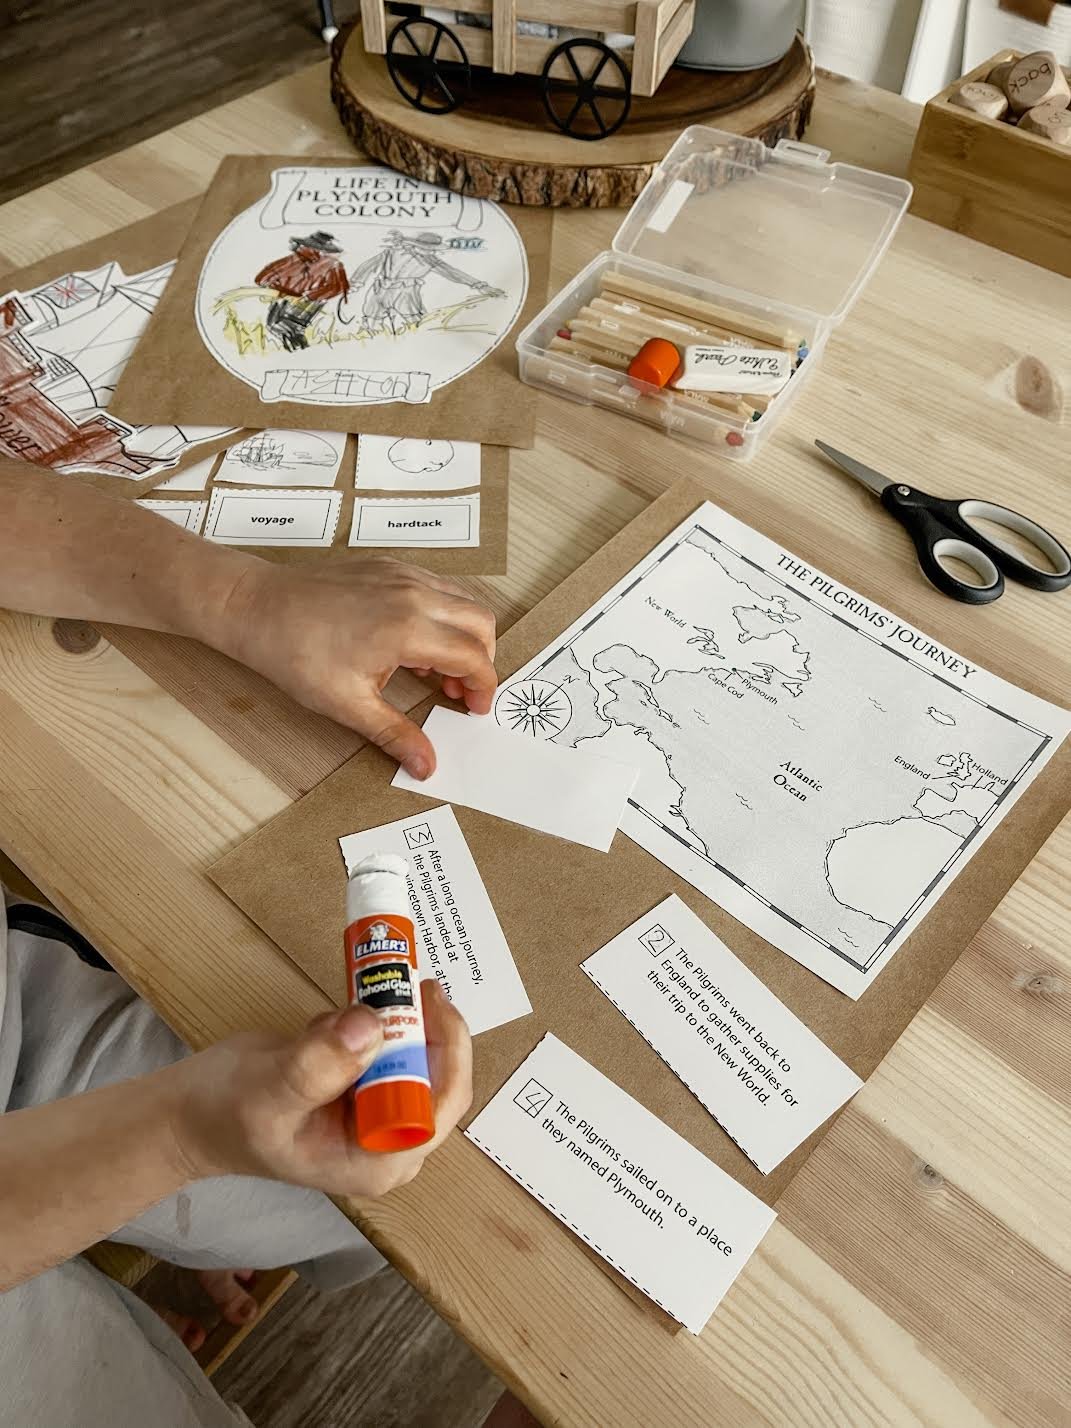
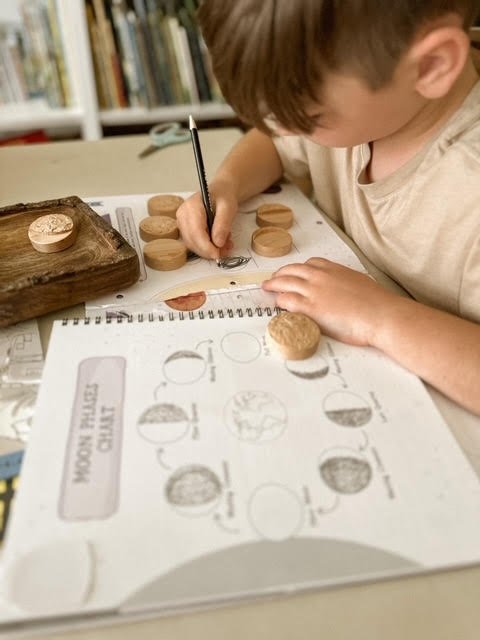
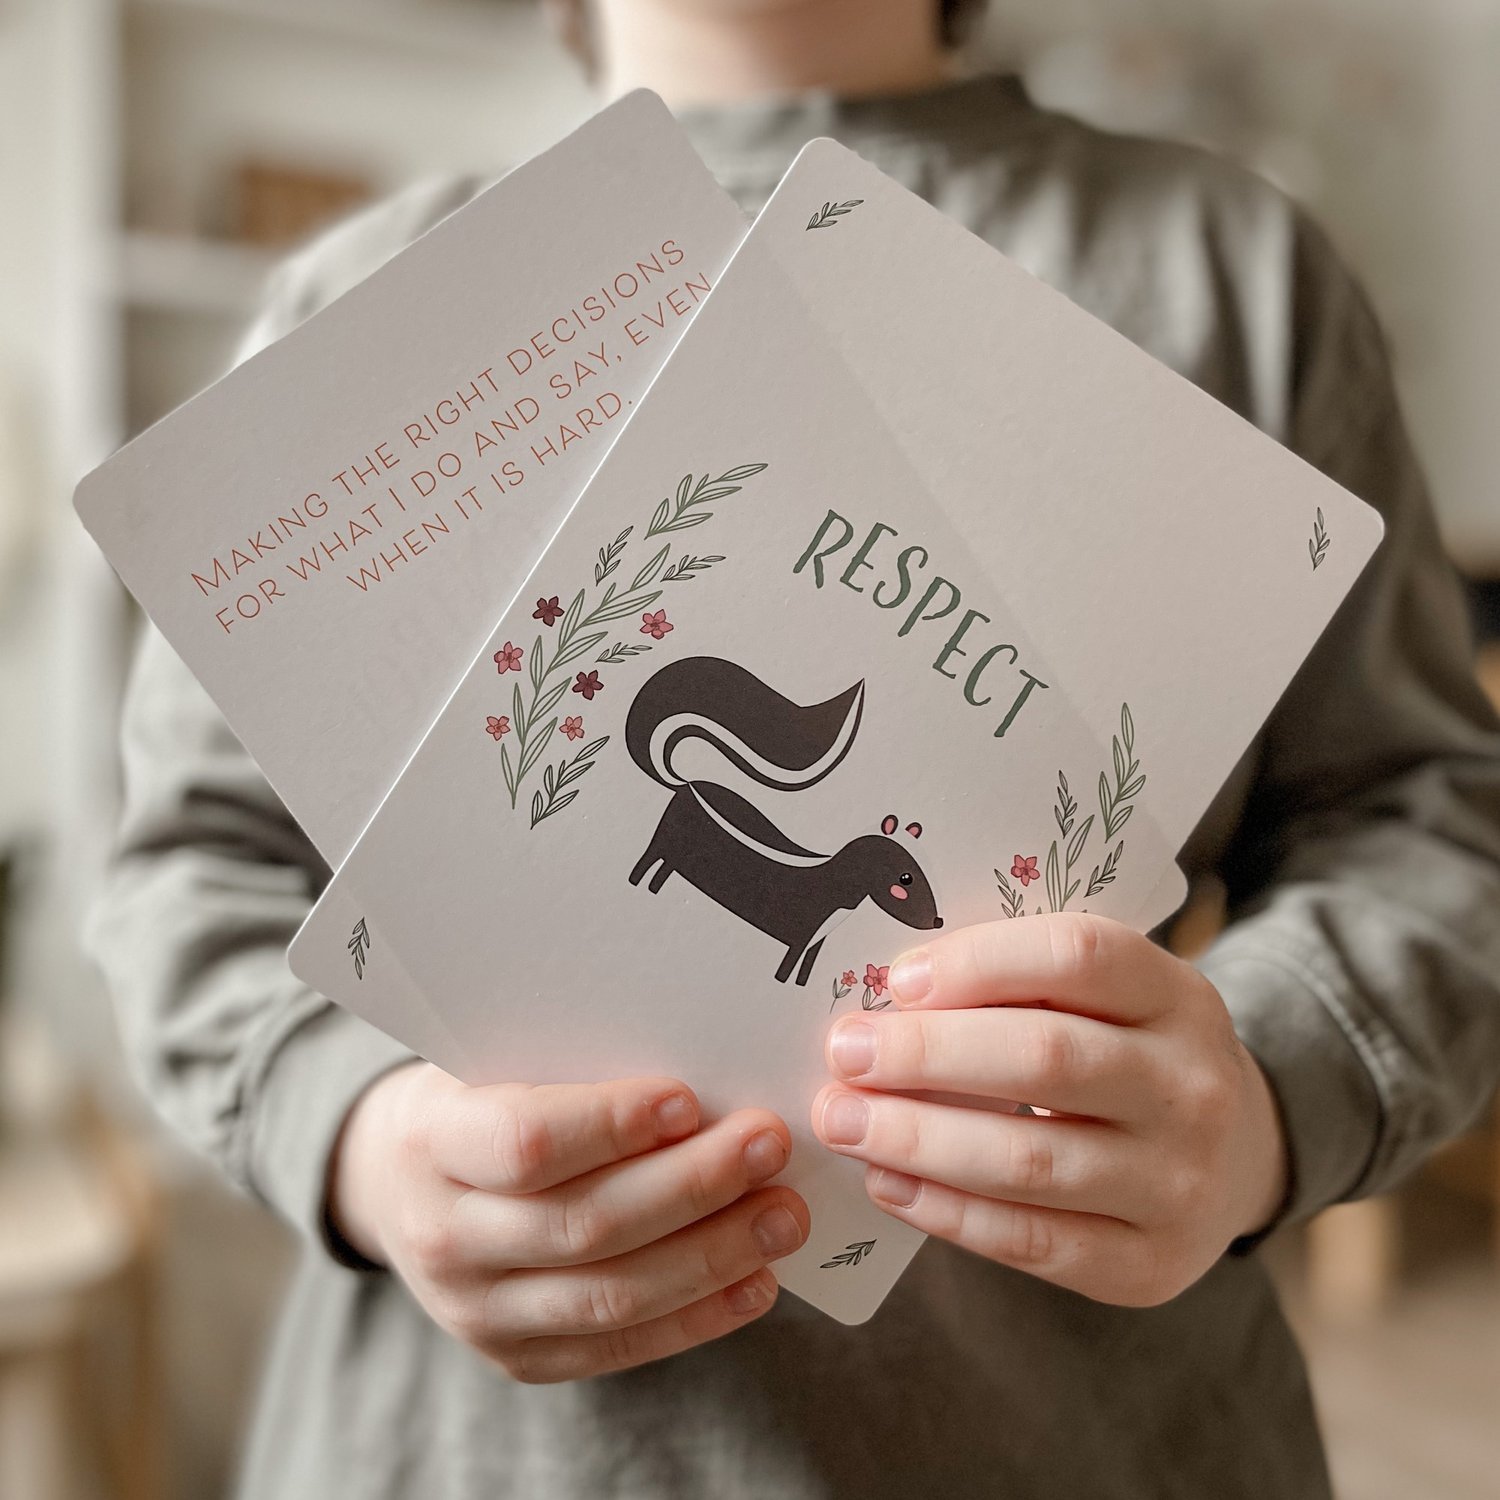
A Morning Menu is a folder that holds printables for your homeschooler to complete at some point in their day, and you guessed it…typically in the morning. Files can consist of calendar skills and copywork intended to be completed individually, or family-style resources, as well as Beauty subject components such as artwork to observe, poetry to recite, scripture verses to memorize, and songs/hymns to sing.
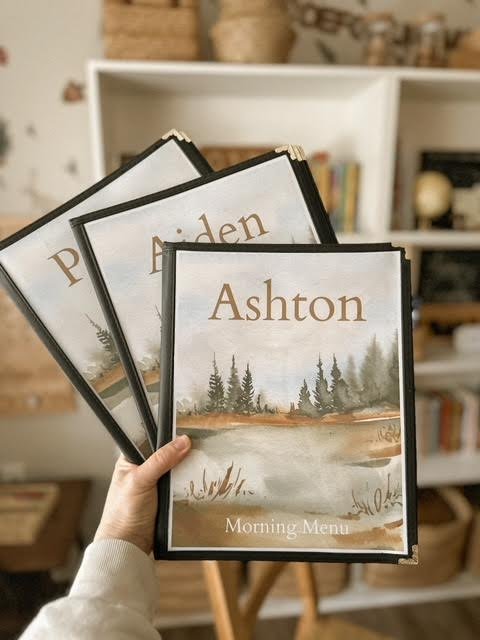
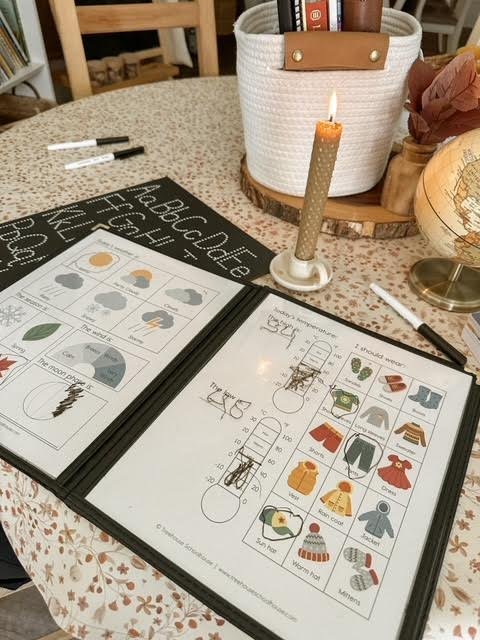
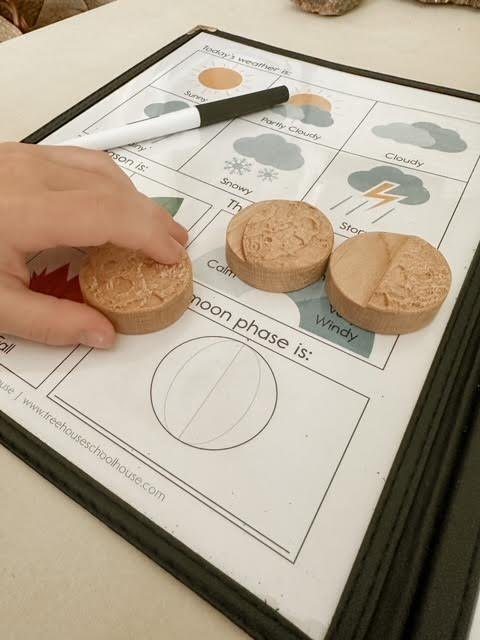
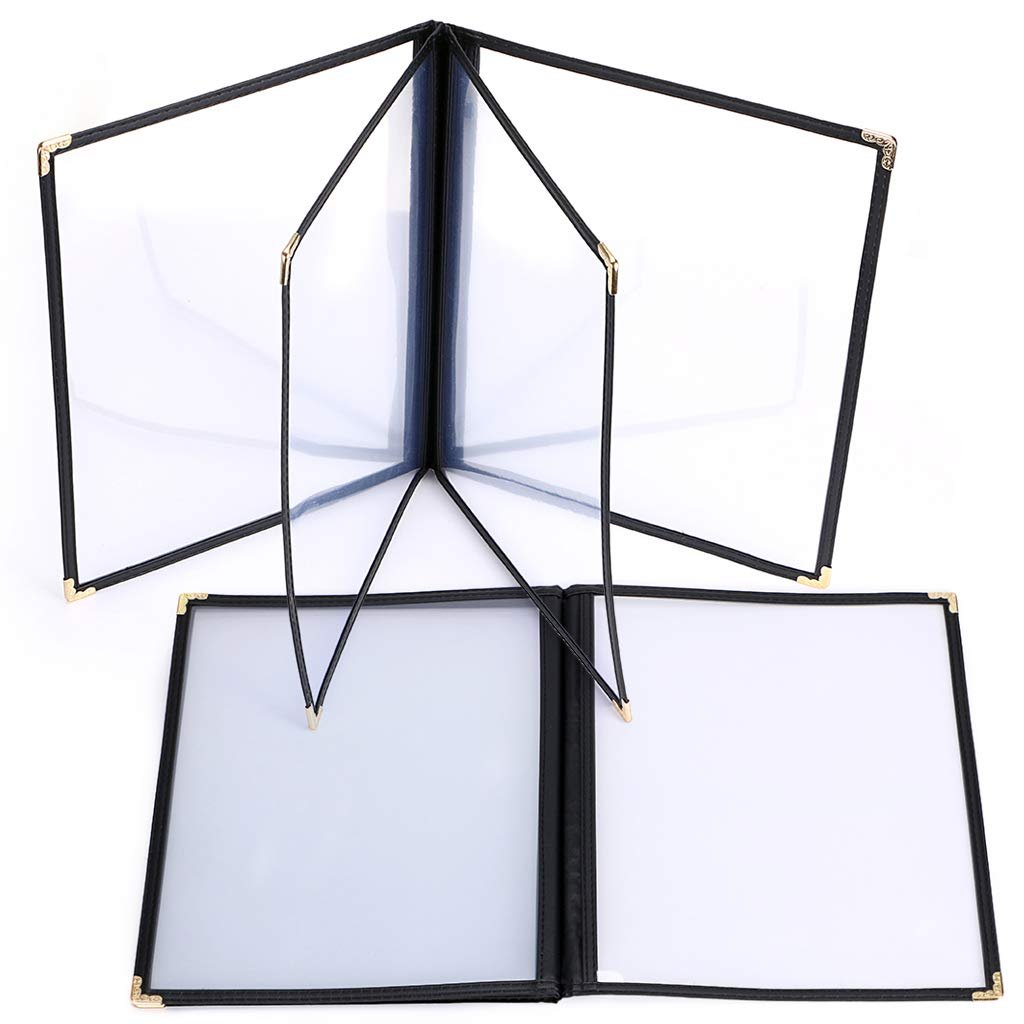
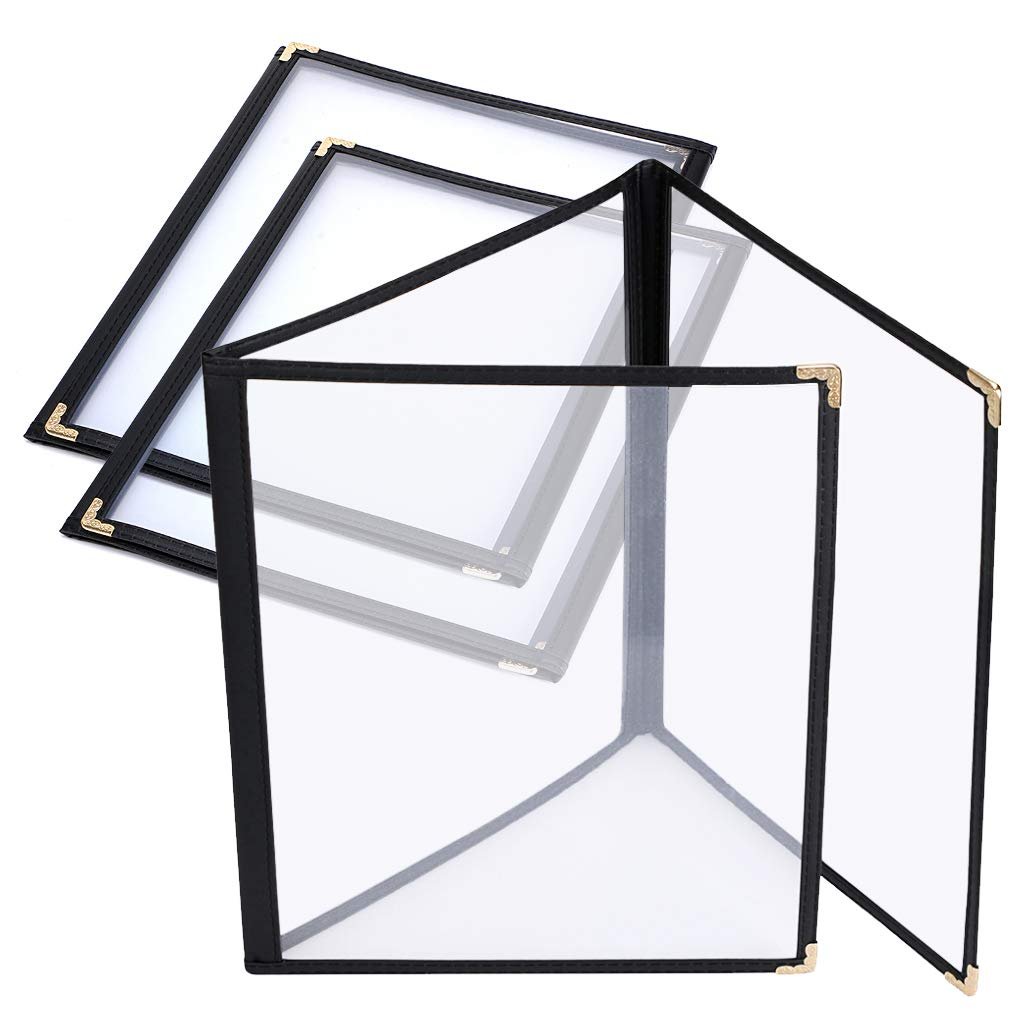
If you have come across a Morning Menu in your homeschool research, you have probably seen clear, restaurant-like menu folders being utilized versus the paper pocket folders you might remember from elementary school. These clear folders not only keep pages protected from spills, tears, and…maybe your dog, haha, but they also make for the perfect surface to write on with a dry erase marker. This is especially helpful if you use a Morning Menu daily, or intend to use the resources again in the future.
Who Can Use a Morning Menu?
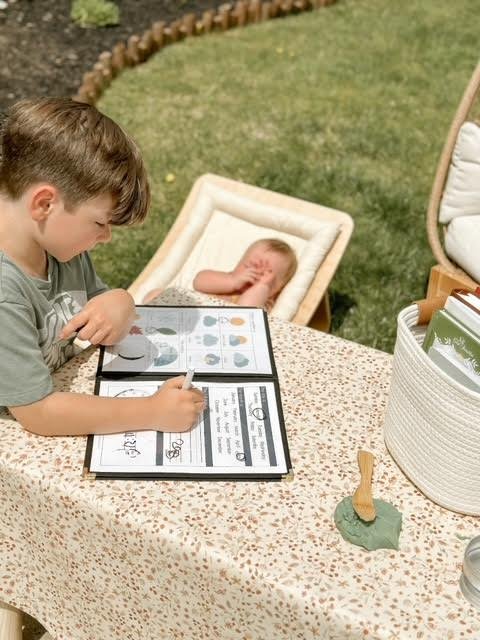
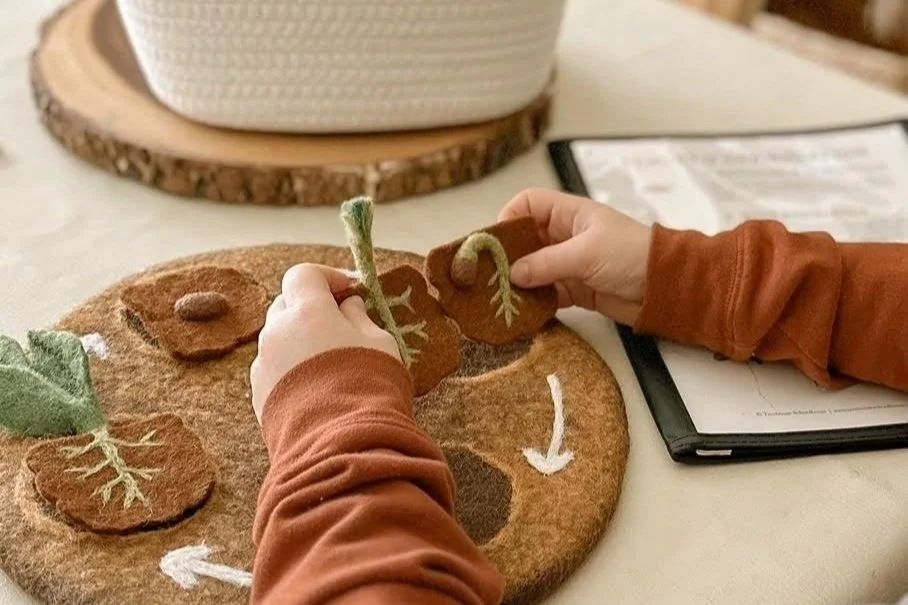
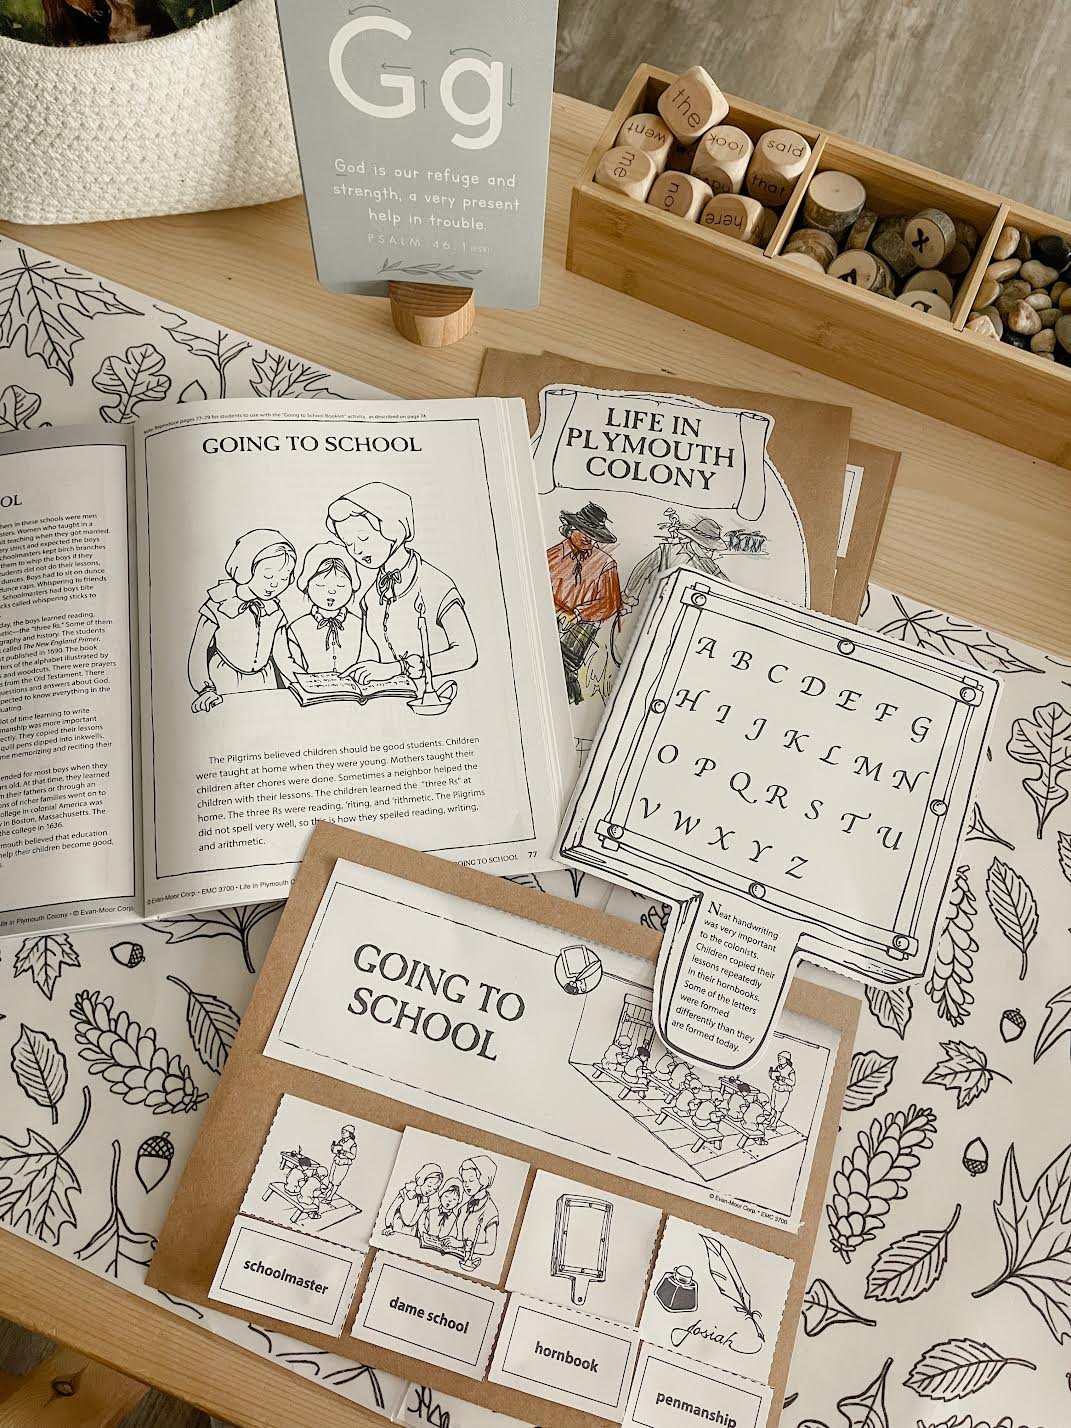
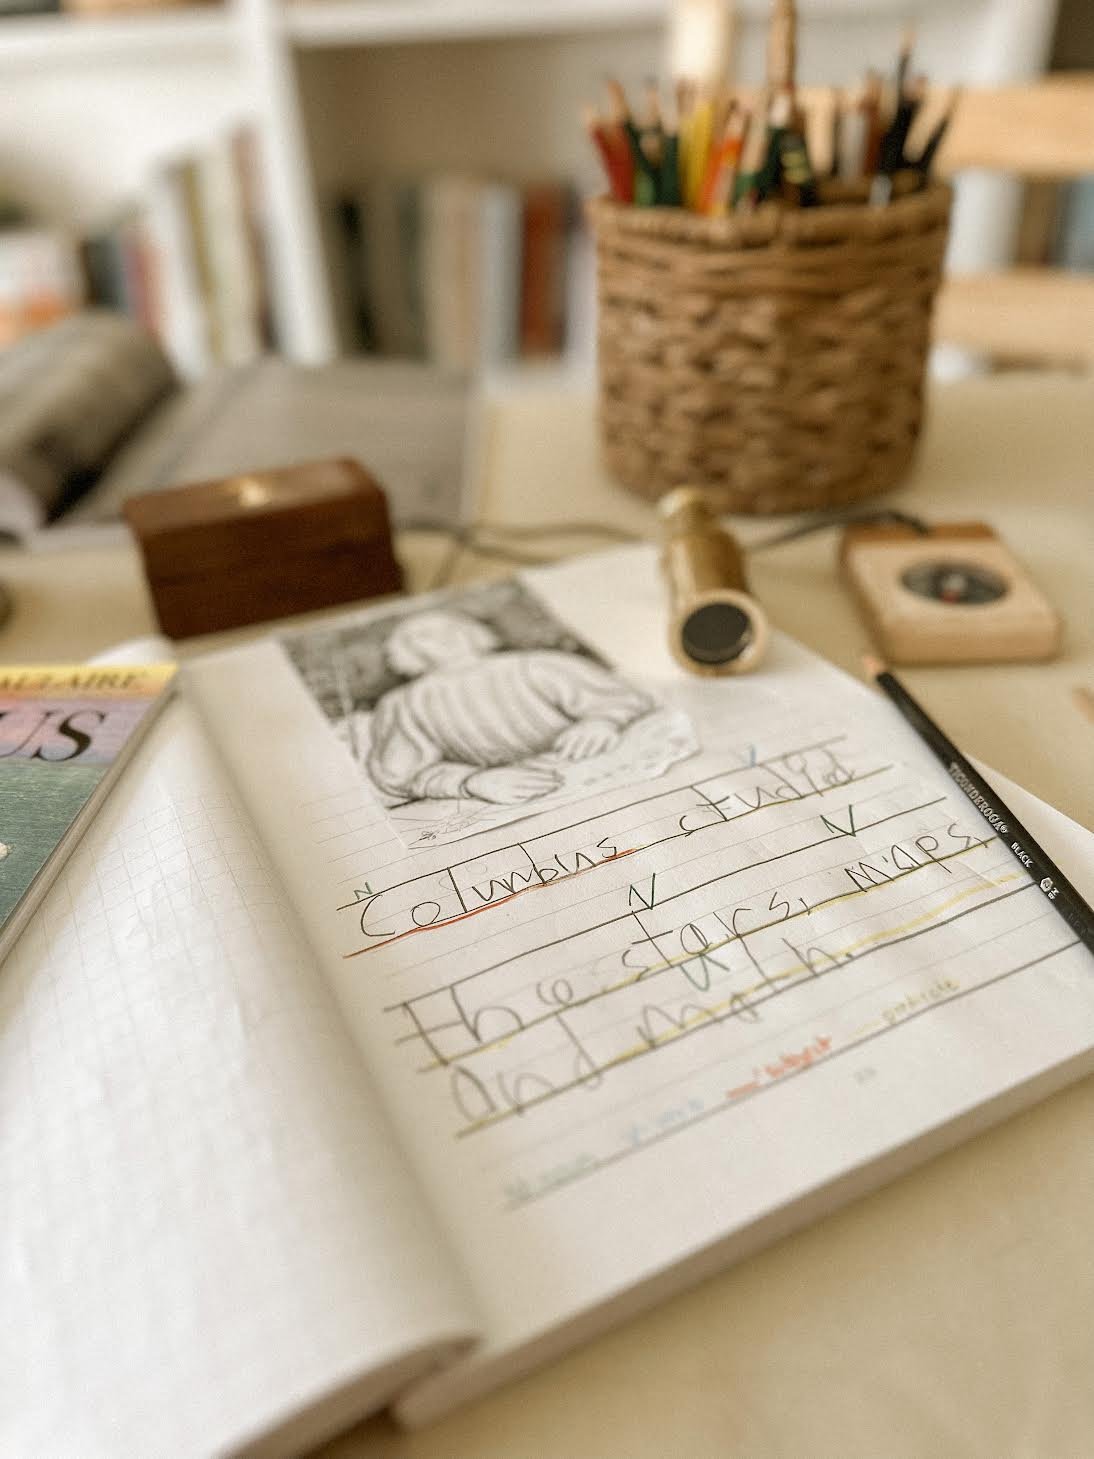
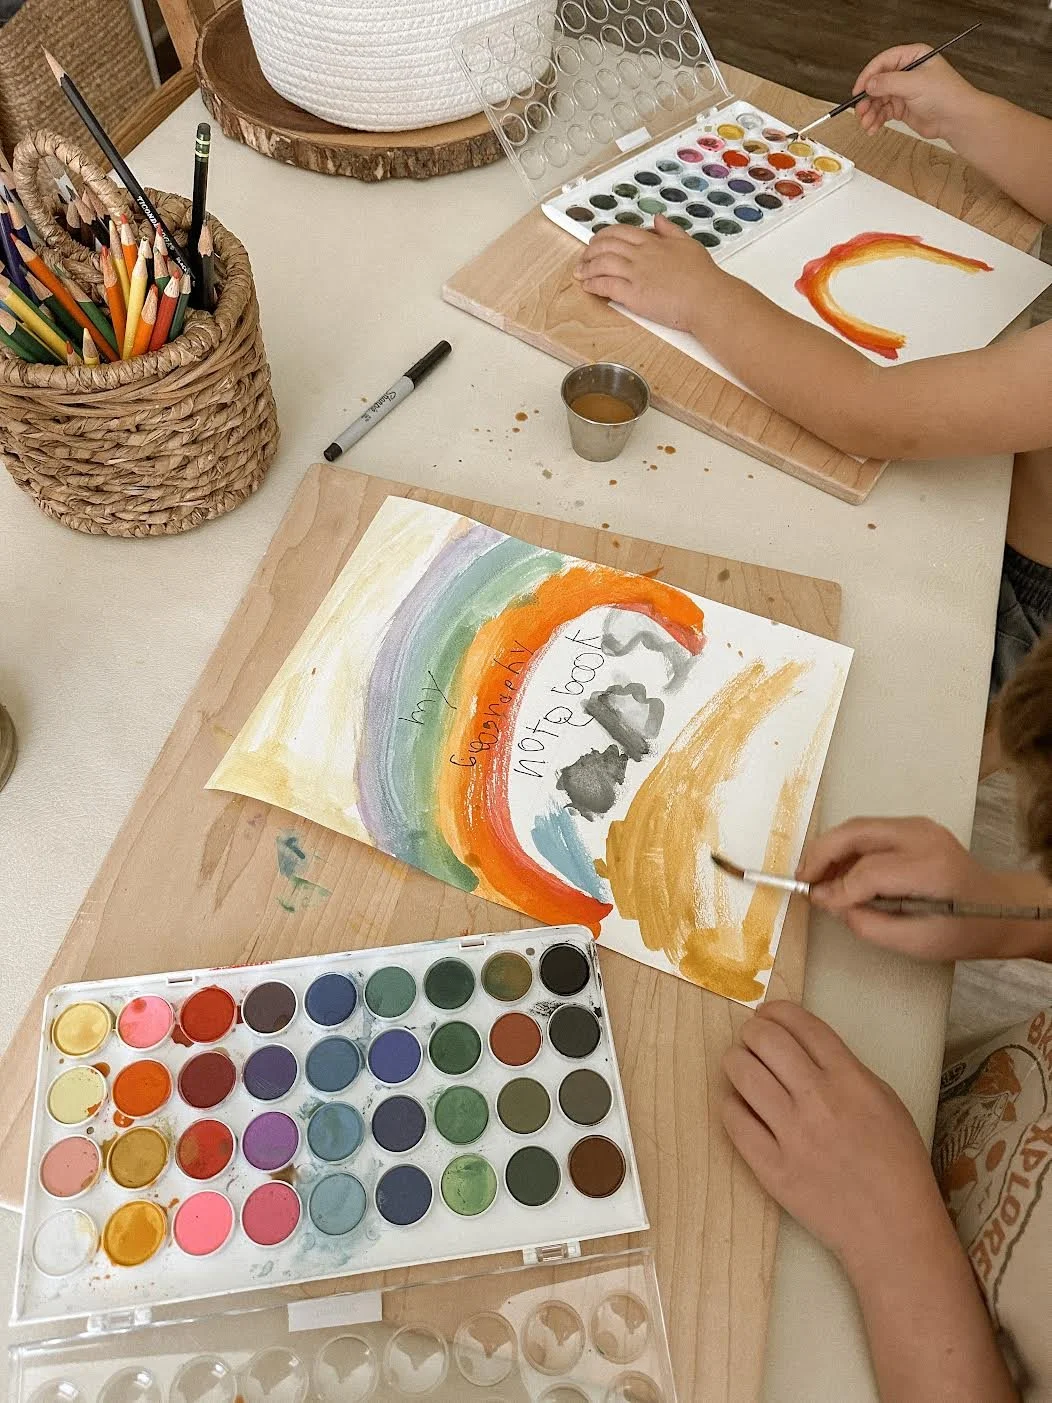
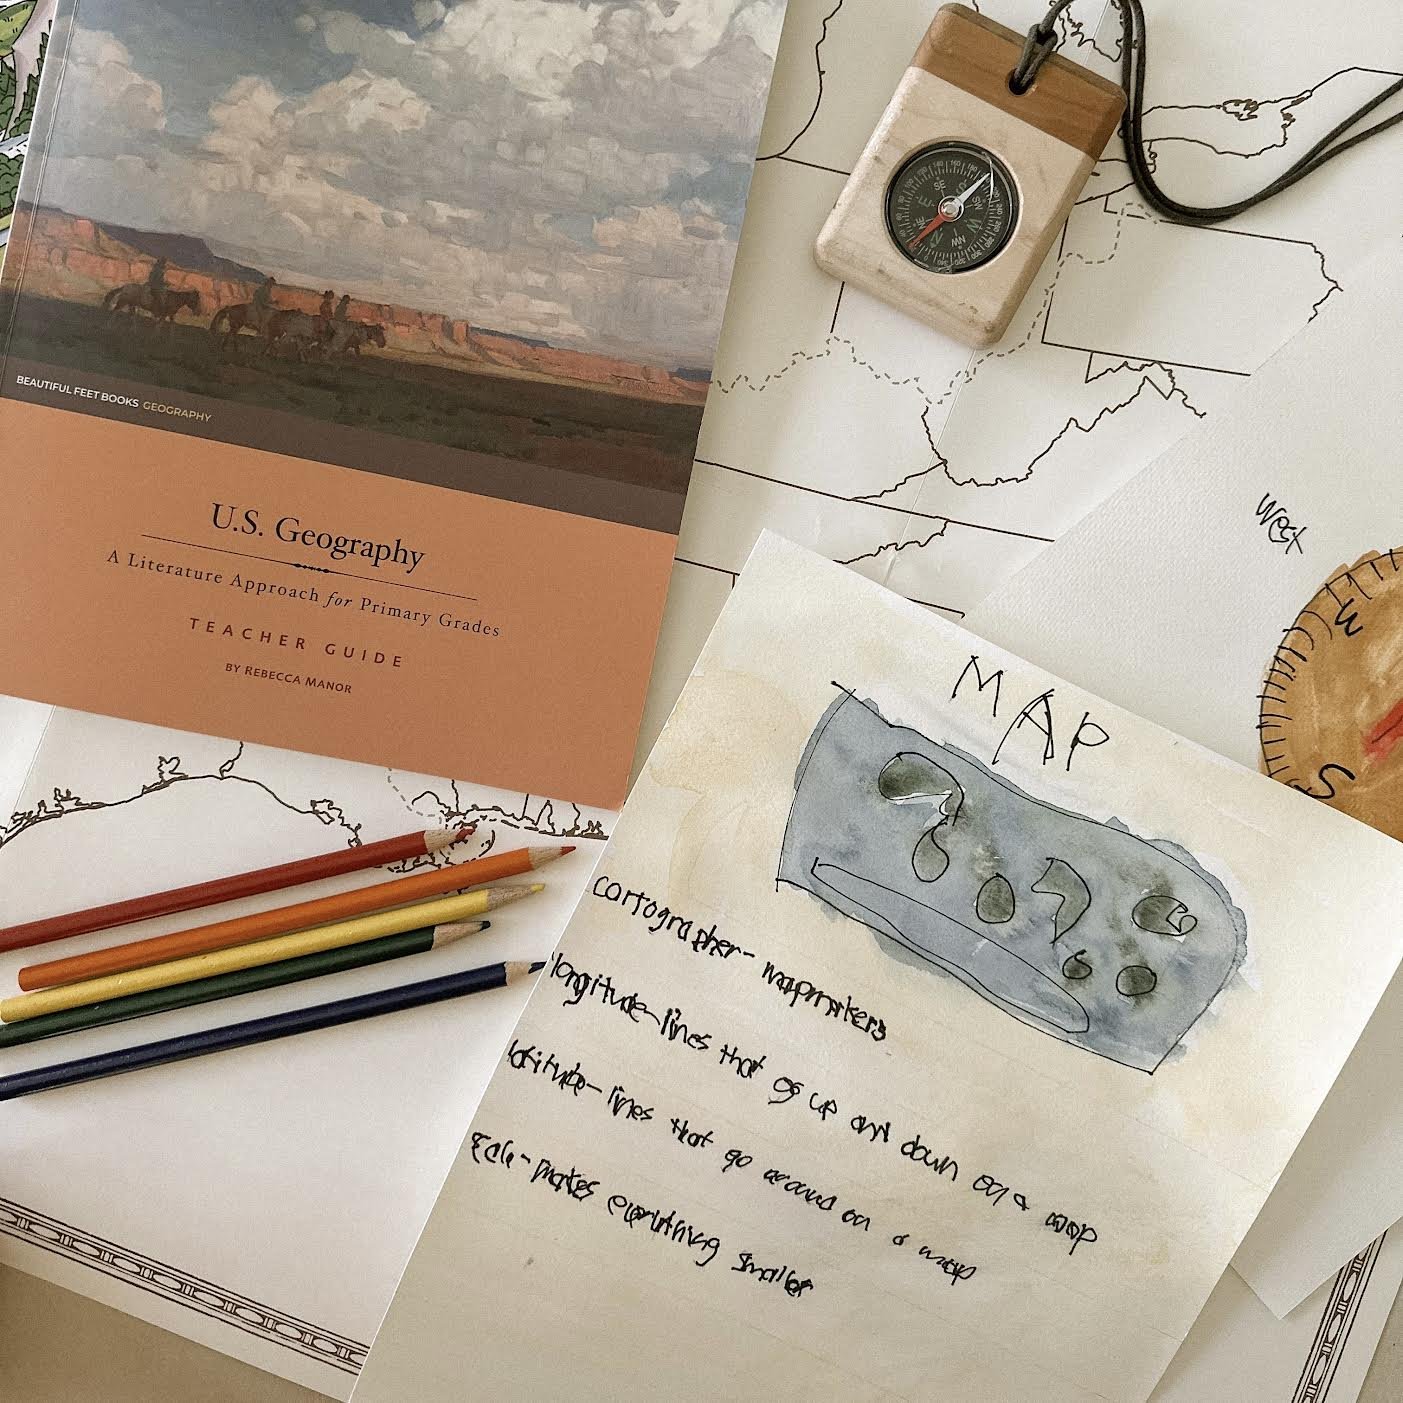
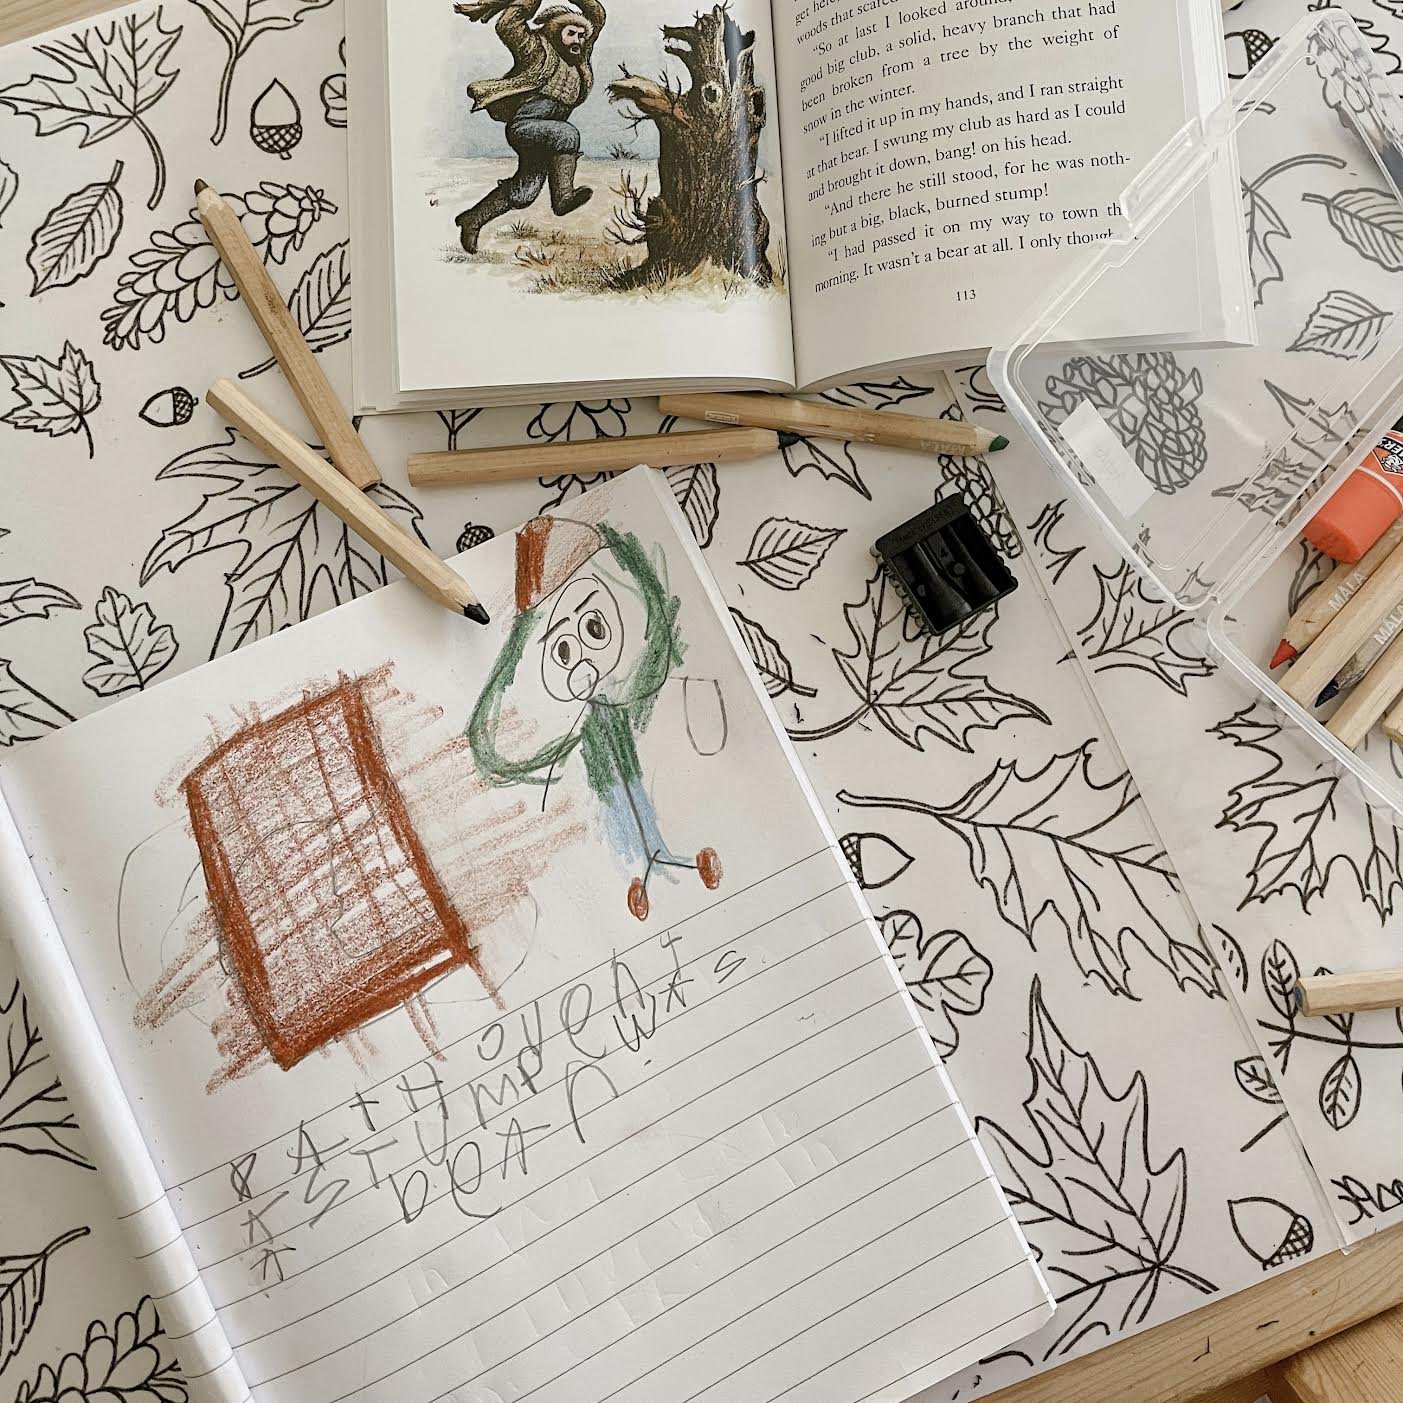
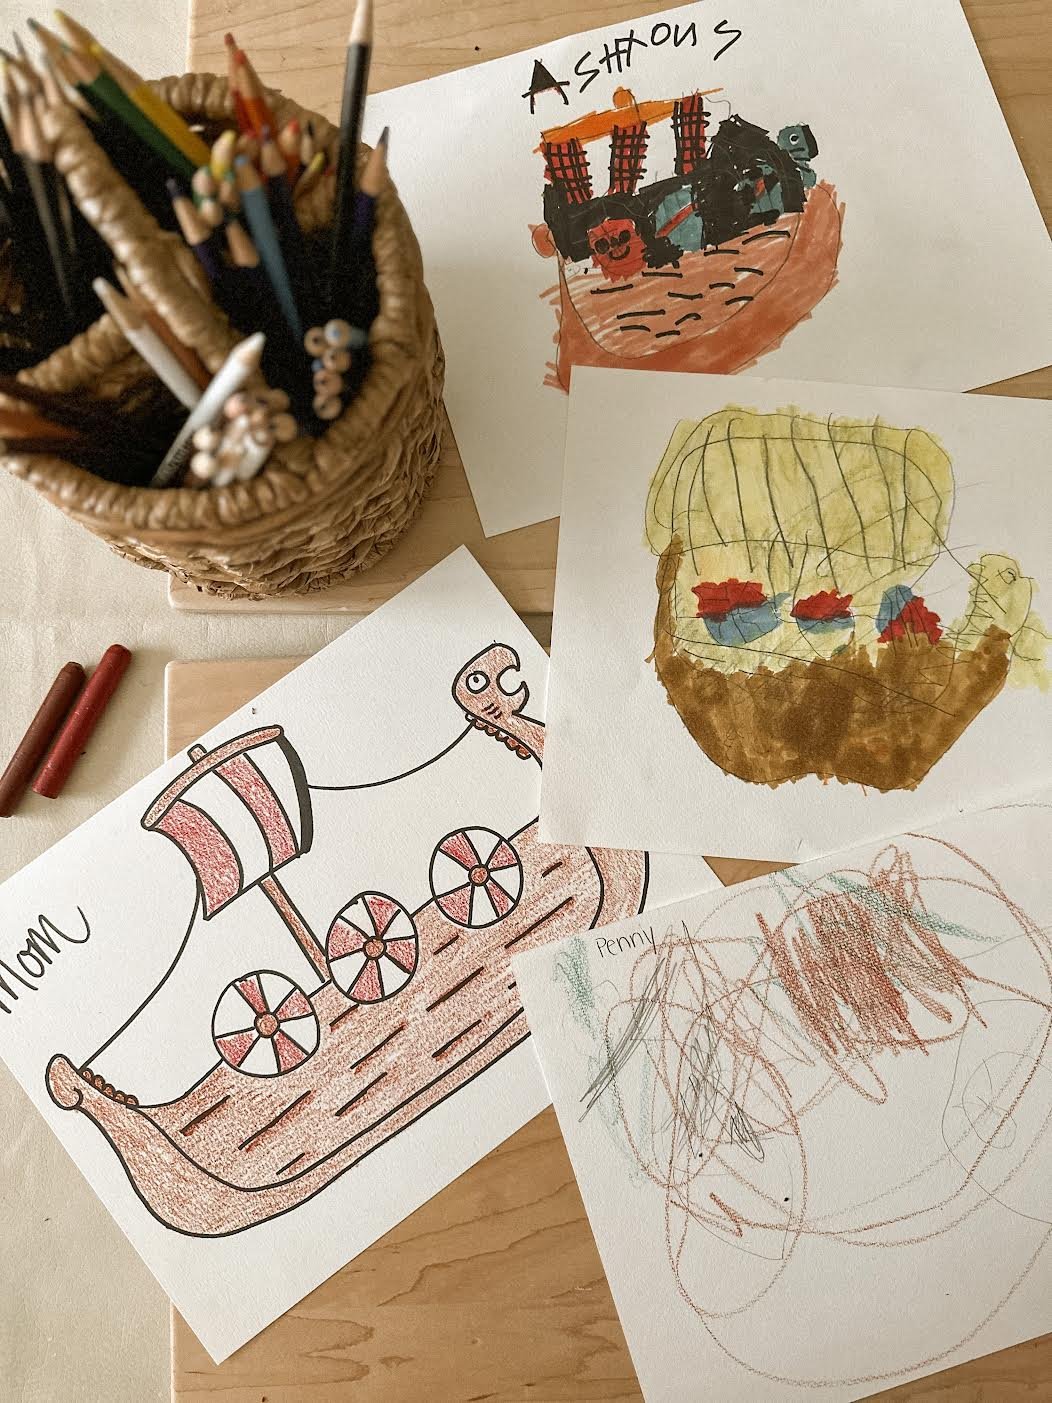
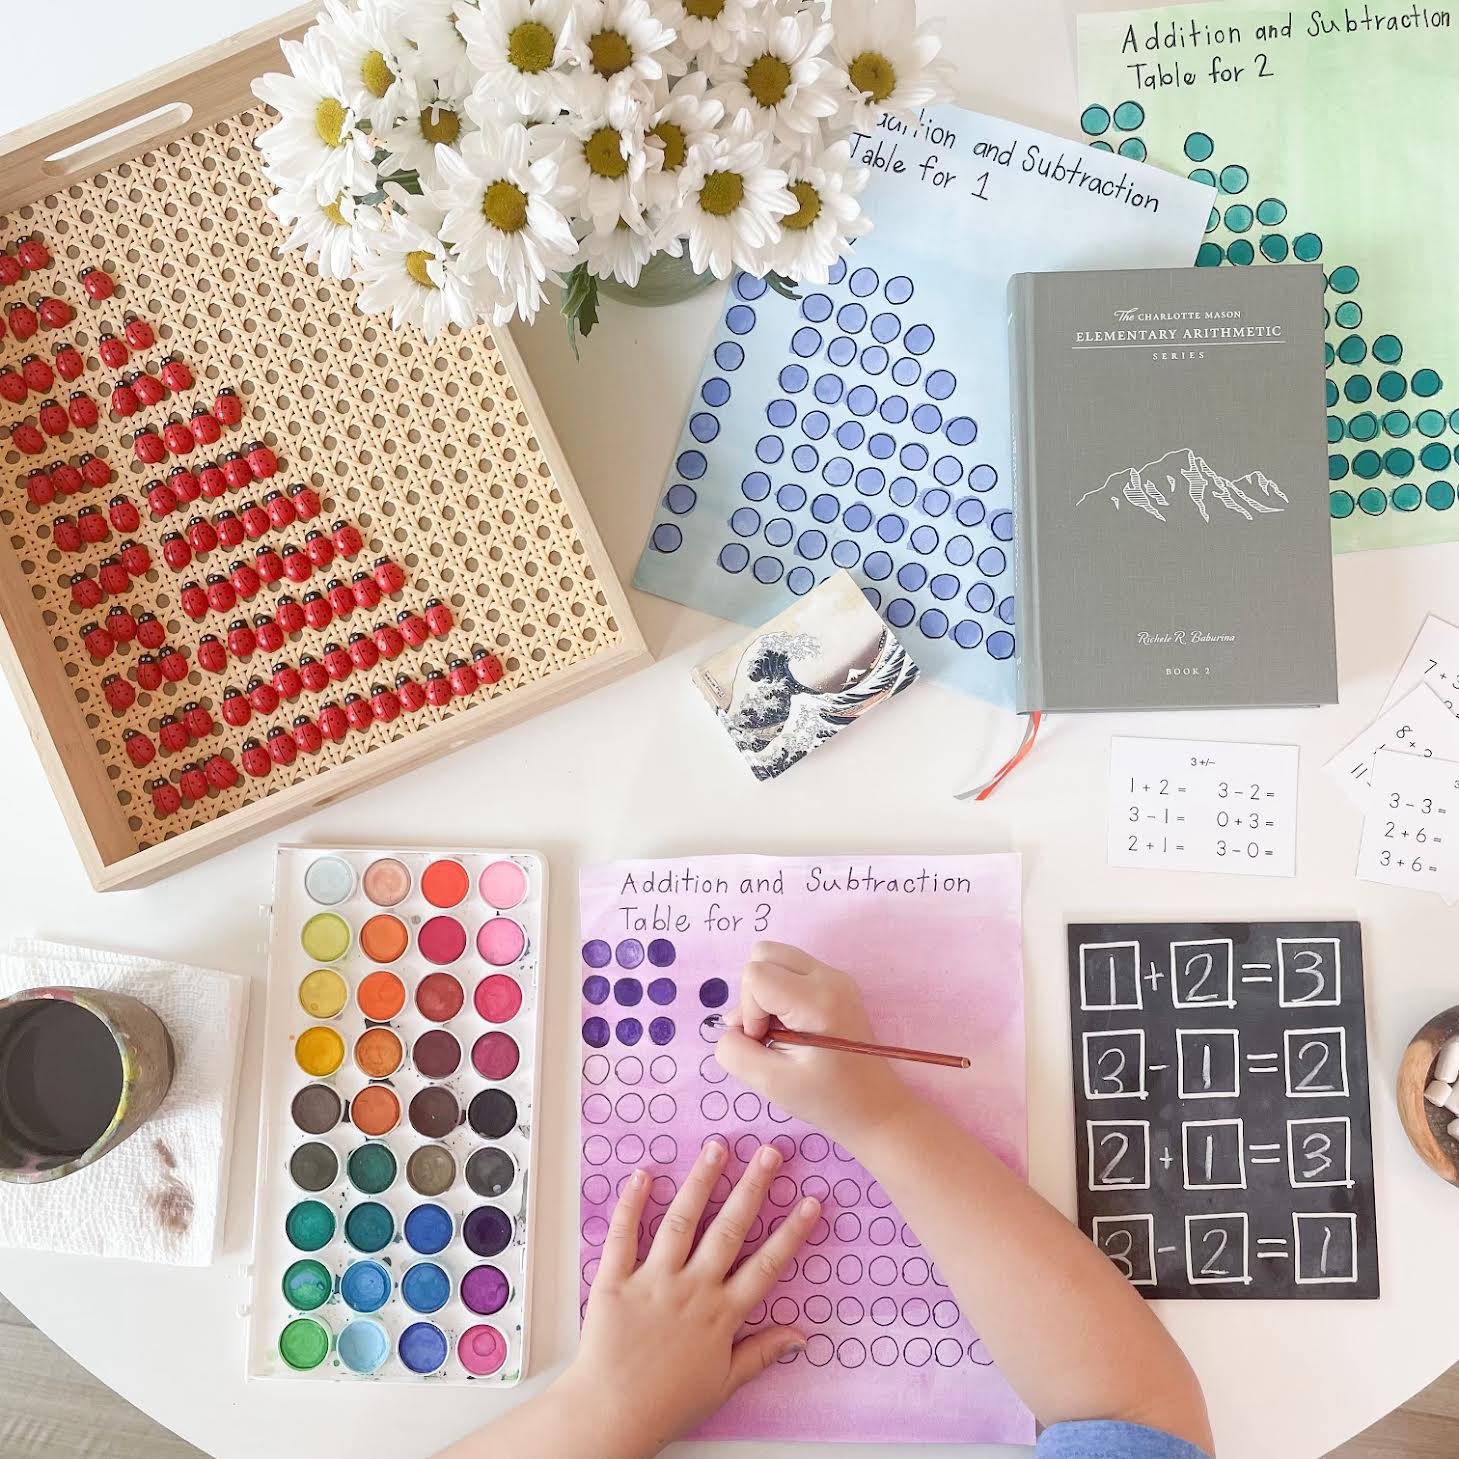
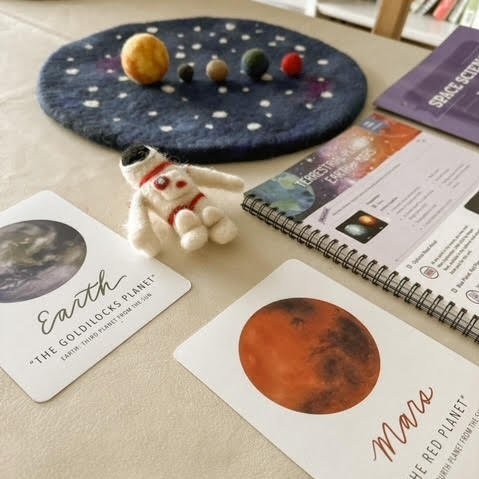
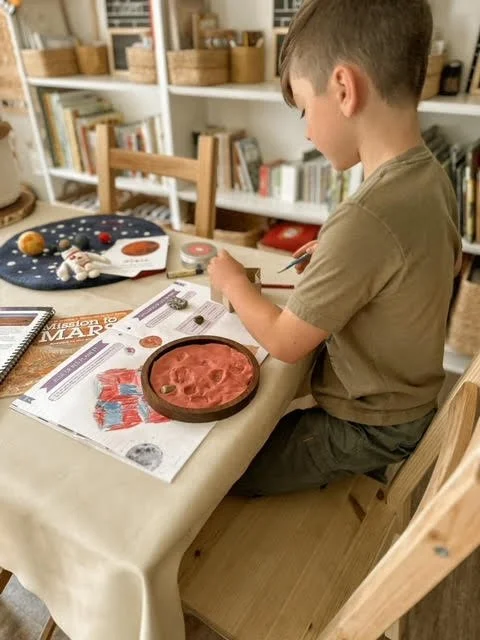
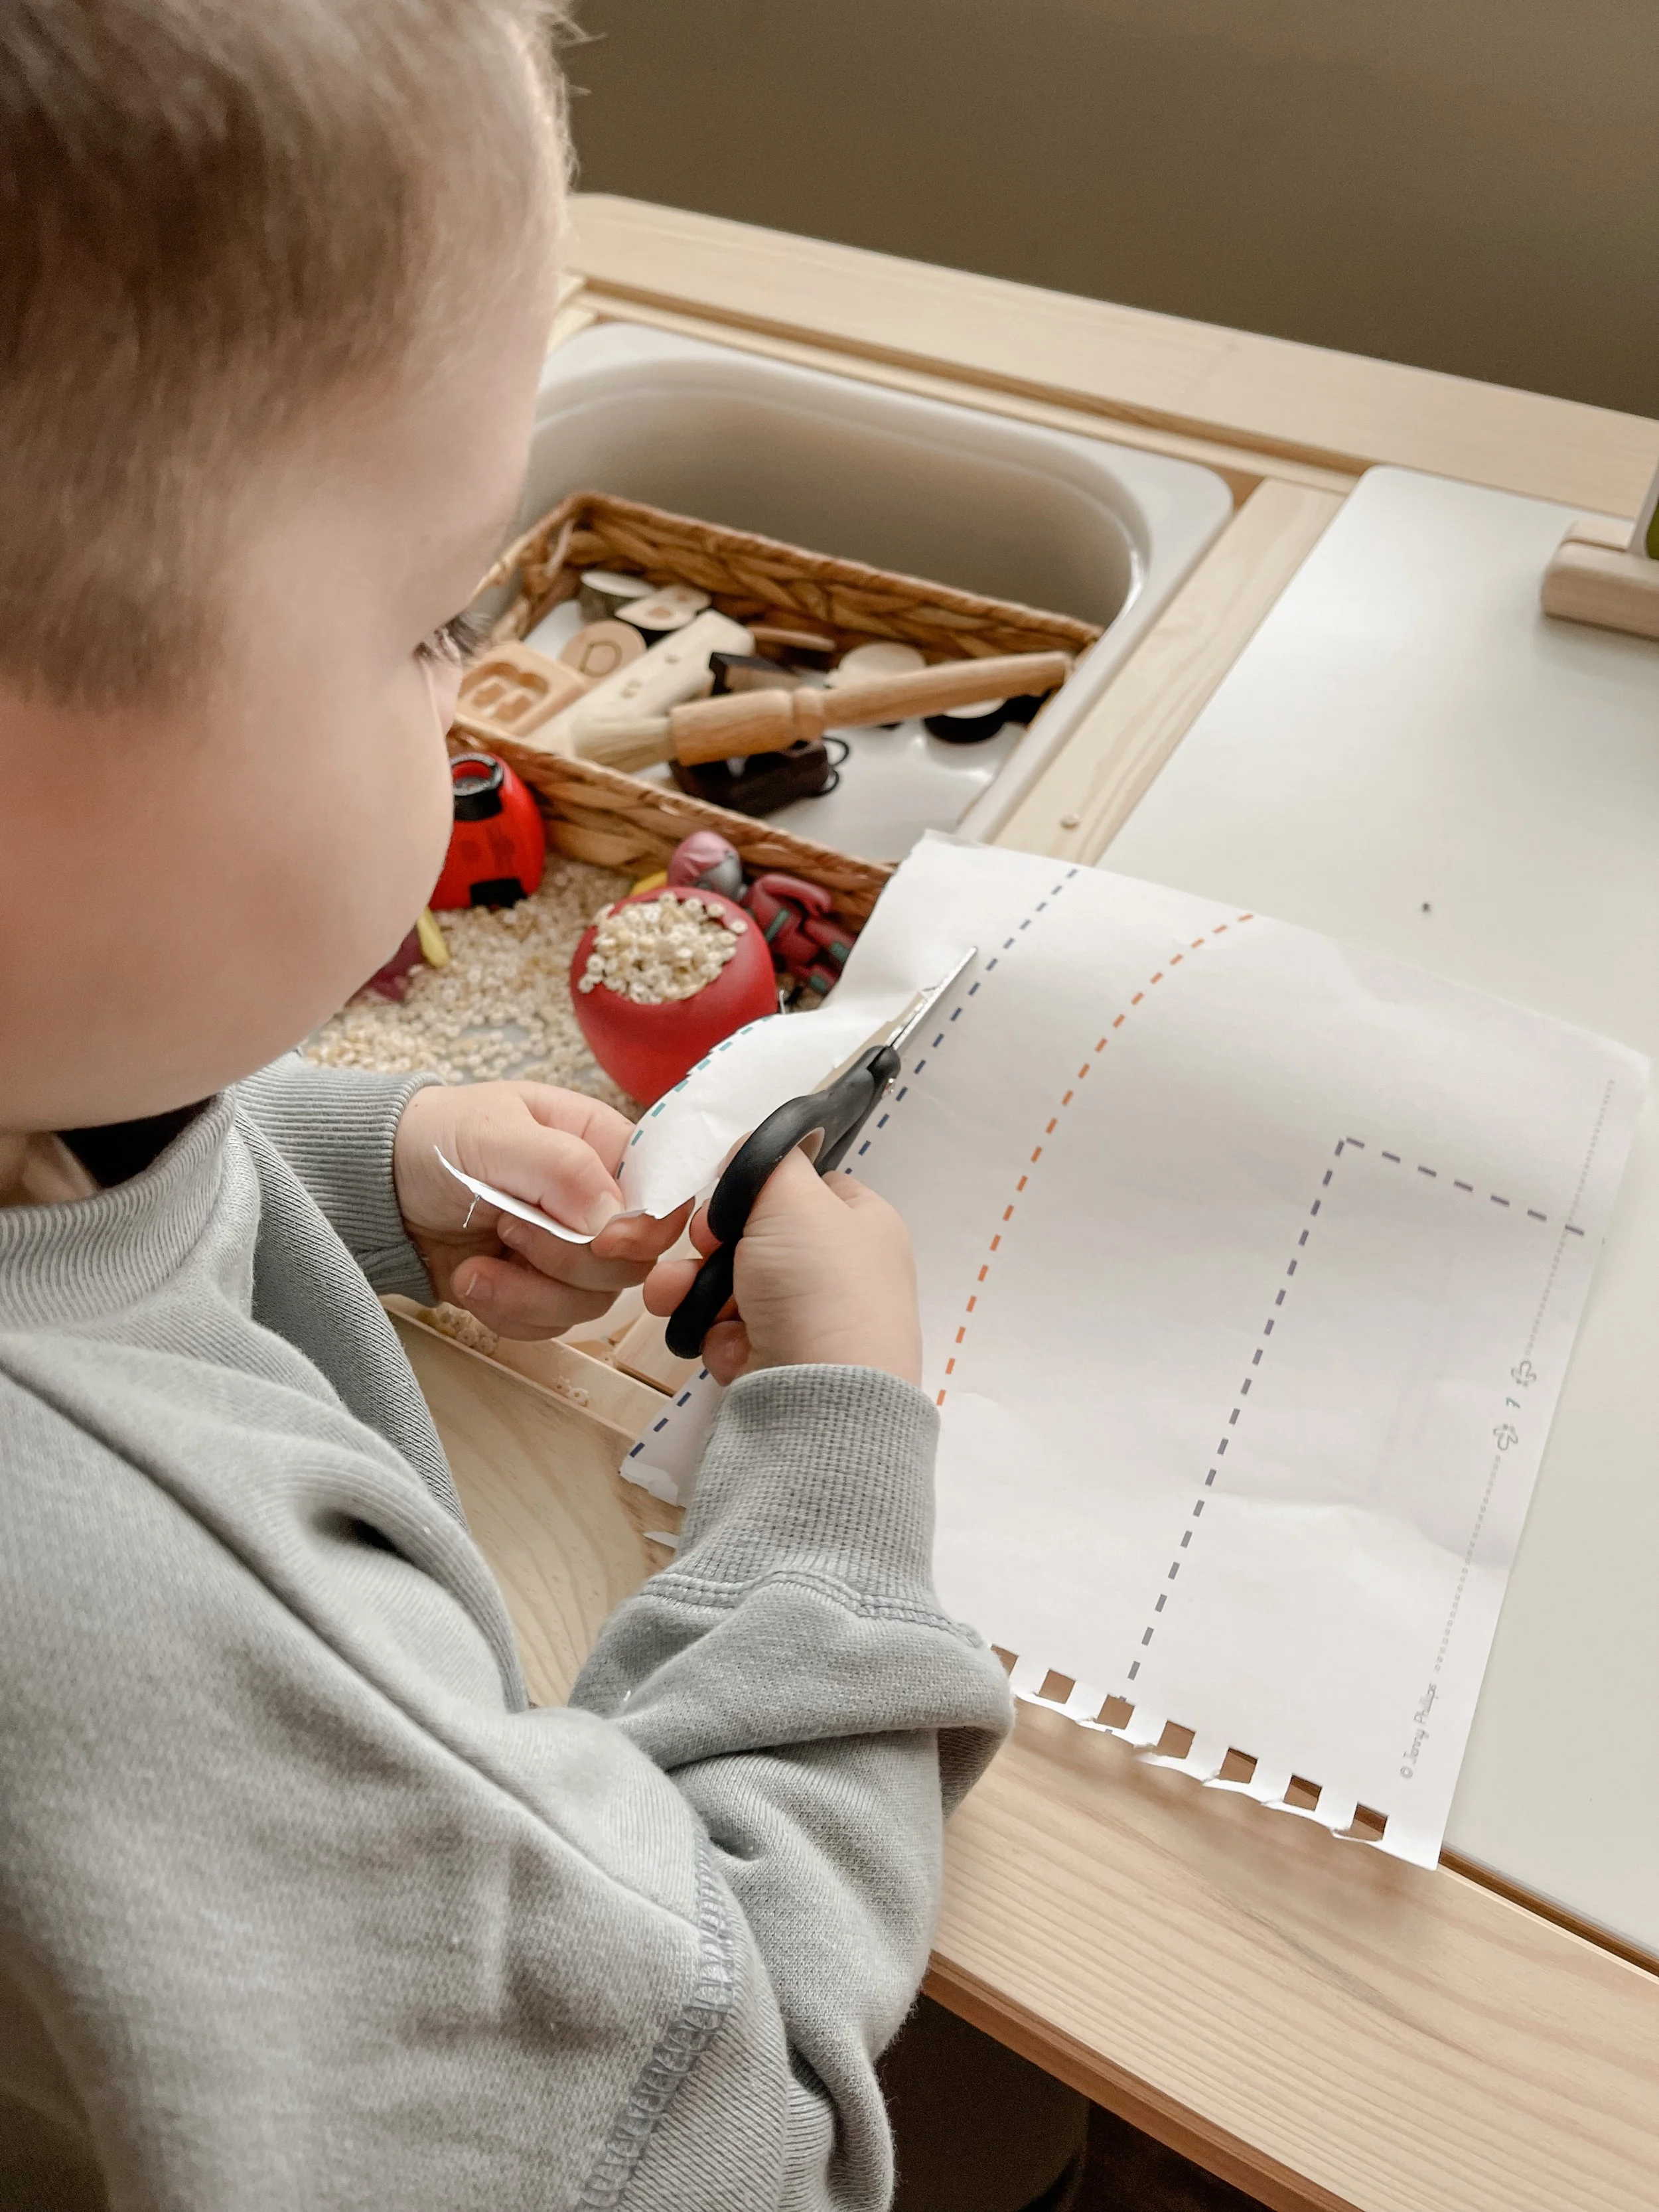
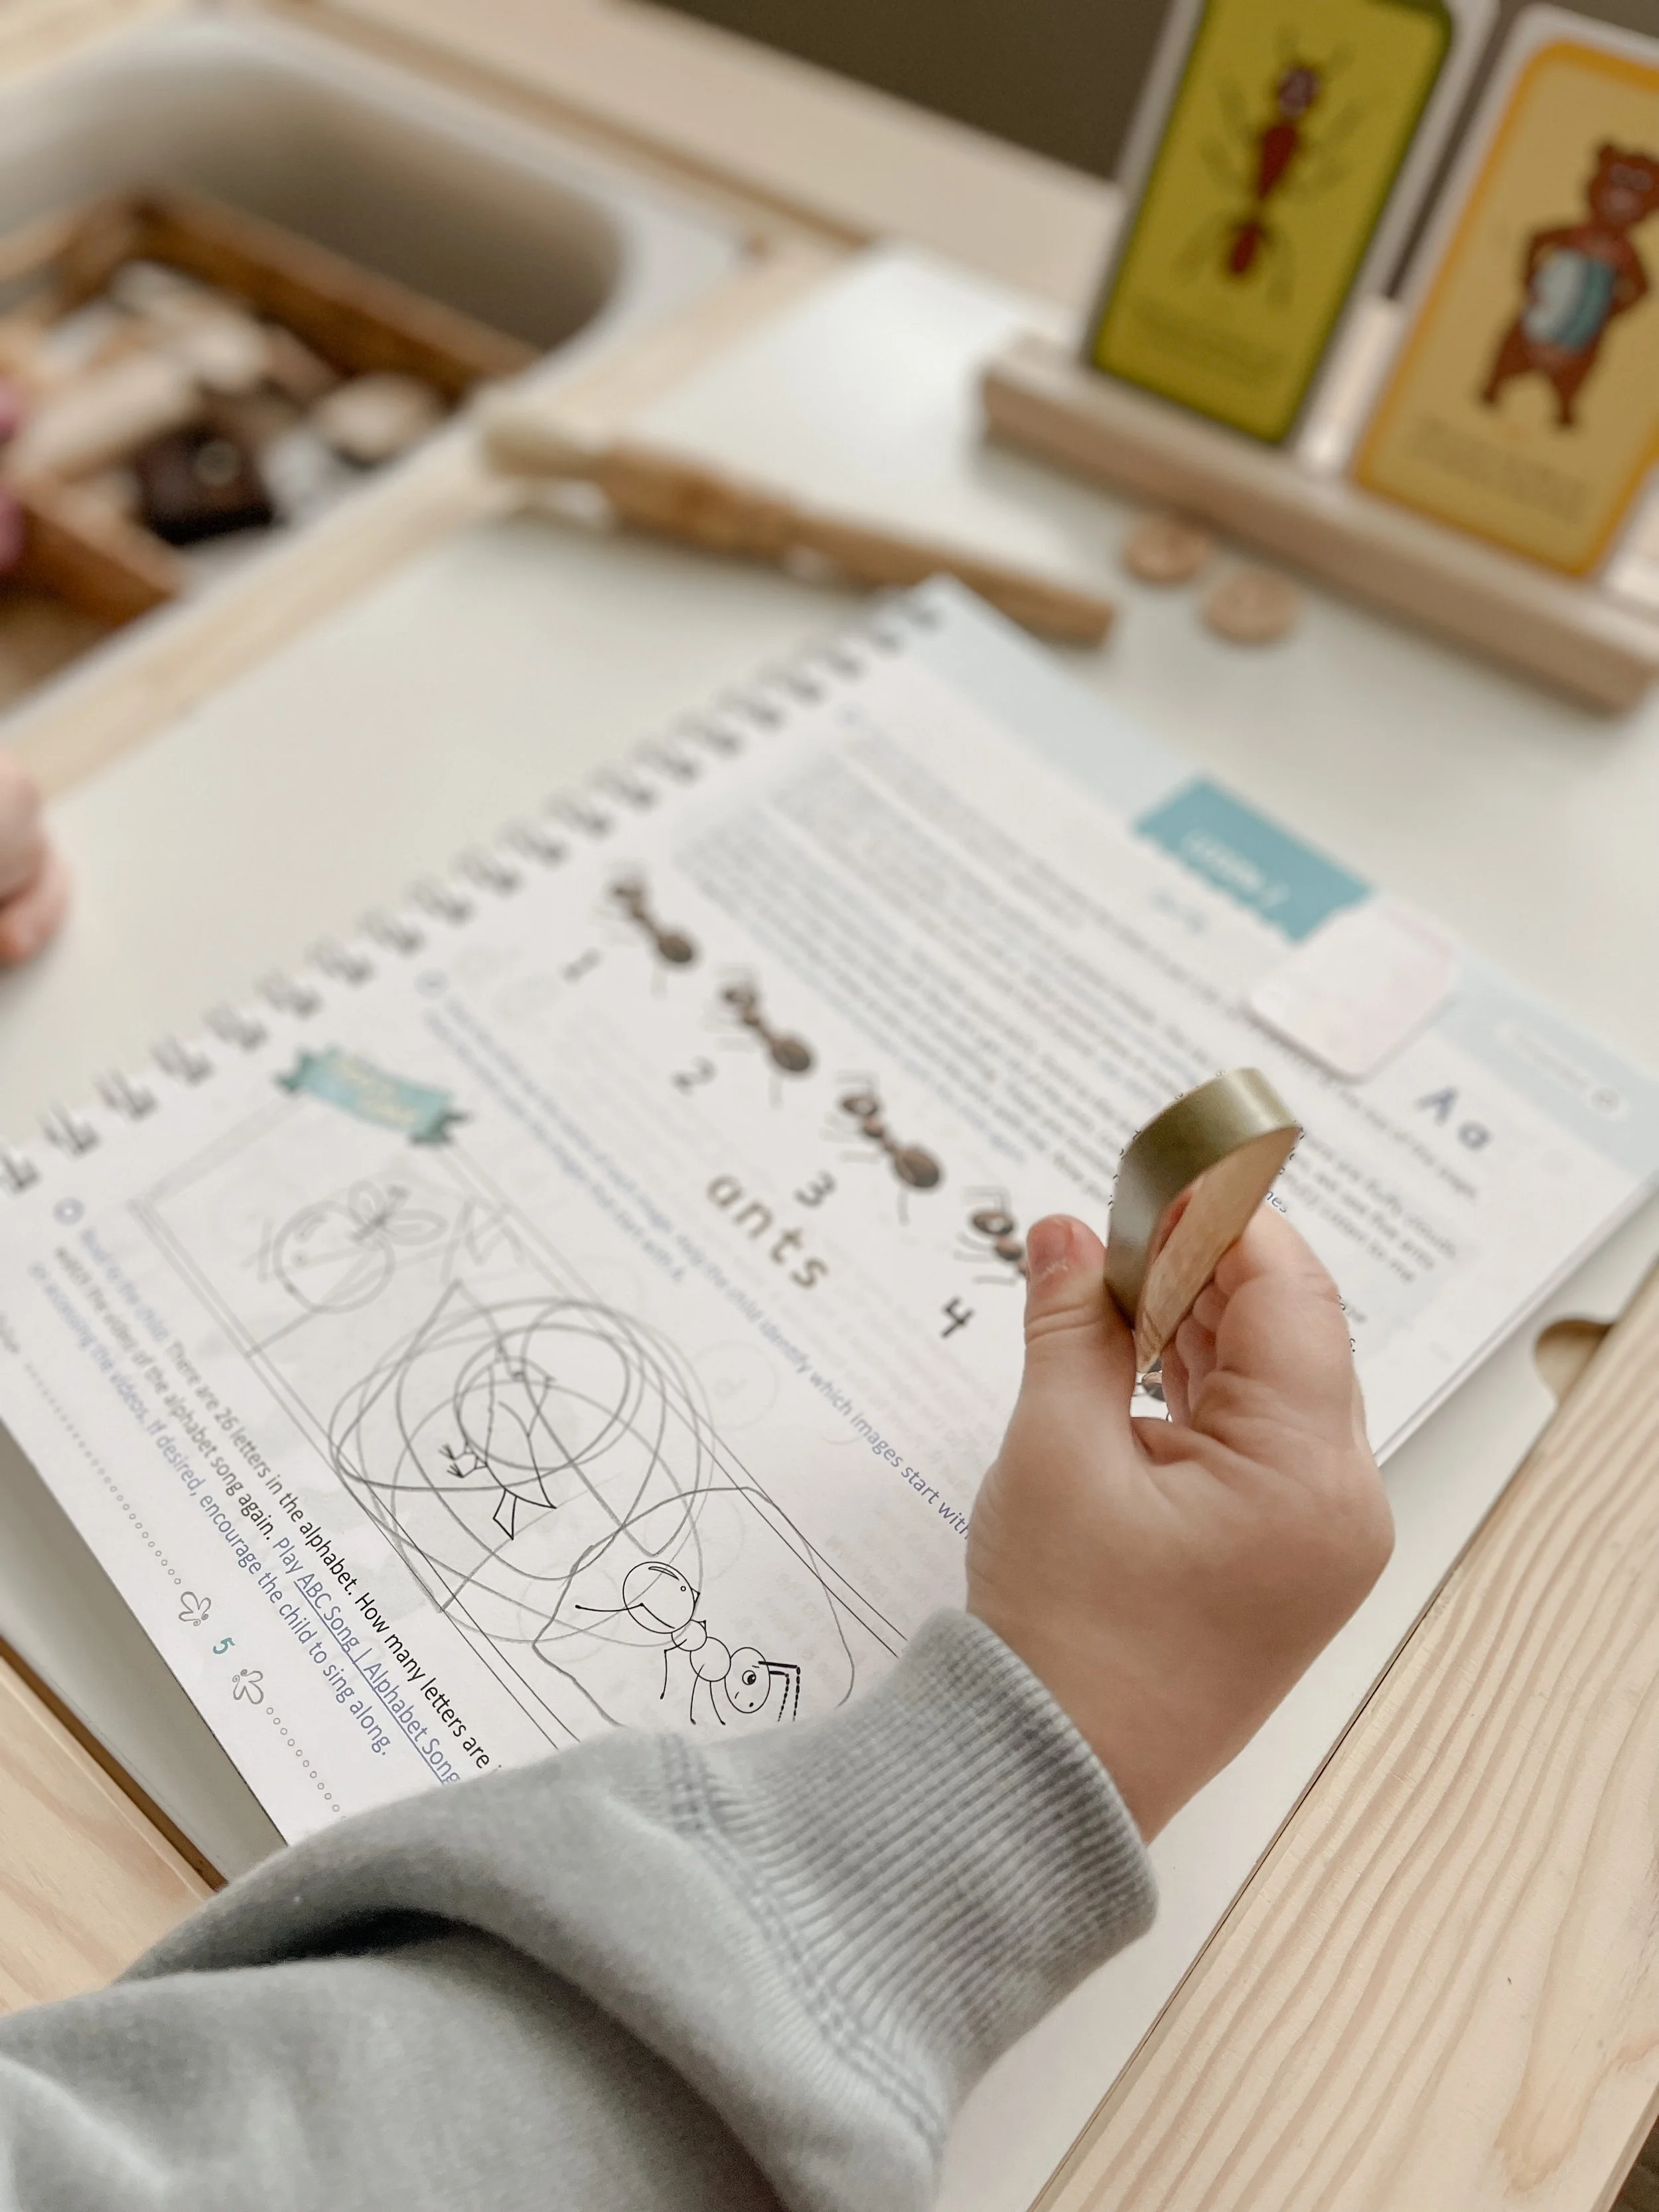
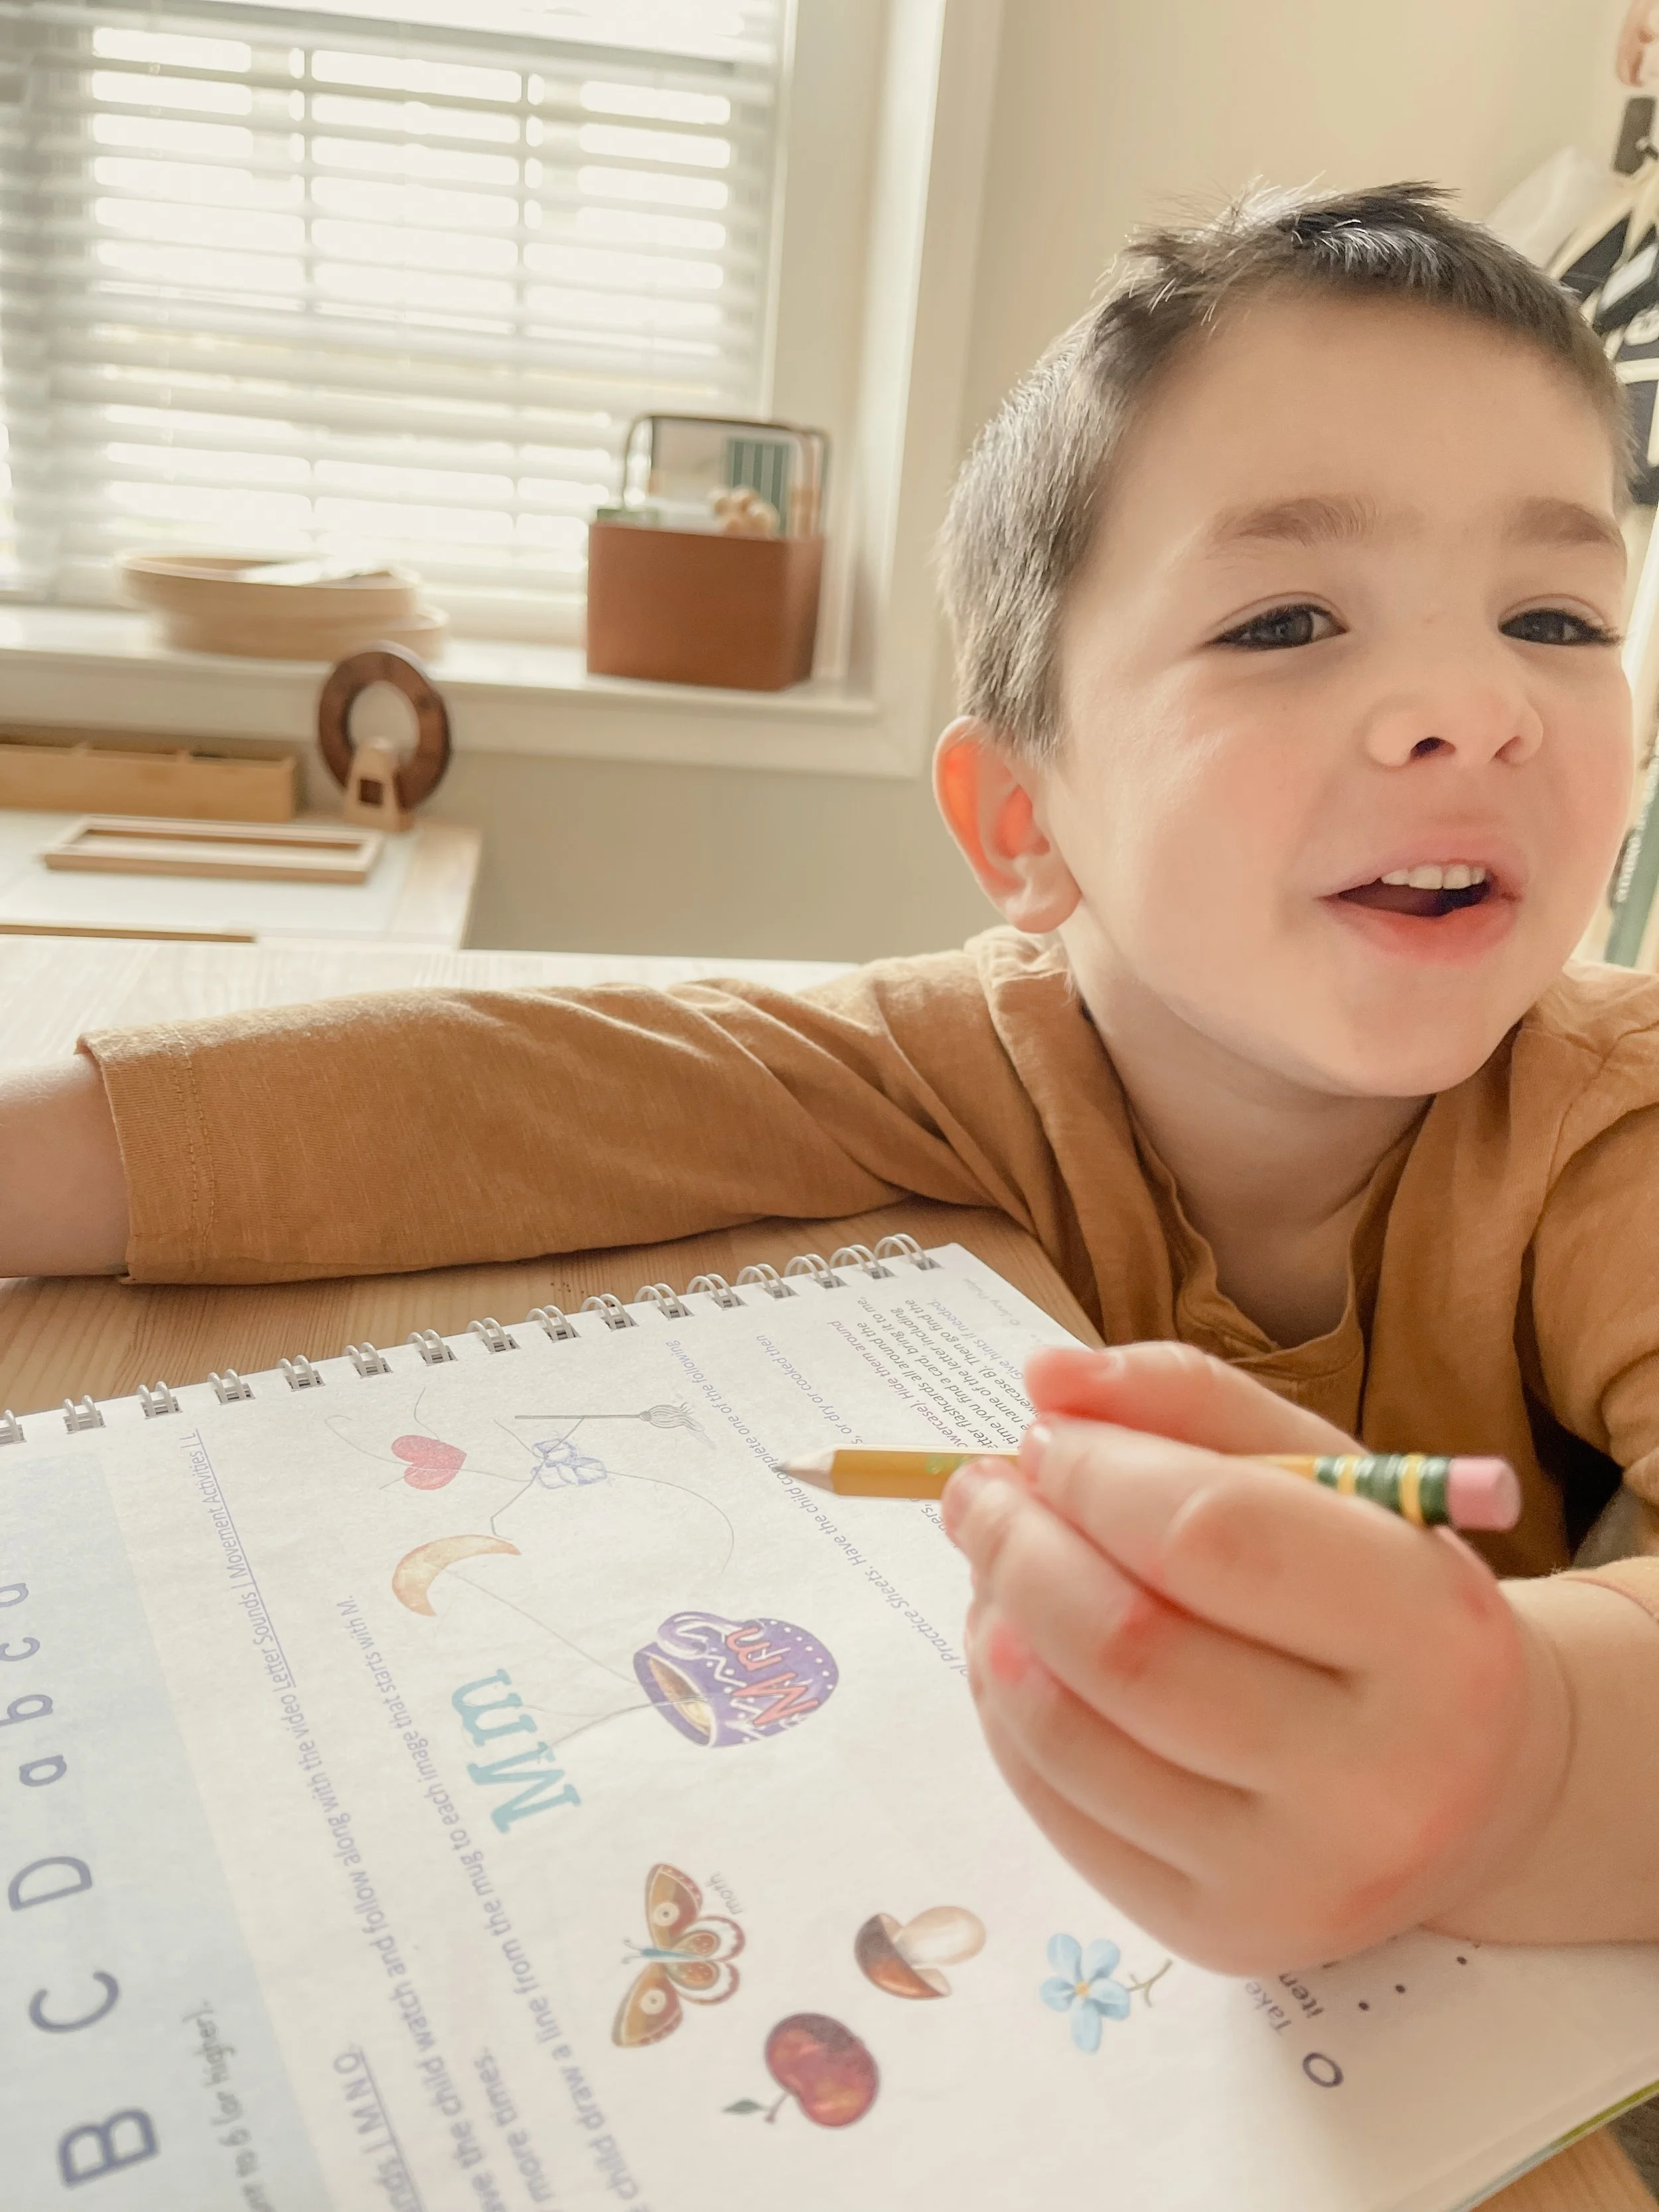
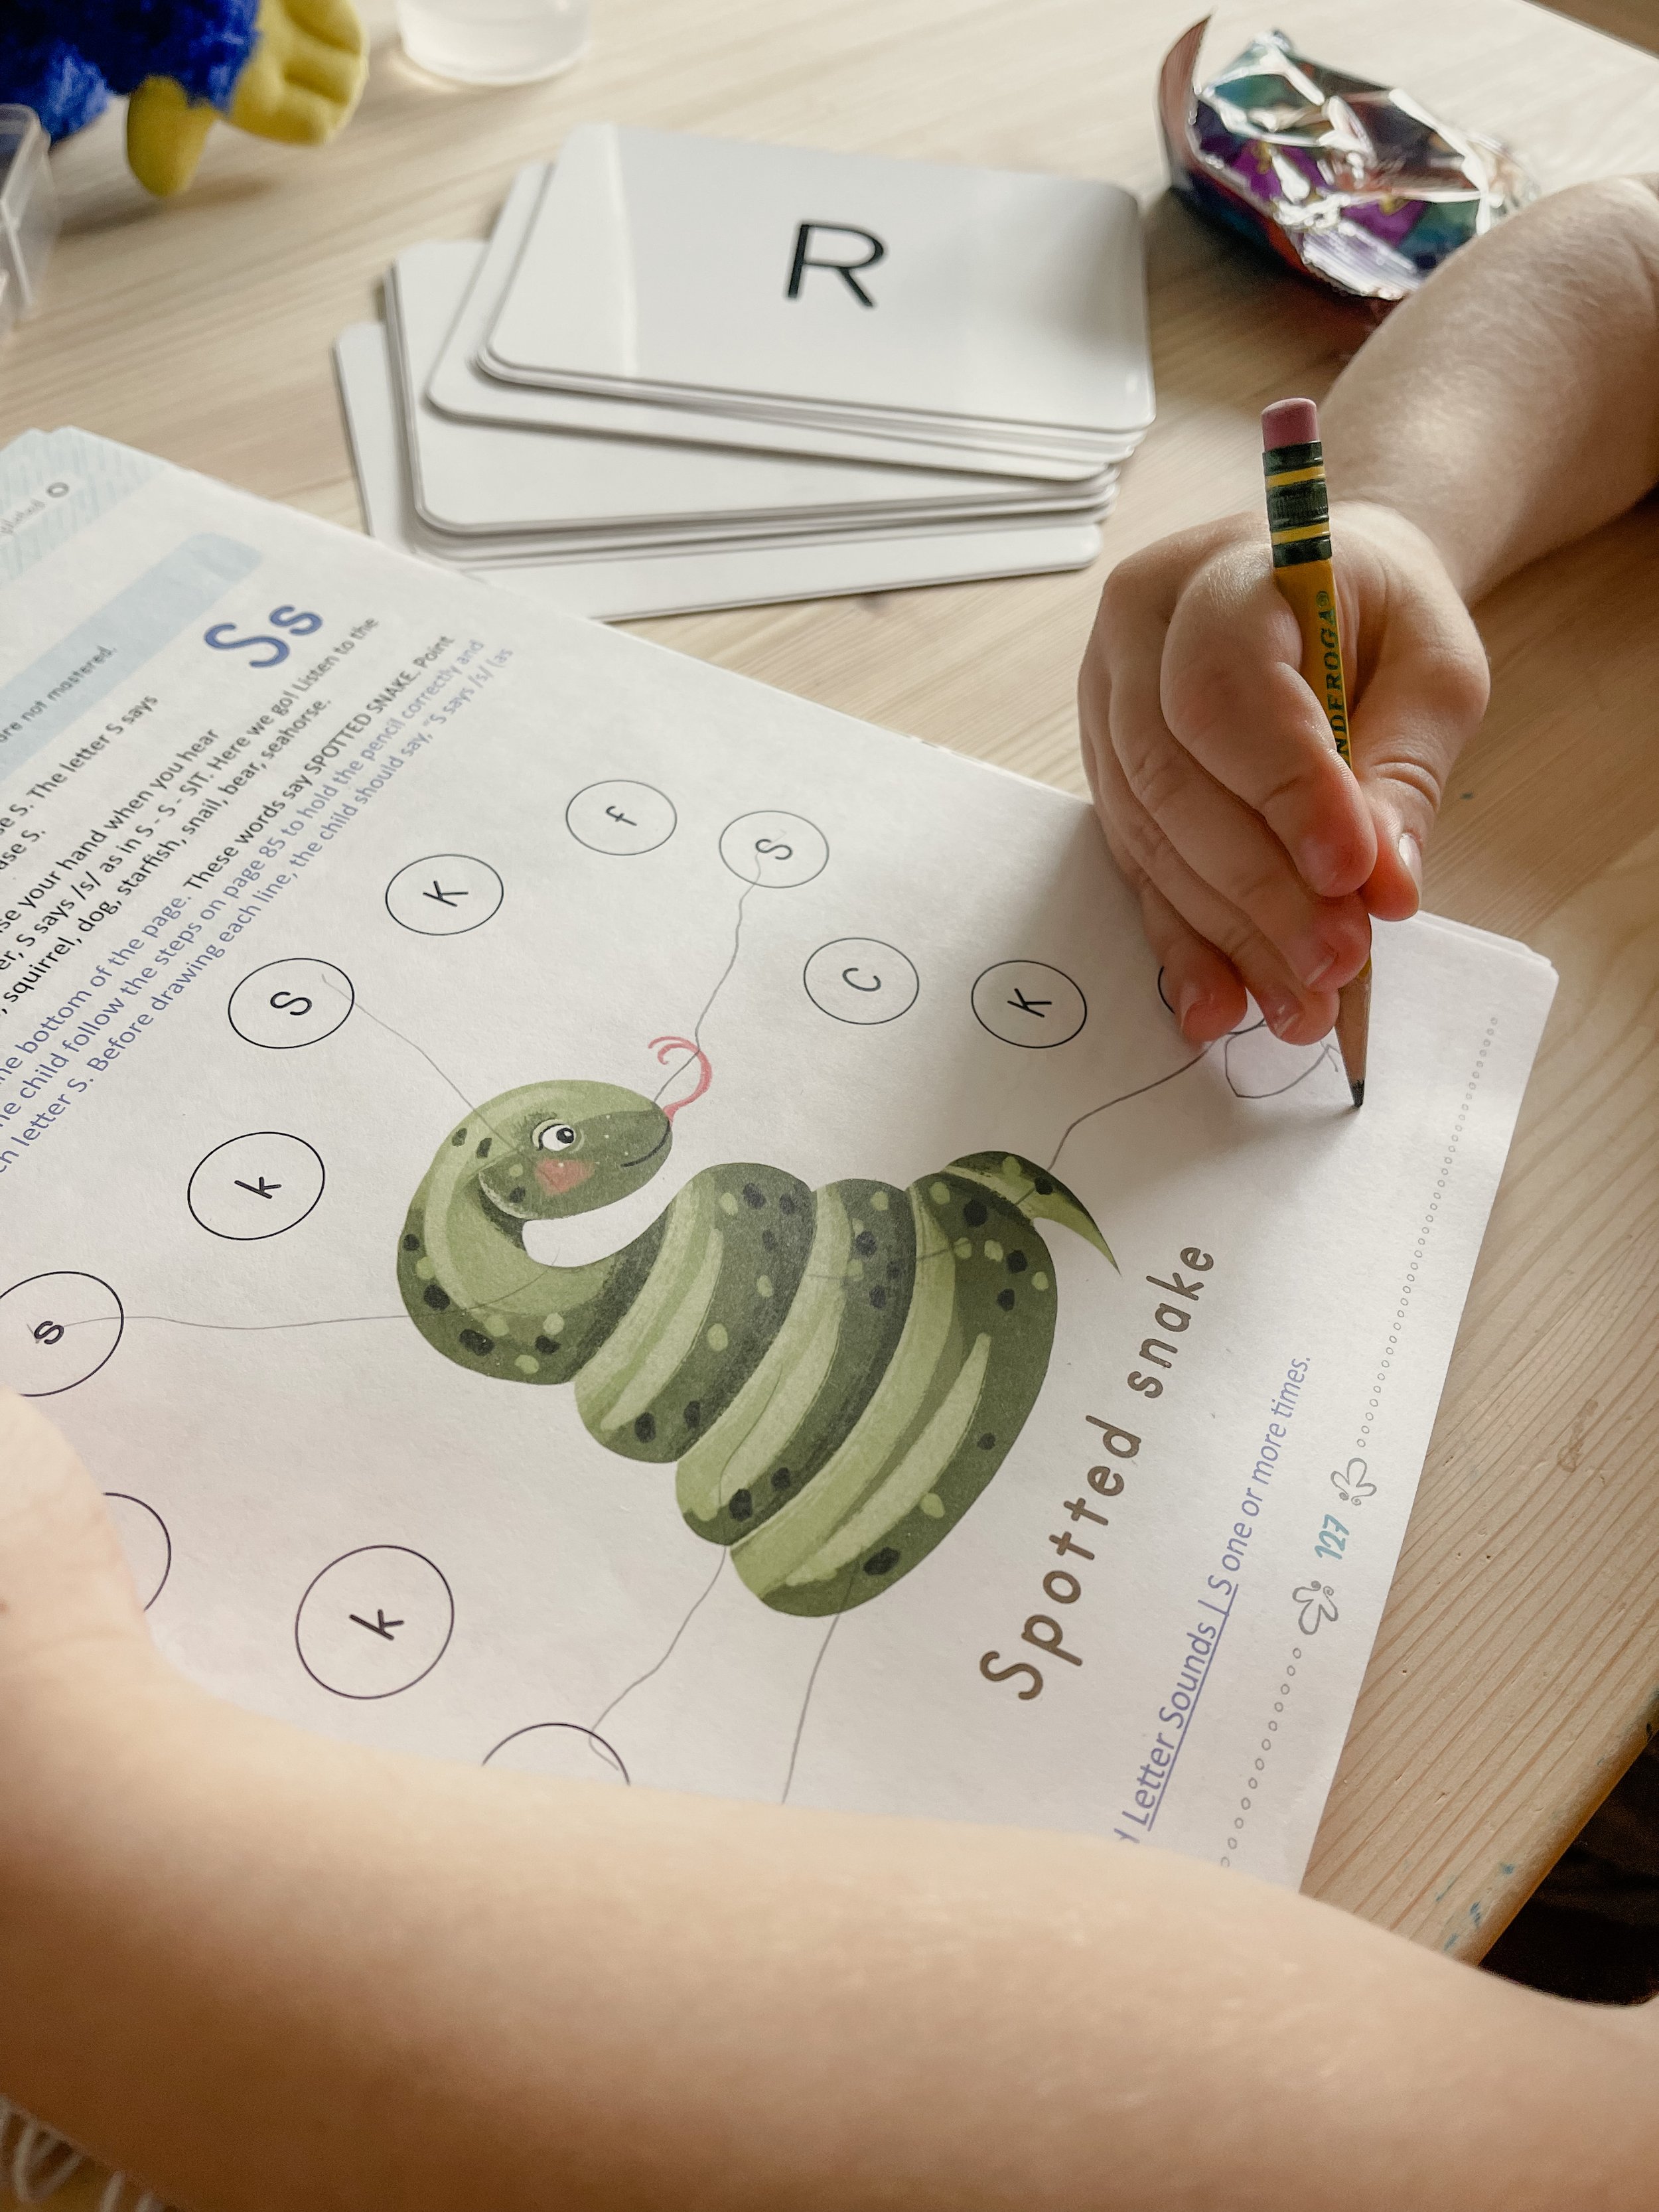
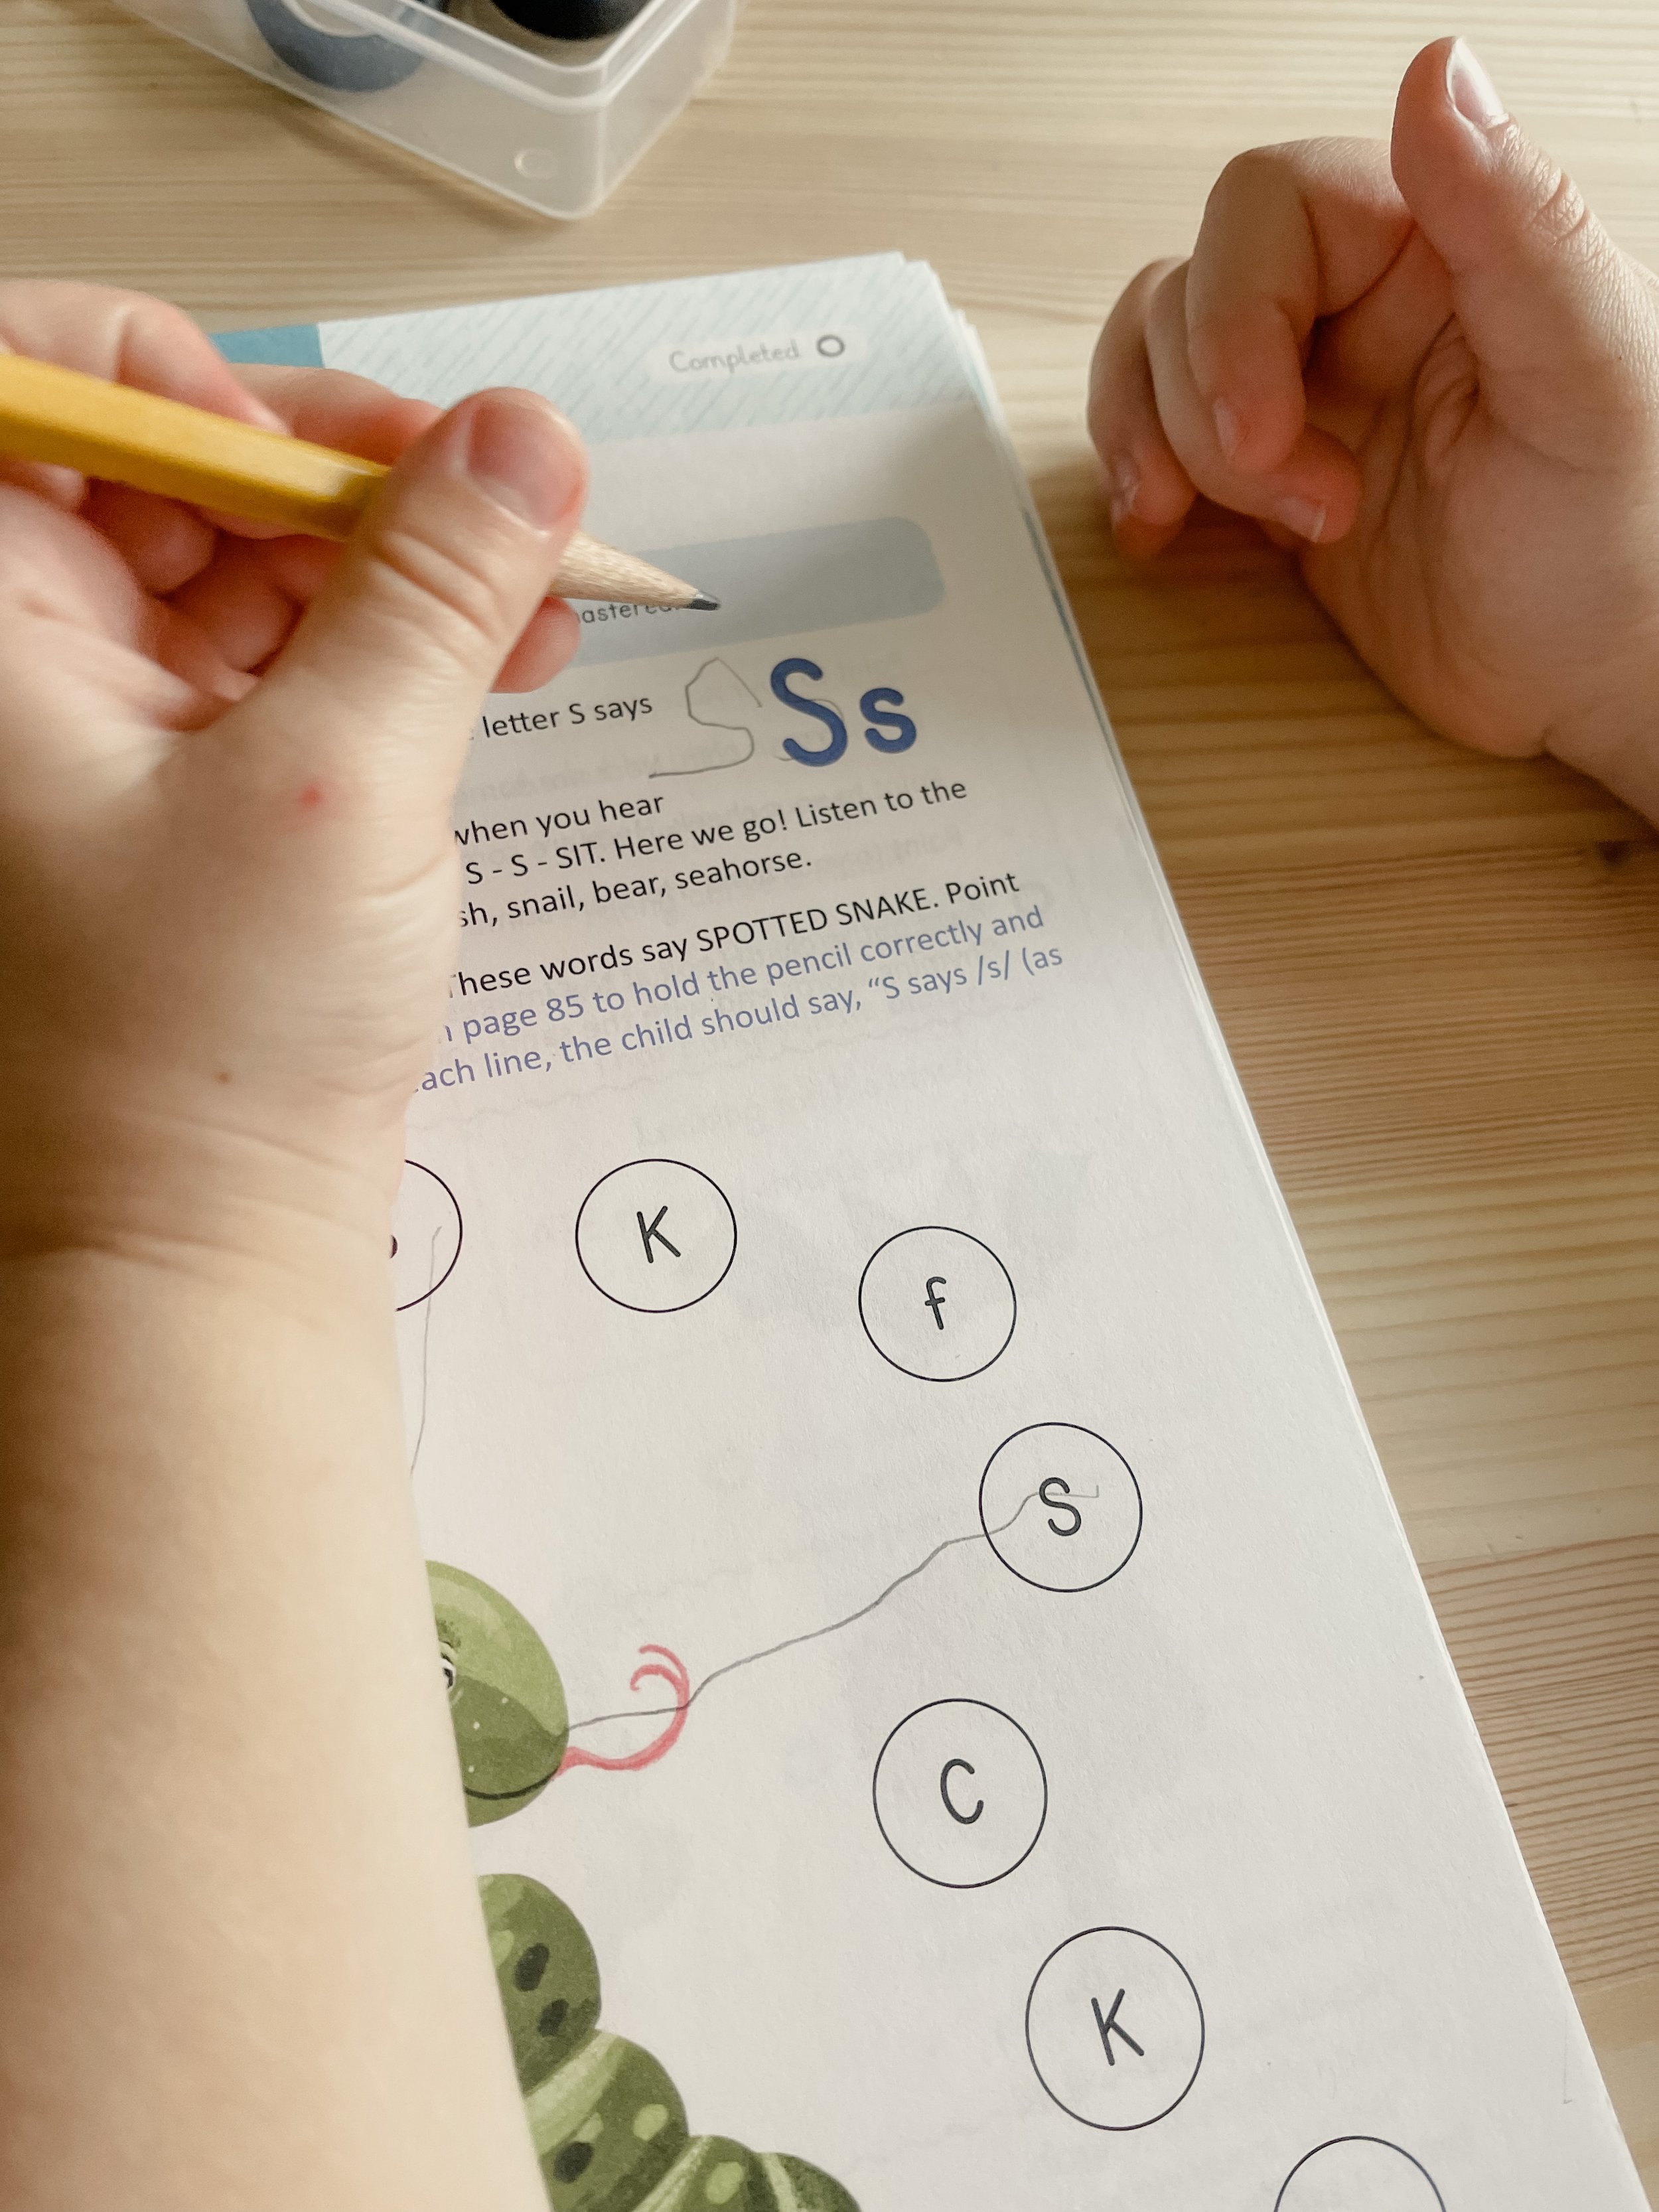
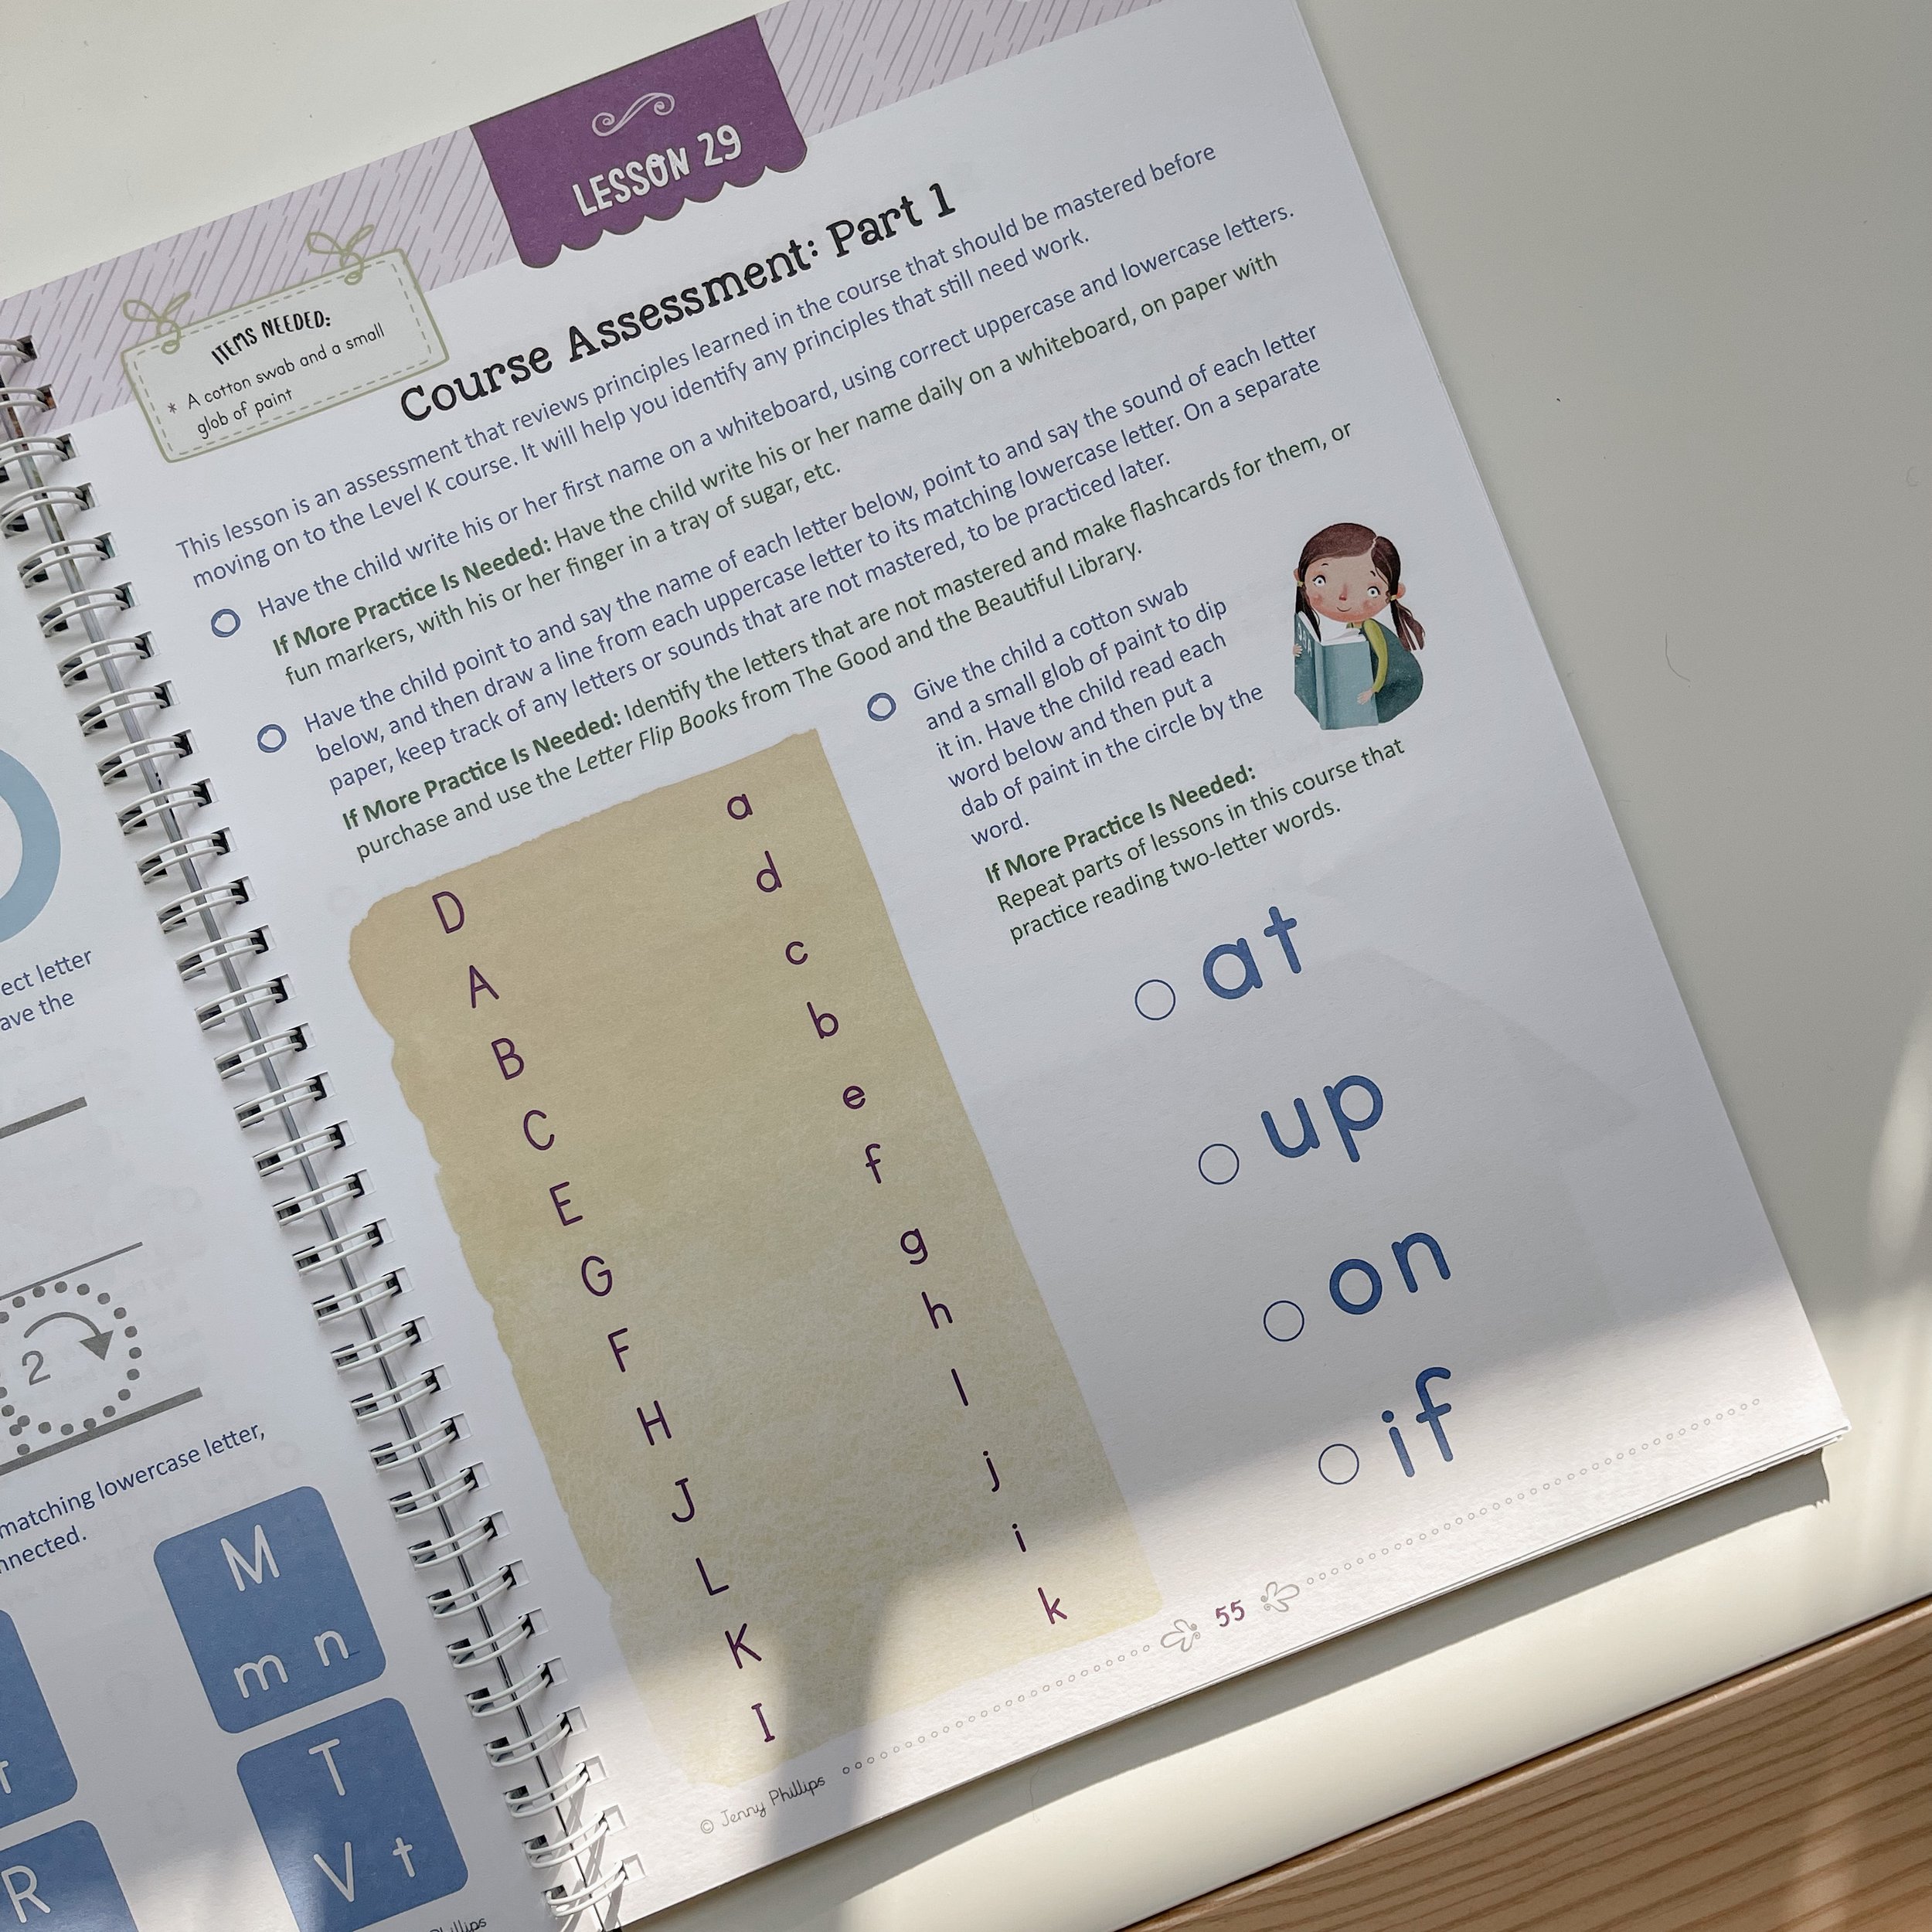
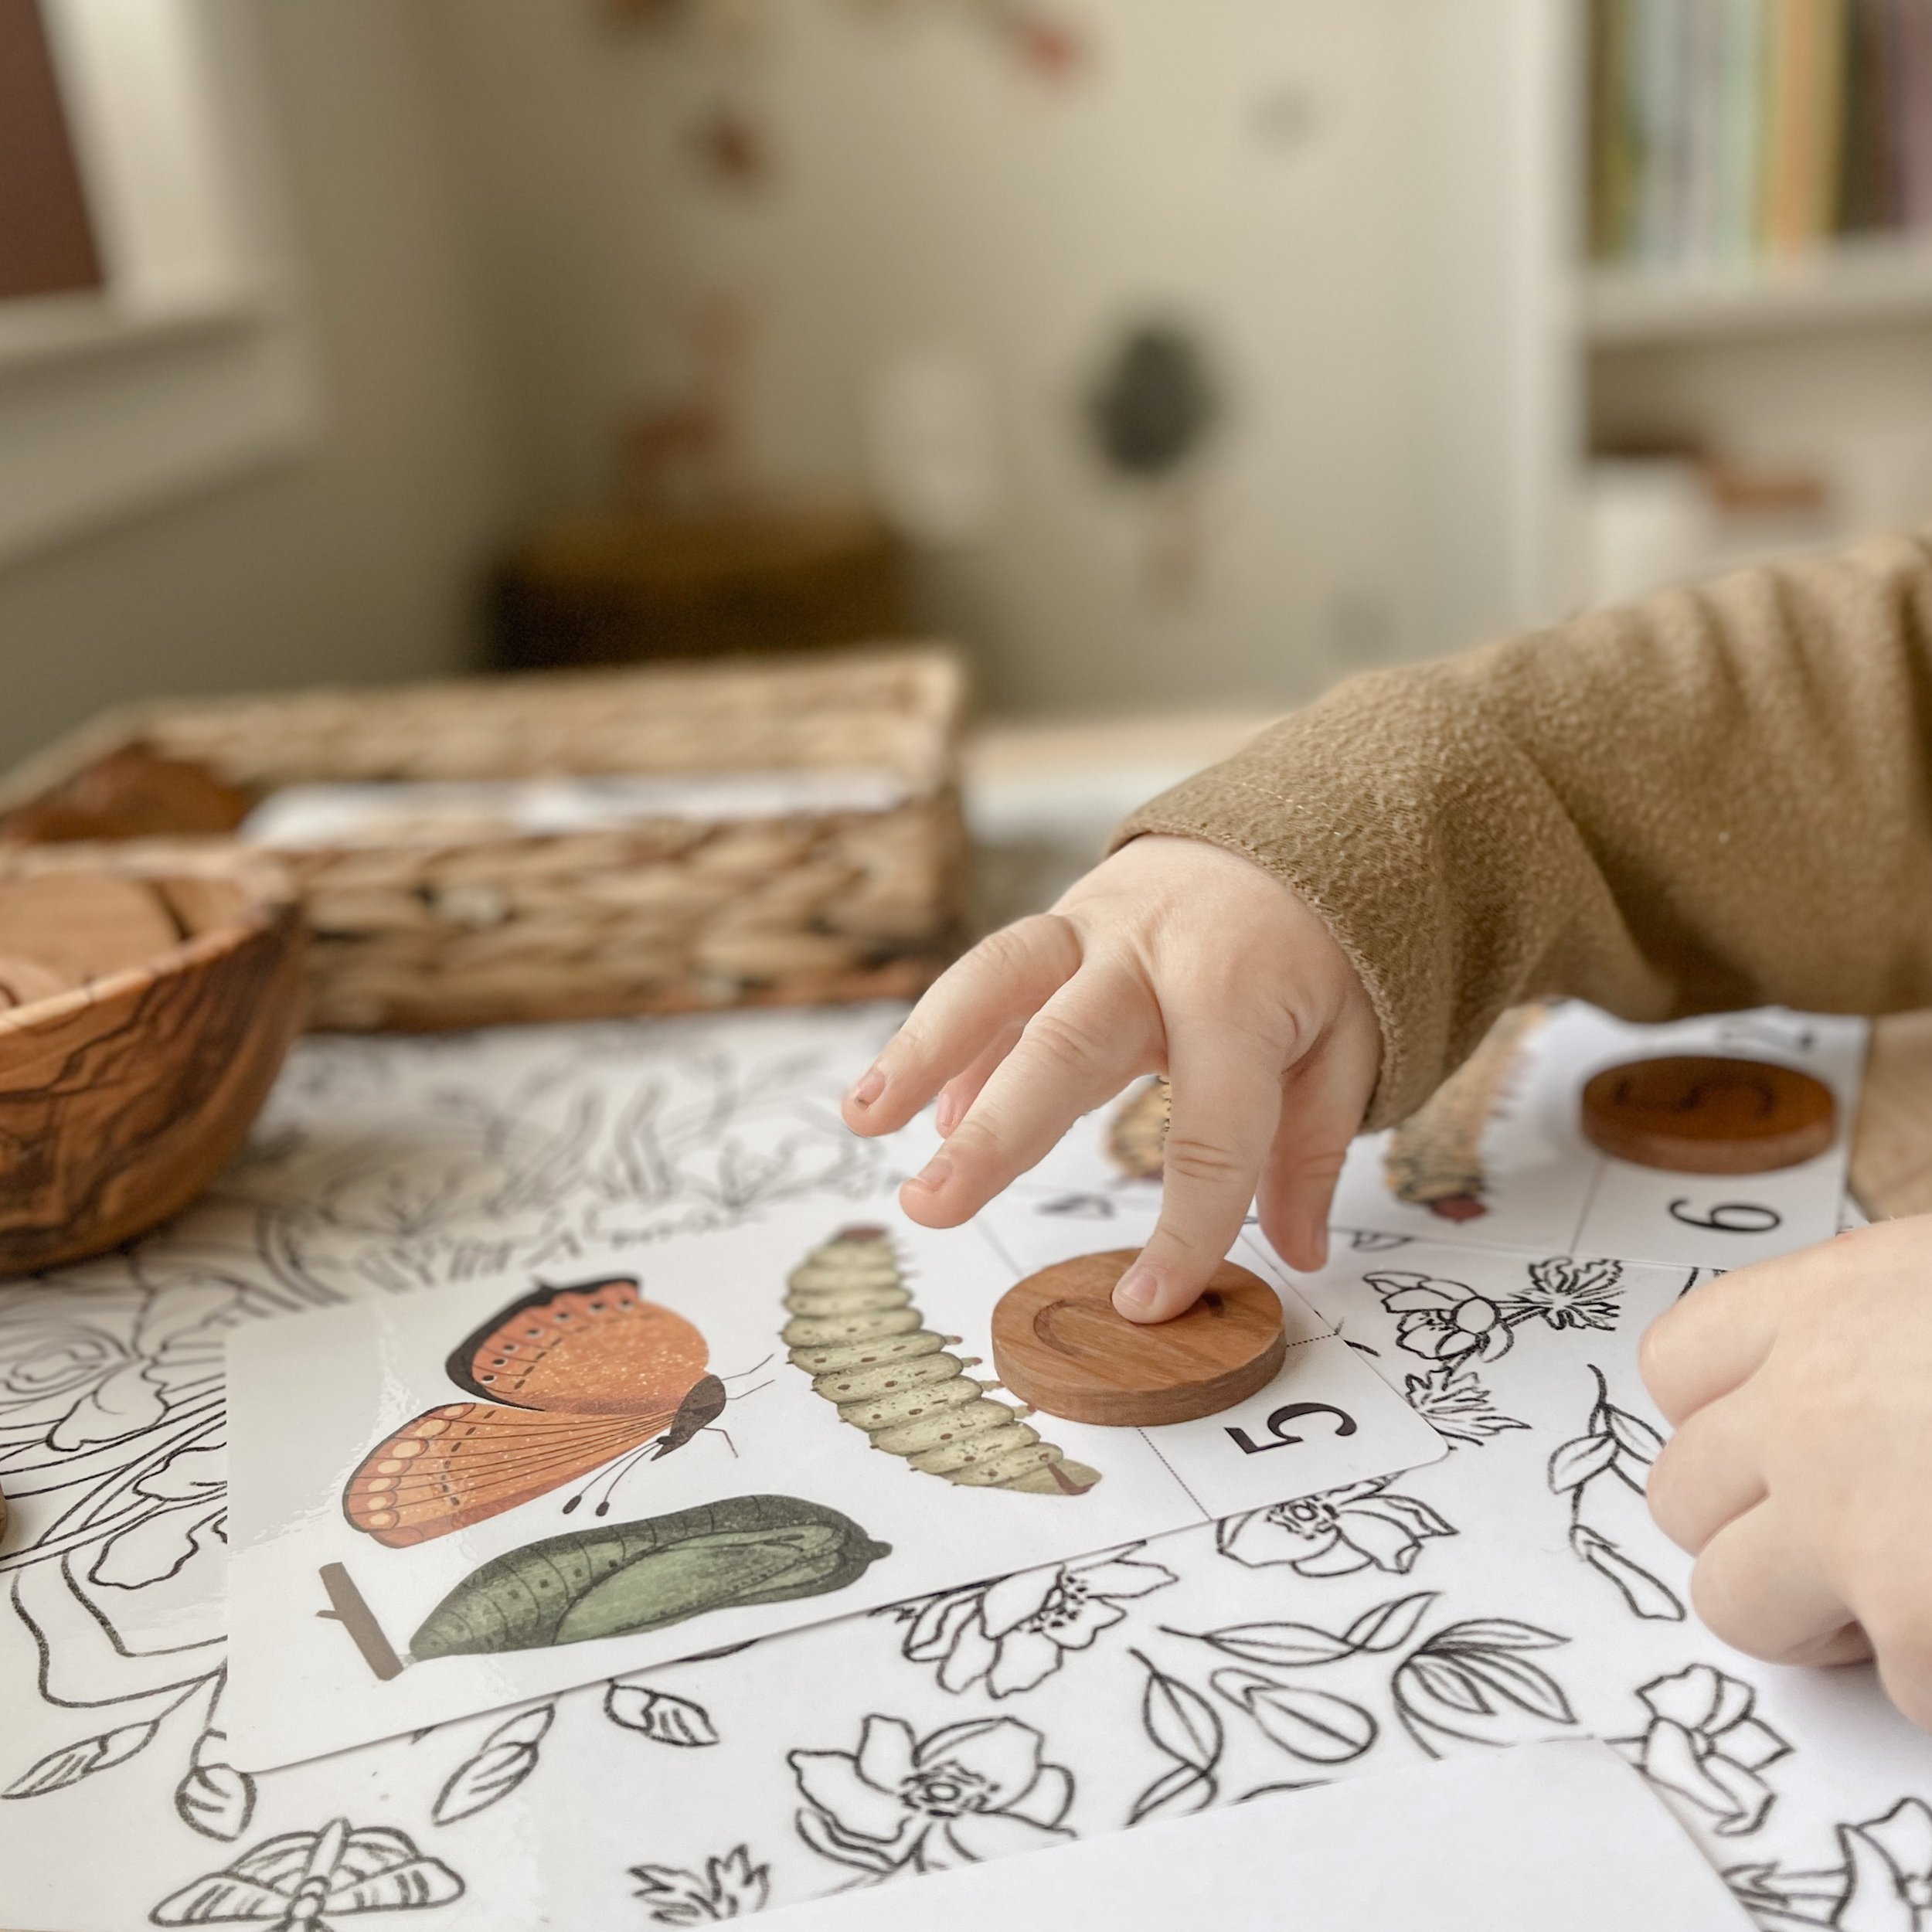
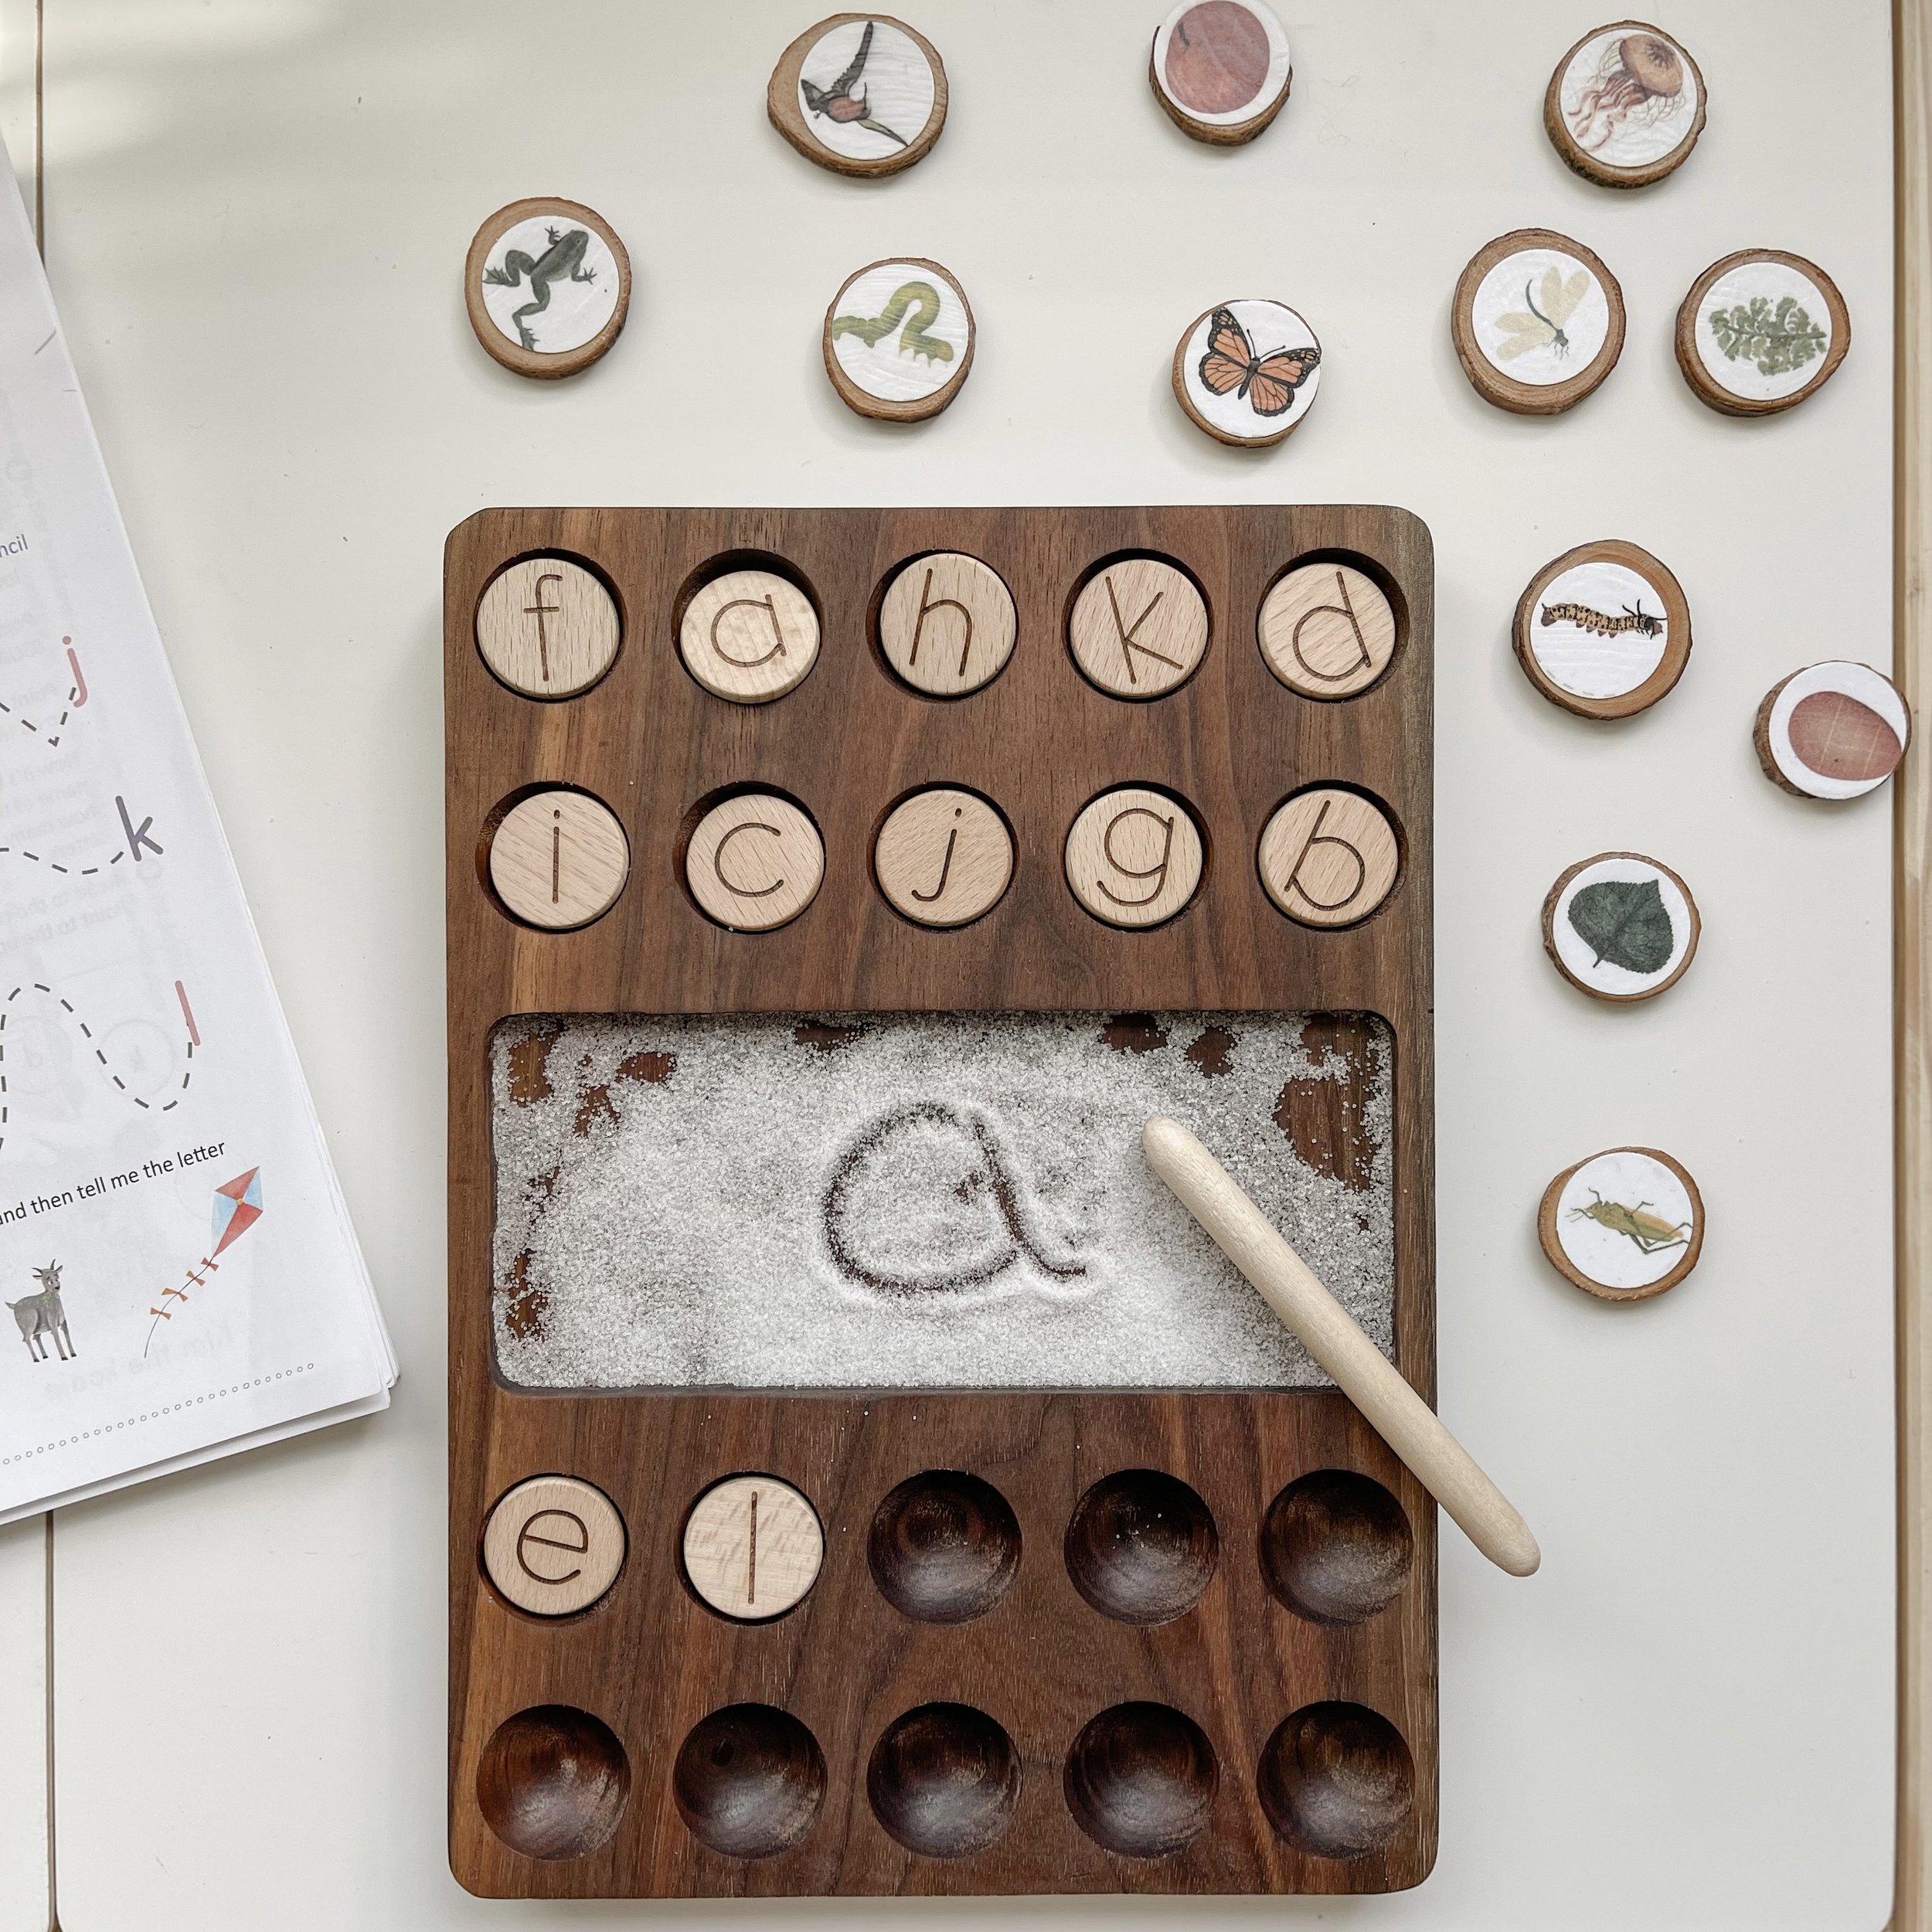
Children of multiple ages can use a Morning Menu. Your youngest children at the pre-writing stage, included! Skills to implement at this age are name tracing sheets, line, letter, and shape formation exercises, and calendar work, such as selecting and copying the day of the week, or month of the year. Seasonal poems, fingerplays, and art can also be added. At this age, an emphasis on early letter formation, “circle-time” style printables, and routine can be the focus. Elementary aged students can focus on more classical subjects, like memory work and art study. You can also include math drills, timelines, and independent work checklists. The best part? Even if you have multiple aged learners using a Morning Menu with varied resources, they can do their work together side-by-side! You can see why so many homeschoolers are drawn to this practice…it’s a communal, but individualized start to the day that can help everybody get on track and thrive.
Implementing a Morning Menu
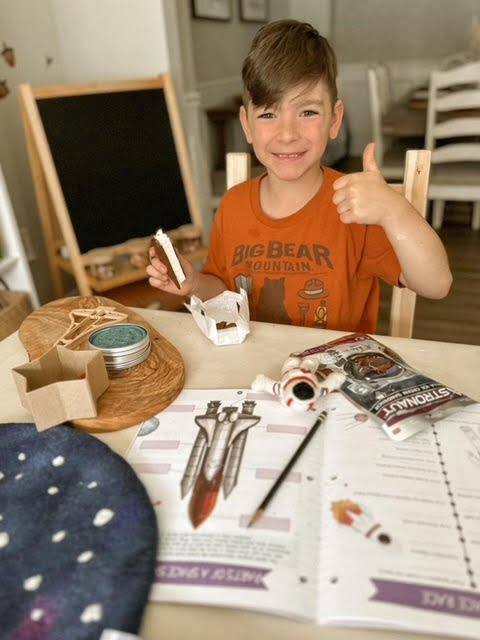
If you are intrigued by the concept of a Morning Menu, check out some of our favorite resources below. They are so easy to implement in your homeschool rhythm, and take no time for children to grasp. You can offer your child a slow start to adding them to their day, and introduce more material as they gain comfortability.
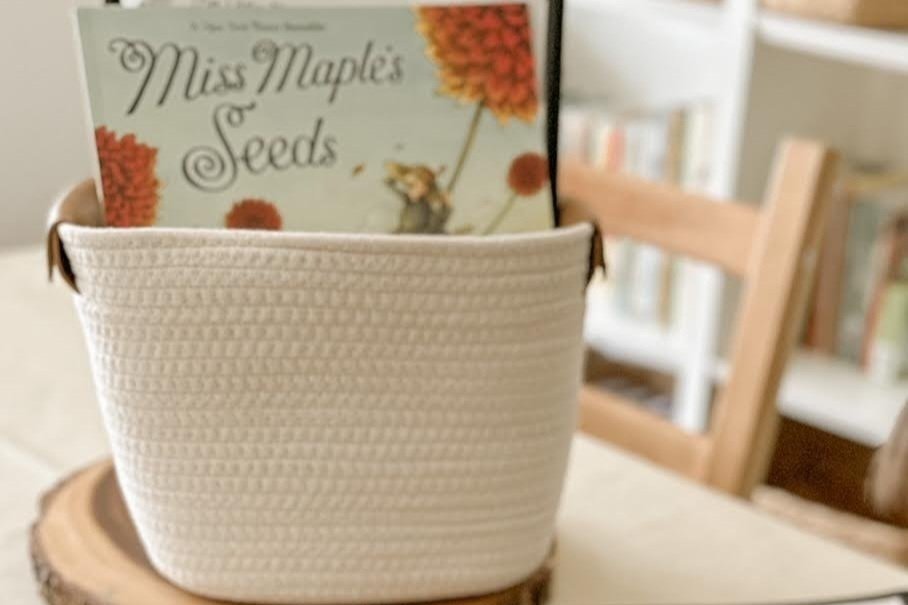
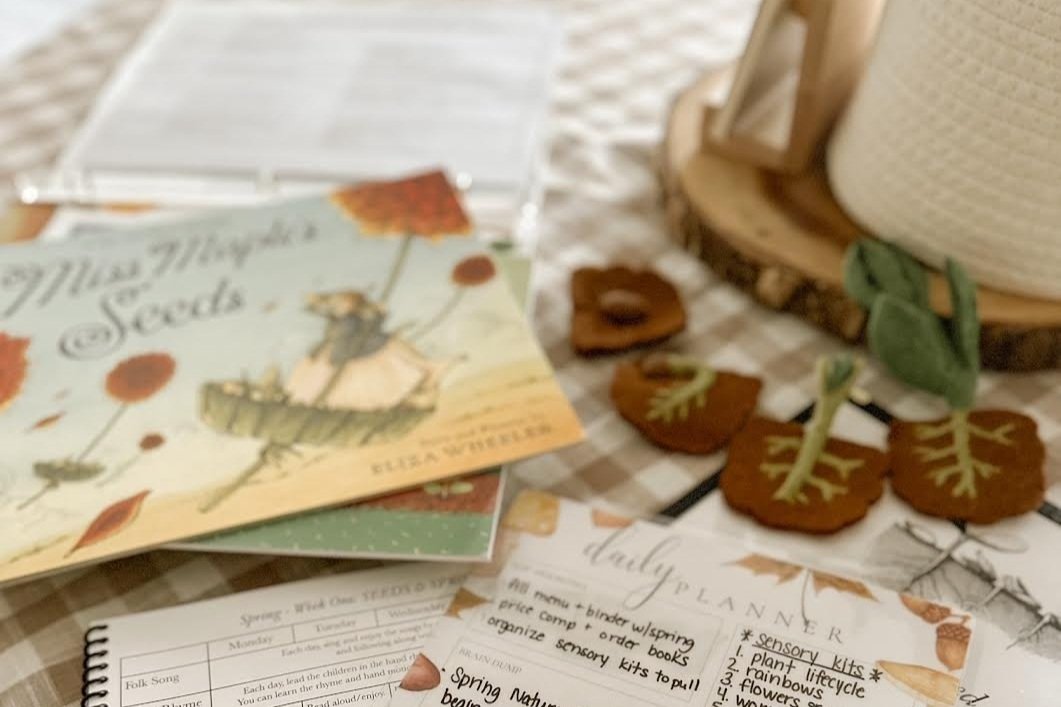
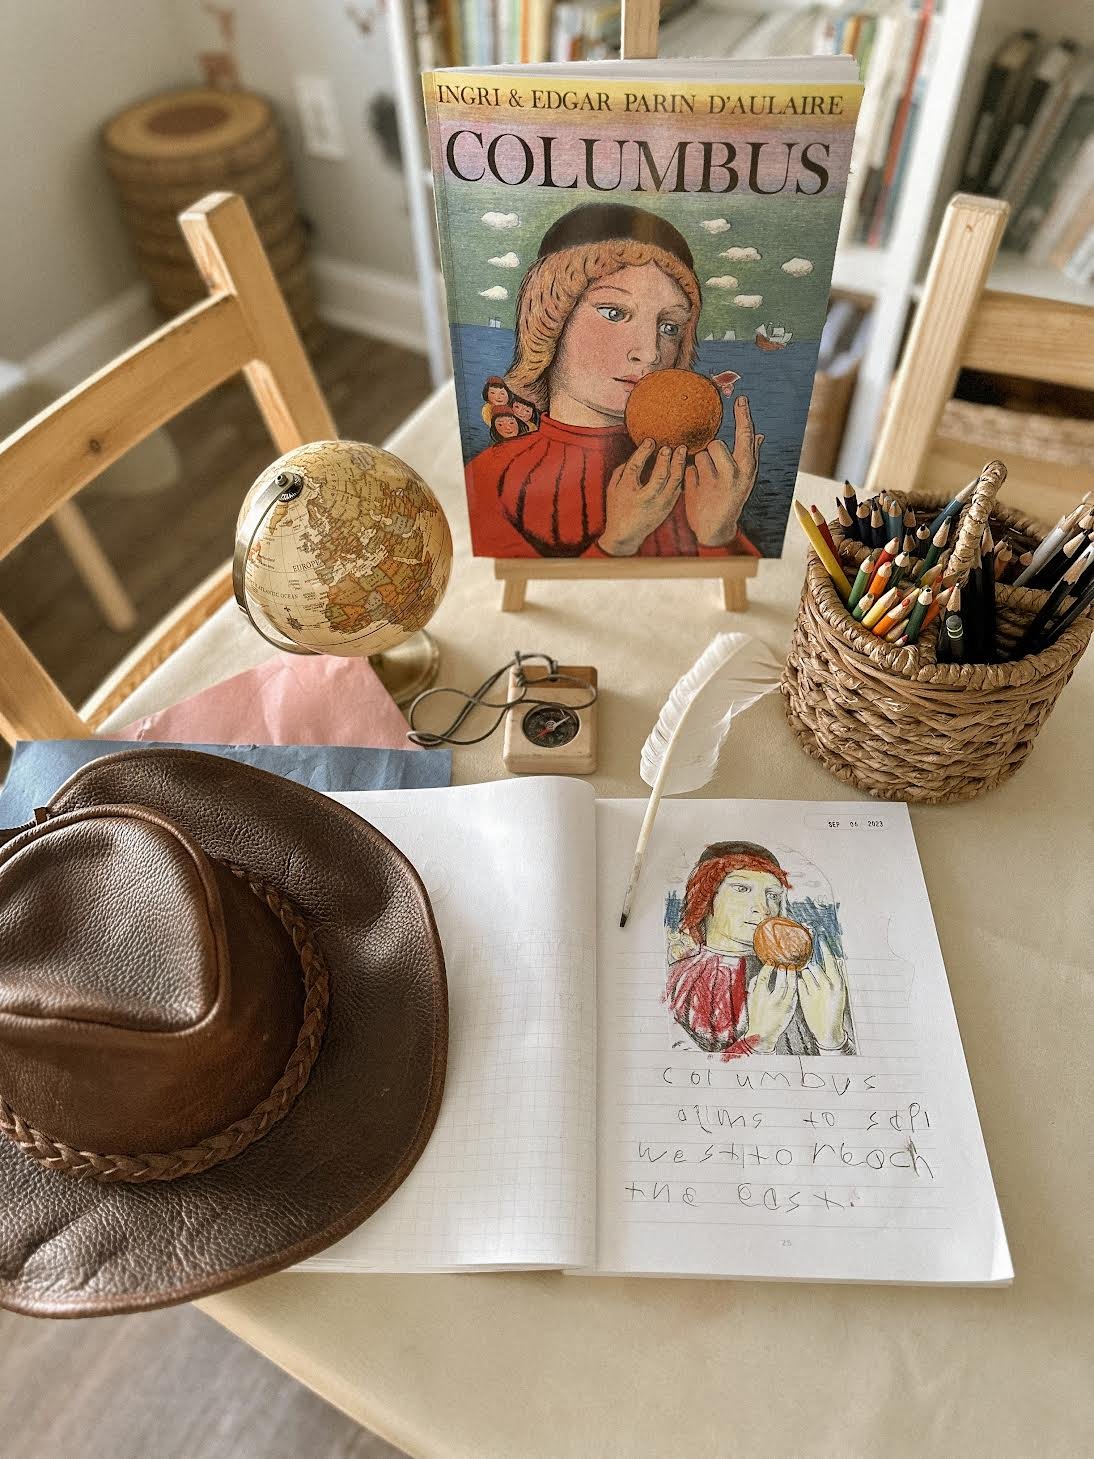
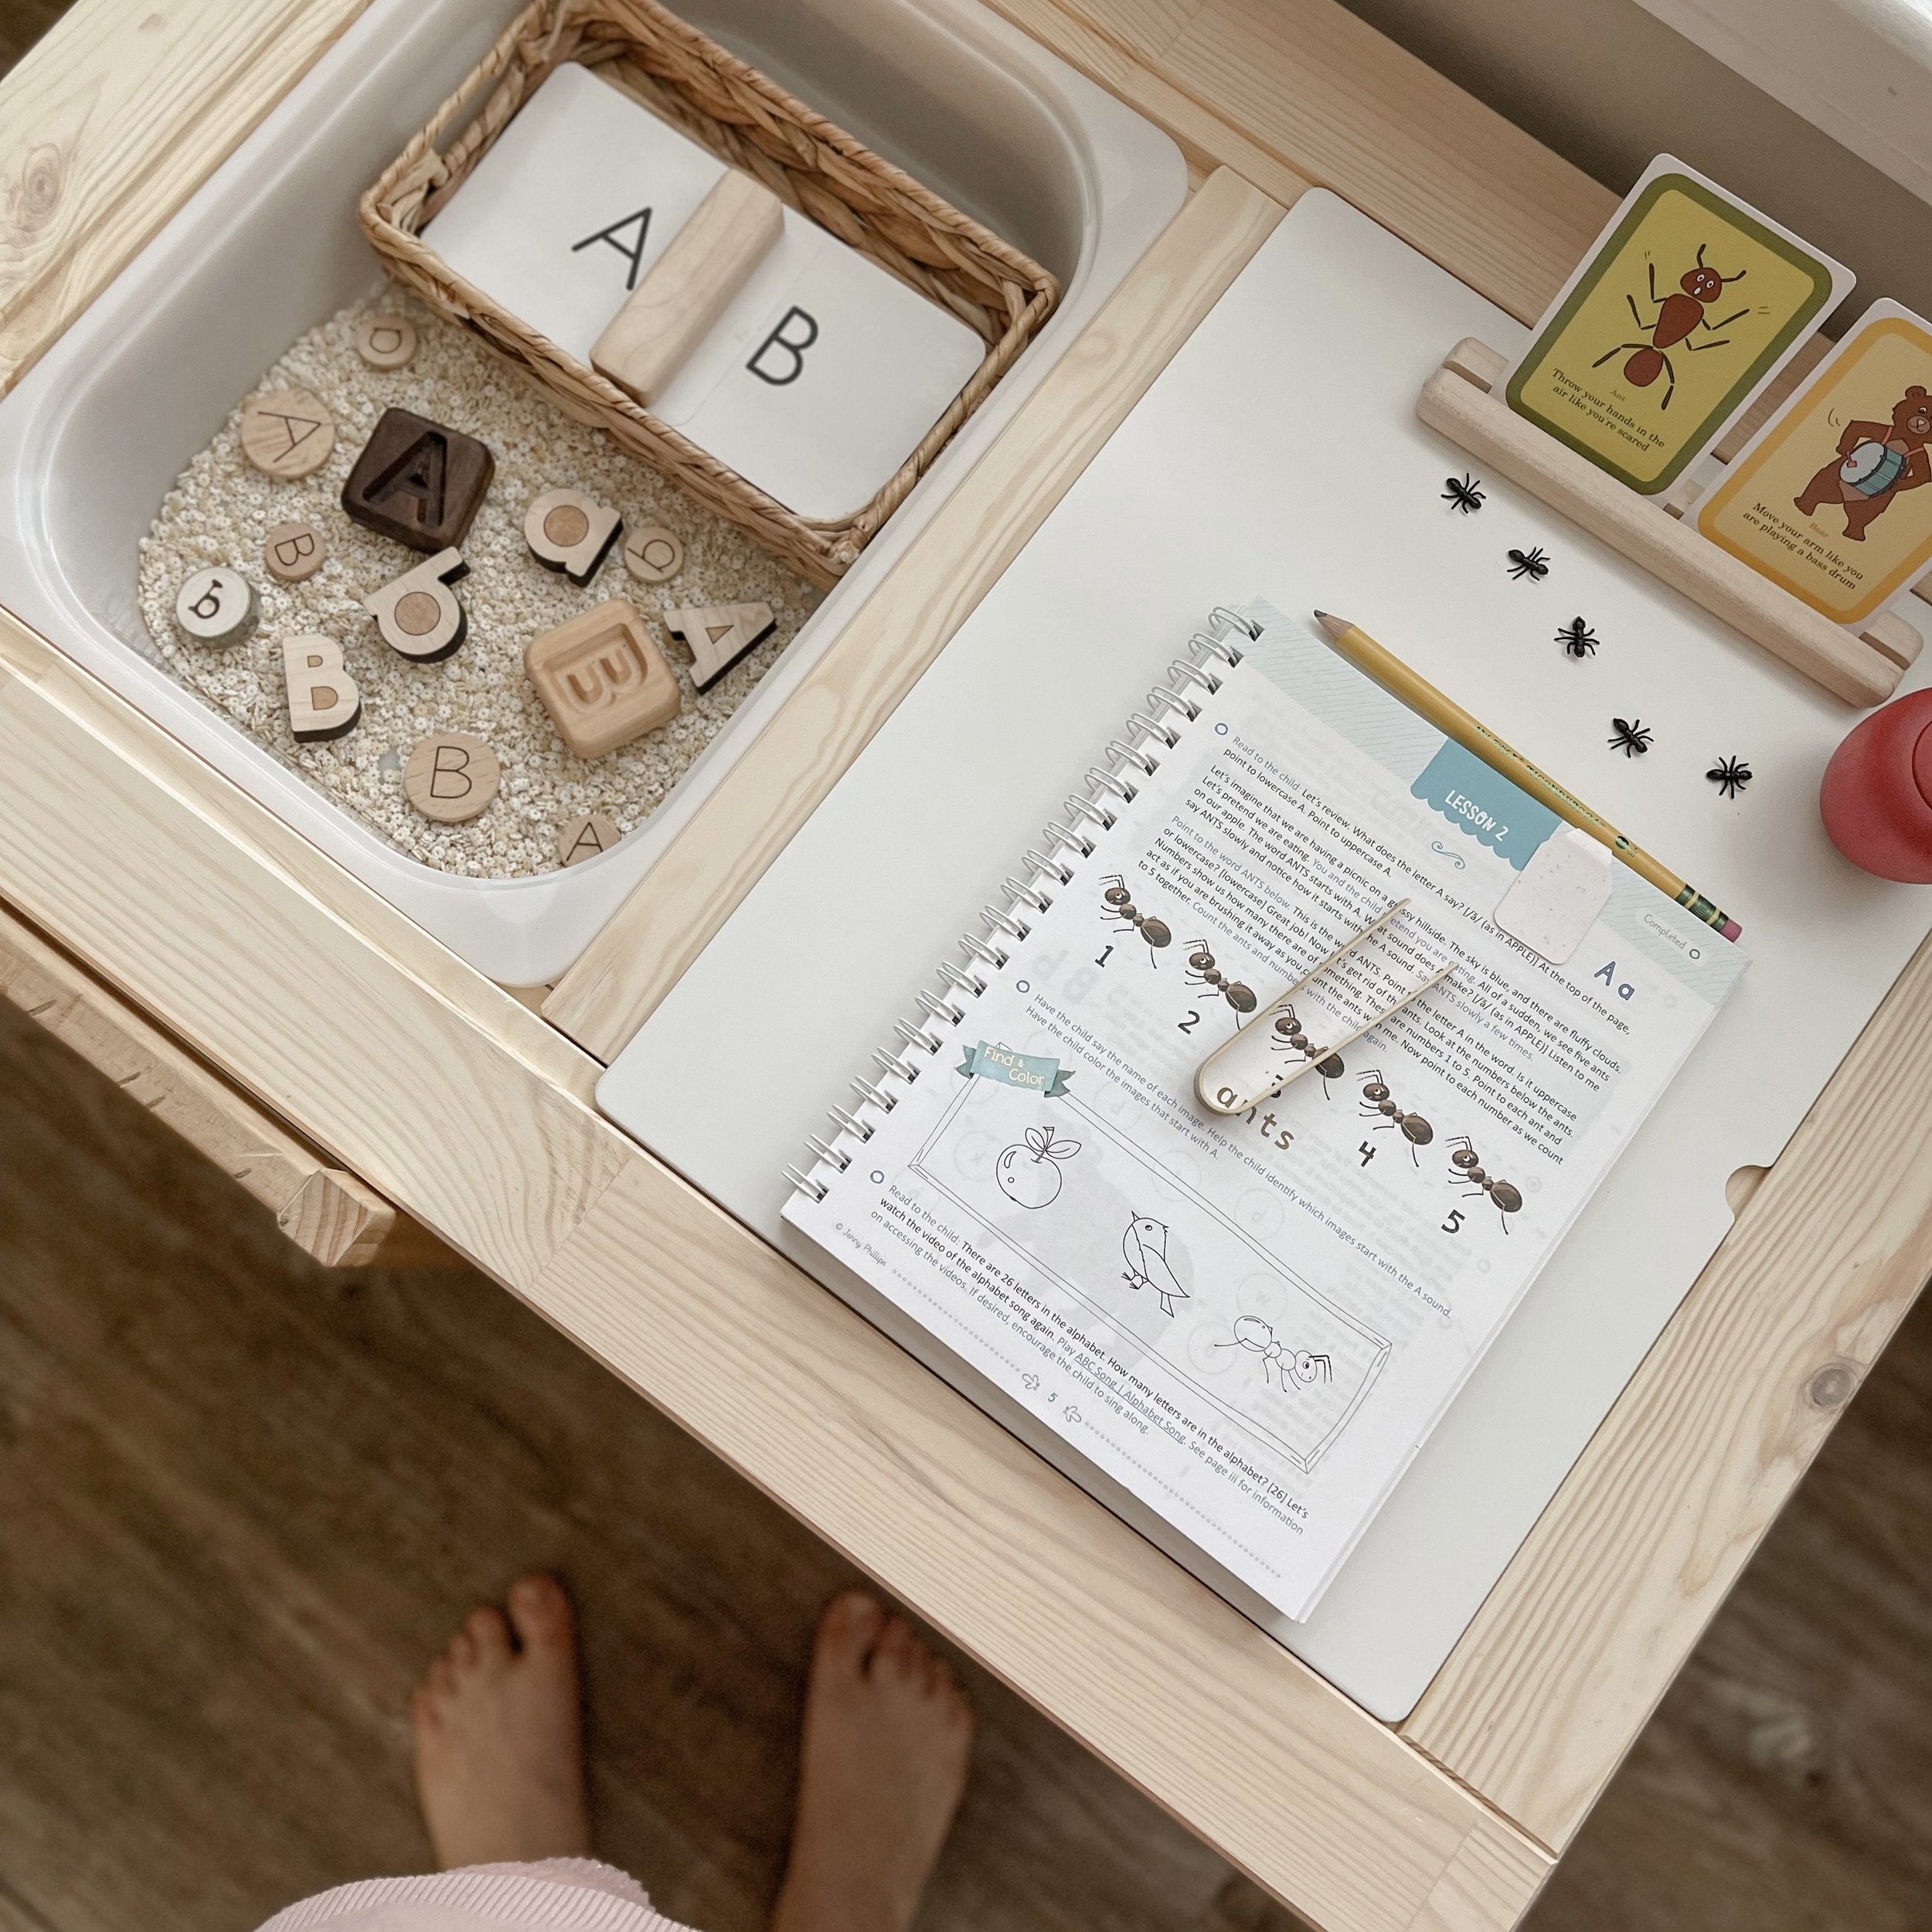
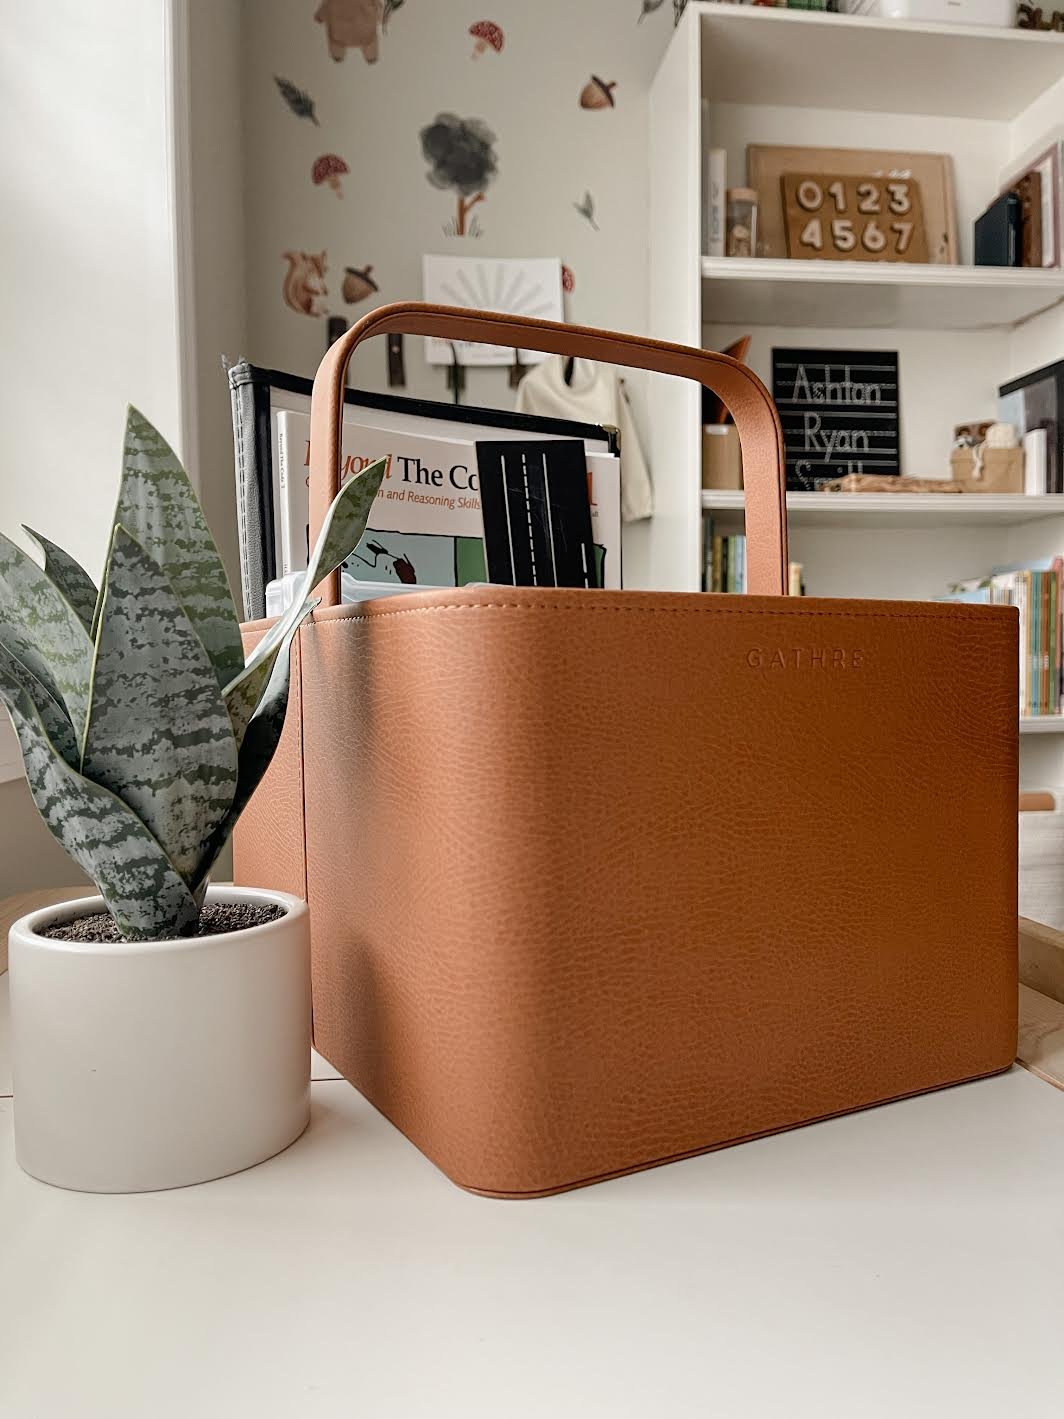
Storing the menu folders in a basket at the center of our learning space with a handful of dry erase markers has worked well for us over the years. I refresh them as needed over the weekend, wipe clean at the end of the day as I am preparing our space, and lay them out on our table each morning for my children to complete together.
How to Create a Morning Menu
Purchase a clear menu folder. There are a few size options available on Amazon; I highly suggest being cognizant of the dimensions. You will want to be sure an 8.5”x11” sheet of paper can fit inside. We love this booklet style menu folder and this tri-fold menu folder, and I can vouch for their quality having used them for multiple years. If this is an unrealistic expense for you, you can also use page protectors that you might have on hand and a pocket folder with three clasps. You will want a menu/folder for each student.
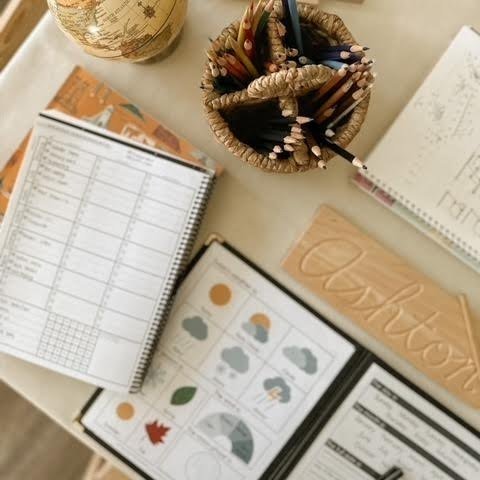
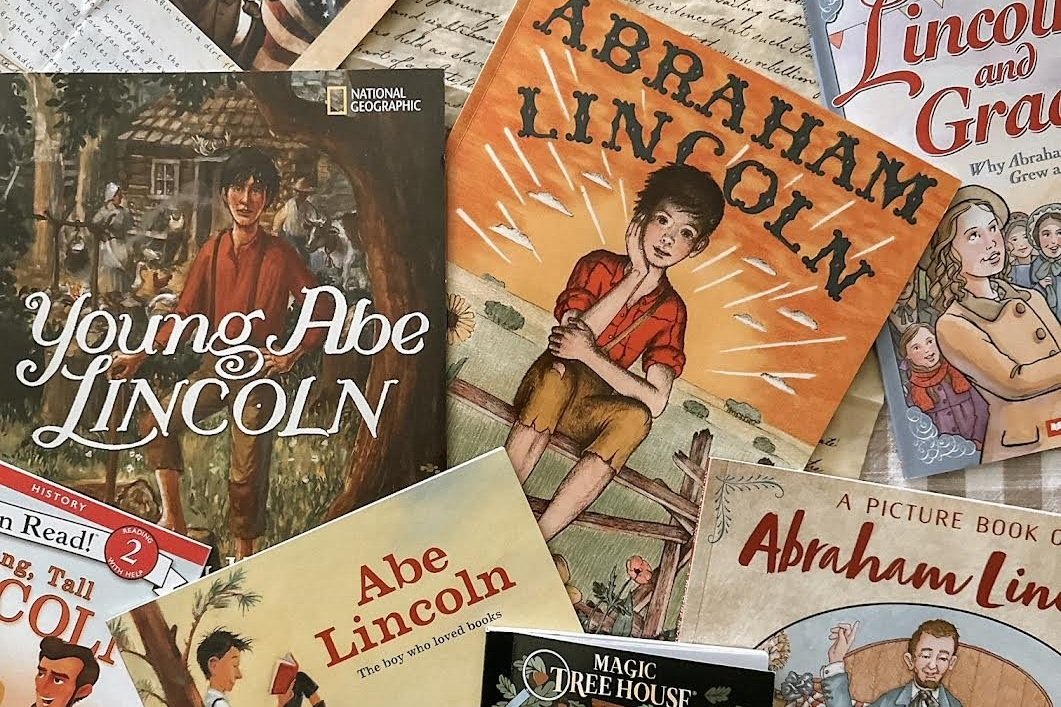
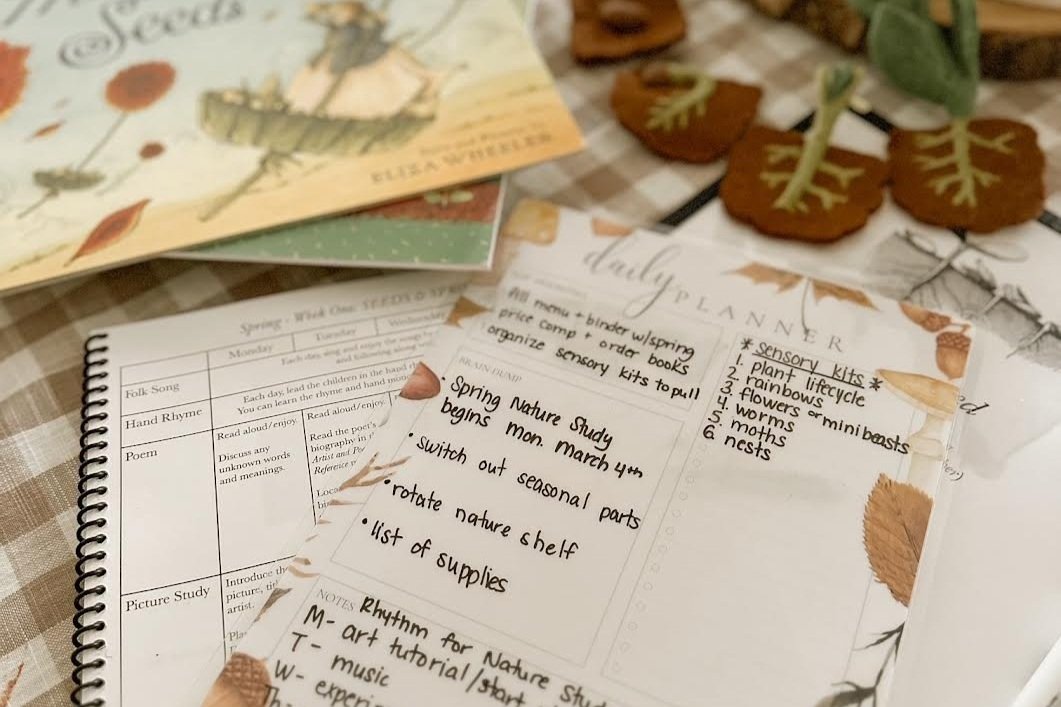
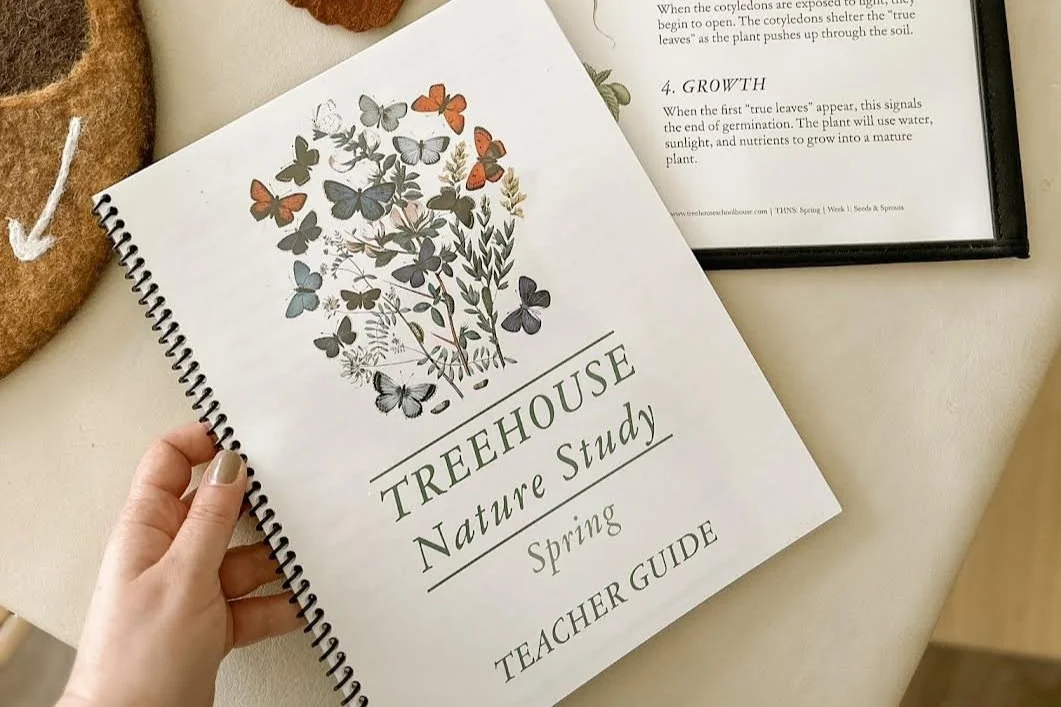
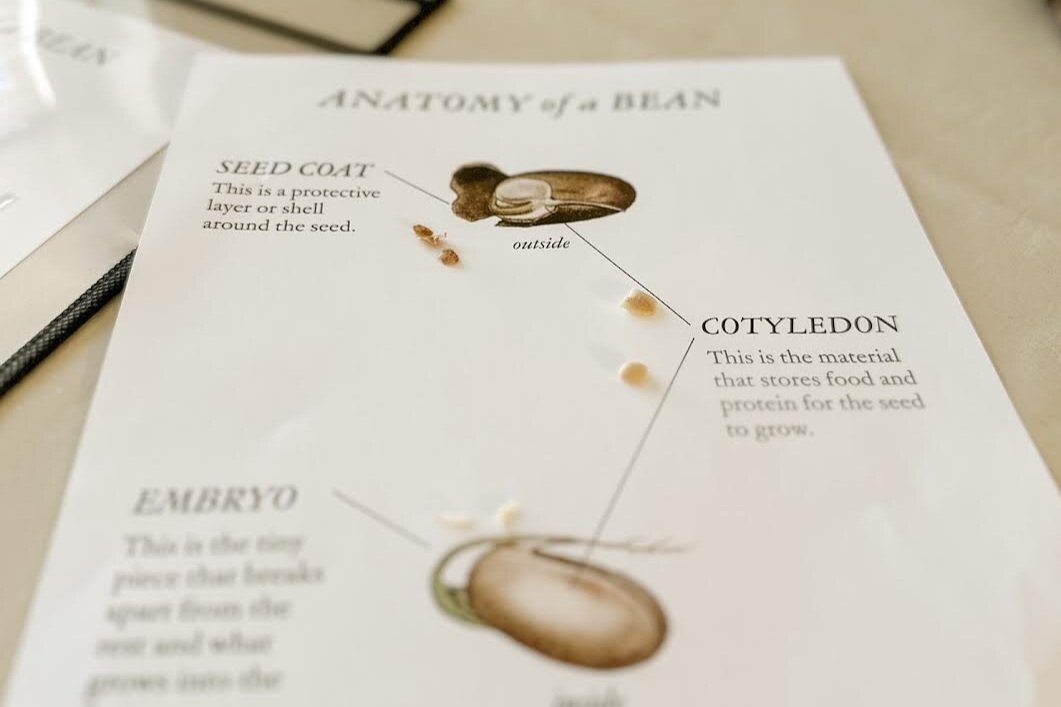
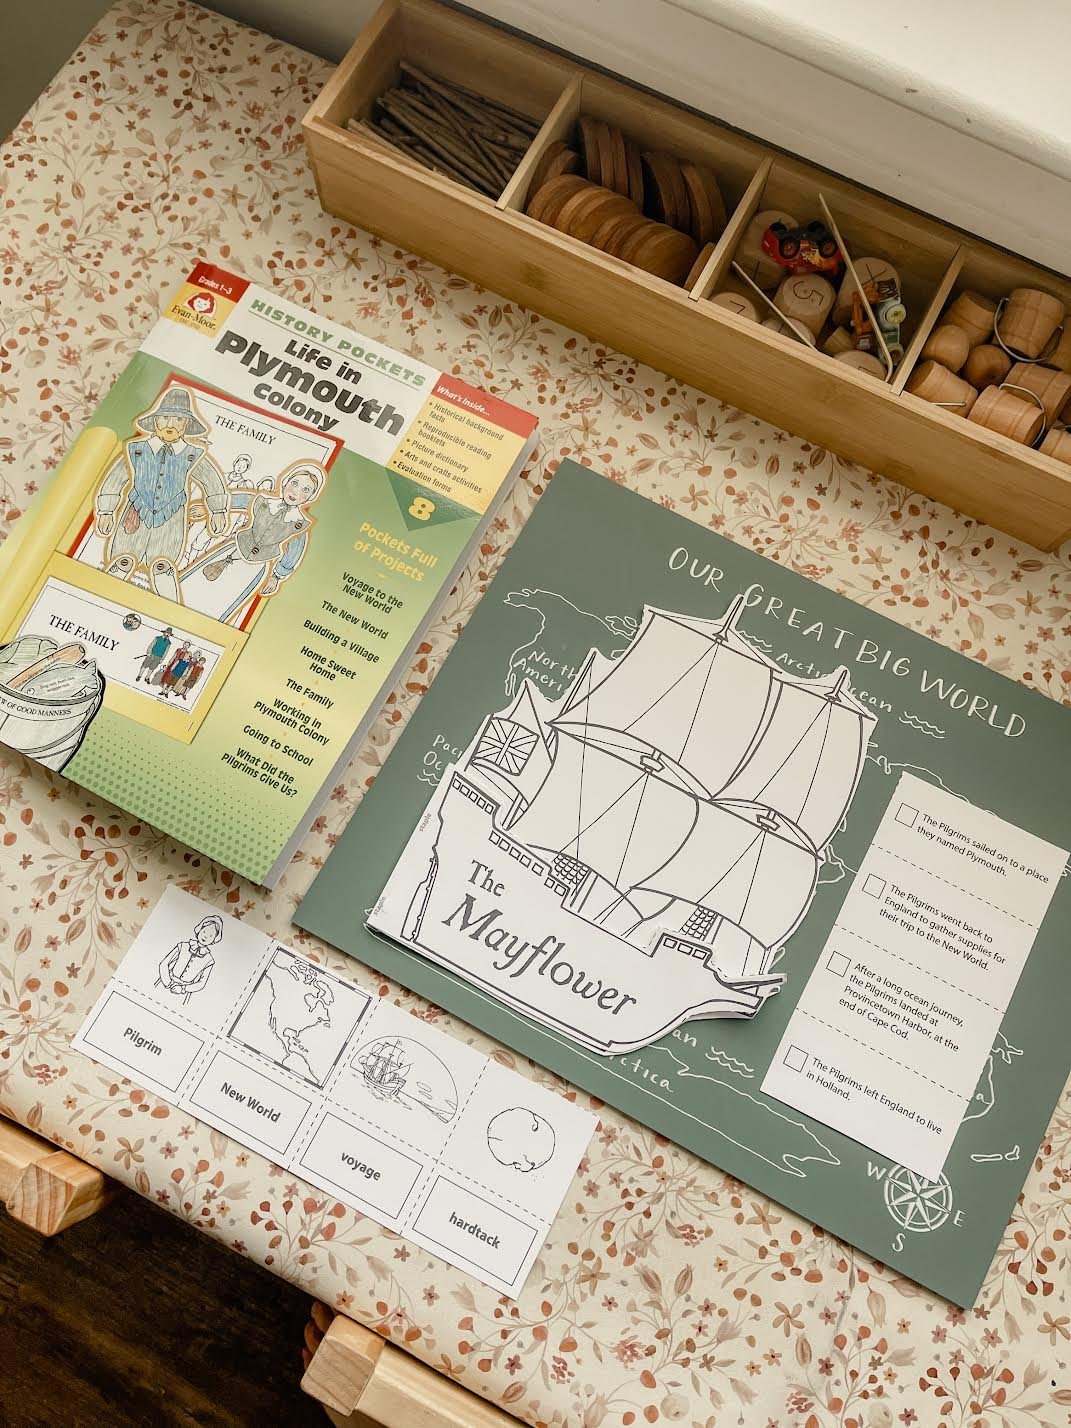
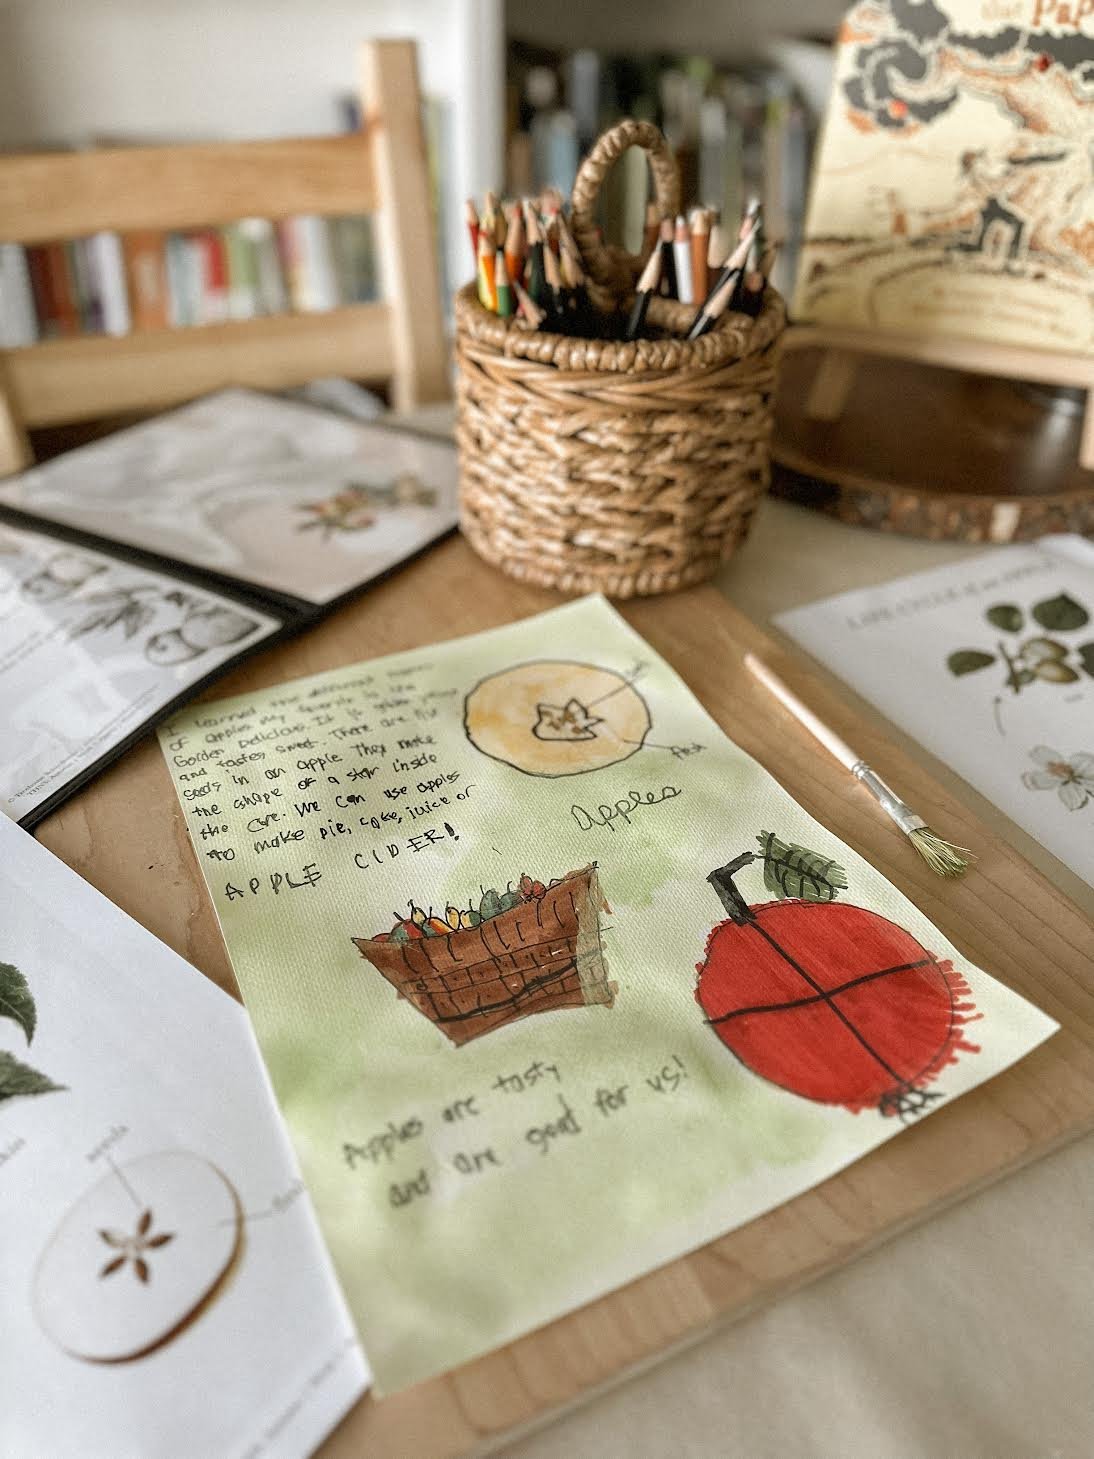
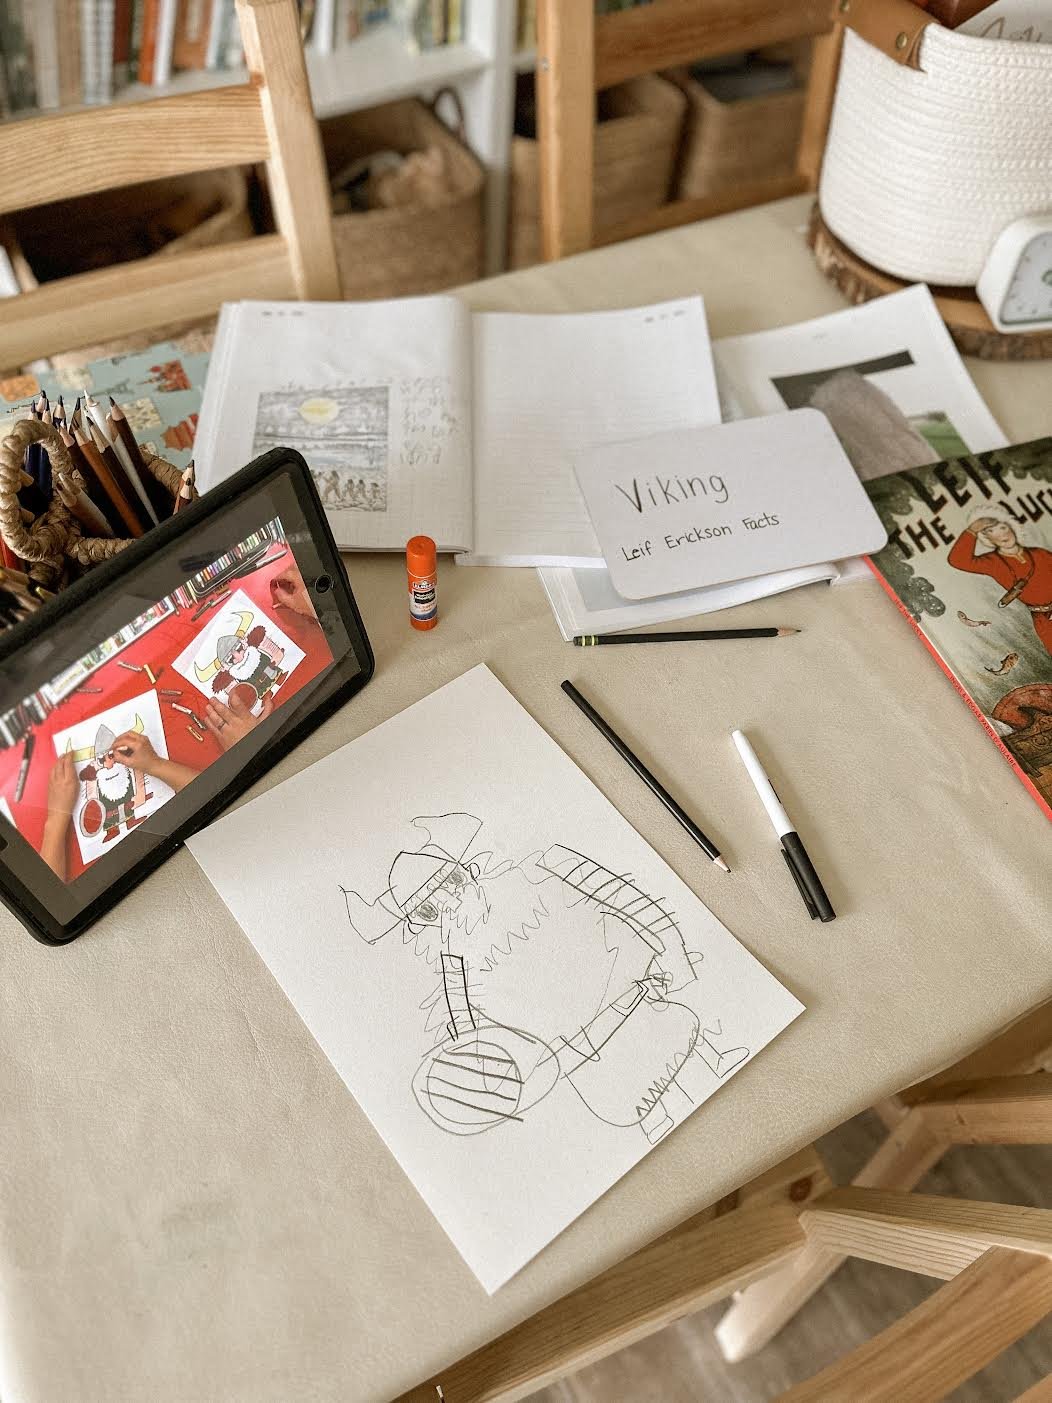
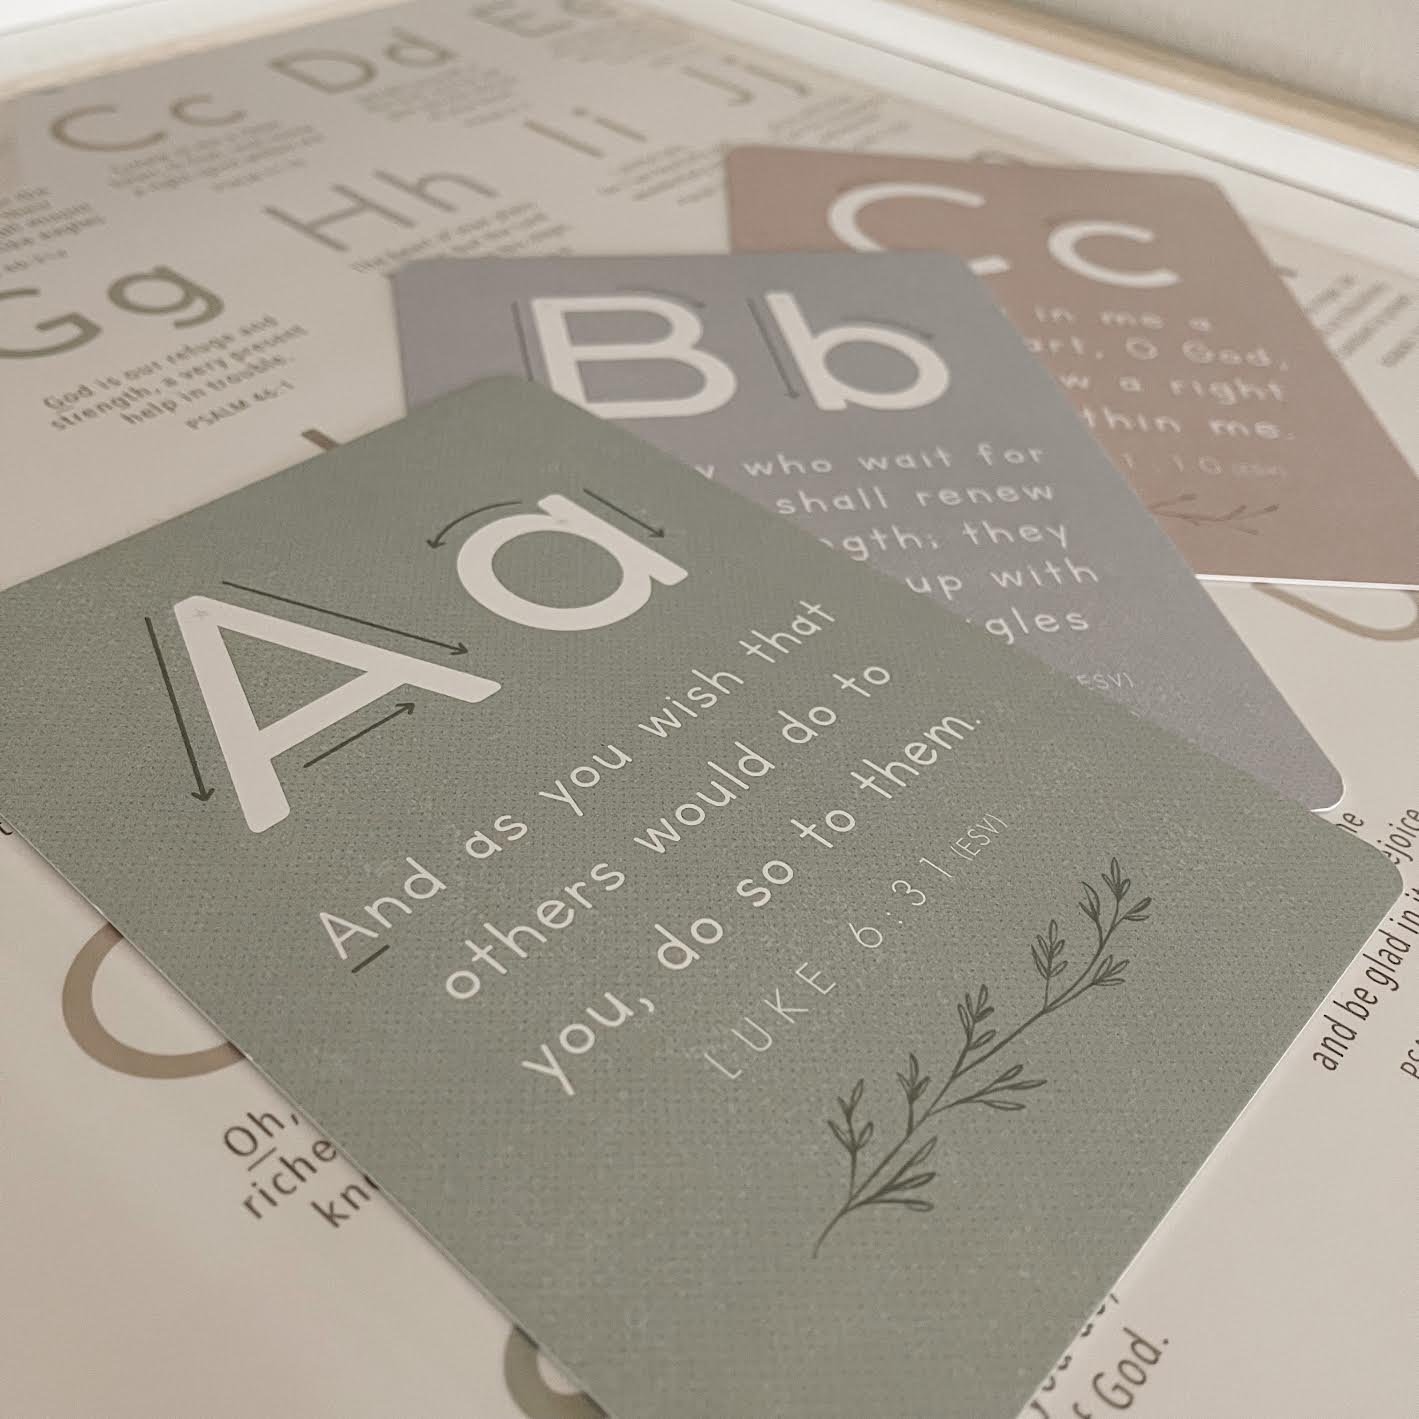
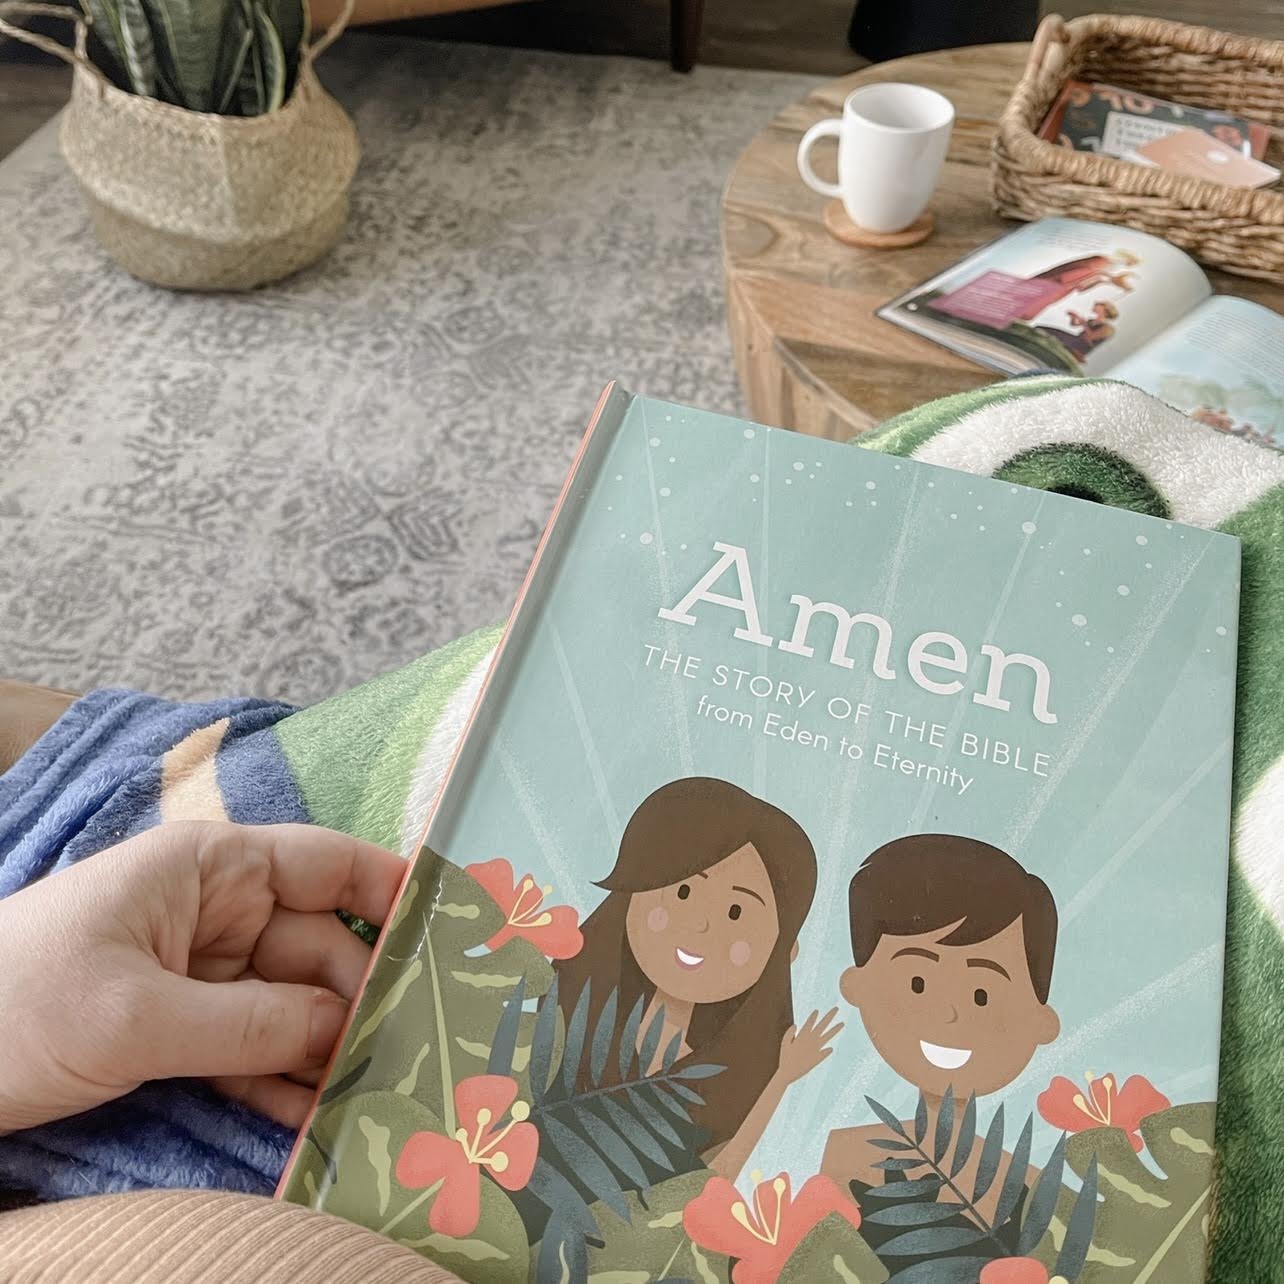
Gather your printables. Many pdf-style curriculum companies offer printables that pair wonderfully with a Morning Menu. In our personal experience, curriculum from The Peaceful Press, Treehouse Schoolhouse, Brighter Day Press, and A Year of Learning have excellent additions, including the aforementioned artwork, poetry, songs, and scripture. Check to see if your chosen curriculum happens to have downloads to tuck into your children’s folder. Decide which of the files included are most appropriate for your learner’s age and relevant to their study. For instance, your upper-level elementary student might not wish to do abc copywork, but they would benefit from using poetry or scripture copywork instead.
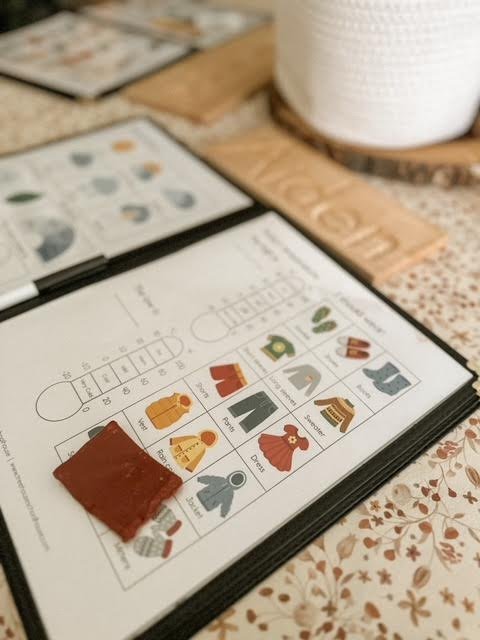
Print a cover. Having a cover relevant to the subject, season, etc is super fun and makes your child’s menu more personalized. My kiddos love that their menu folders have their own name on them. I created our covers in Canva, and you could easily customize some of your own for free, too. Added bonus, you can write sweet messages to your children on their covers to motivate and encourage them at the start of their day.
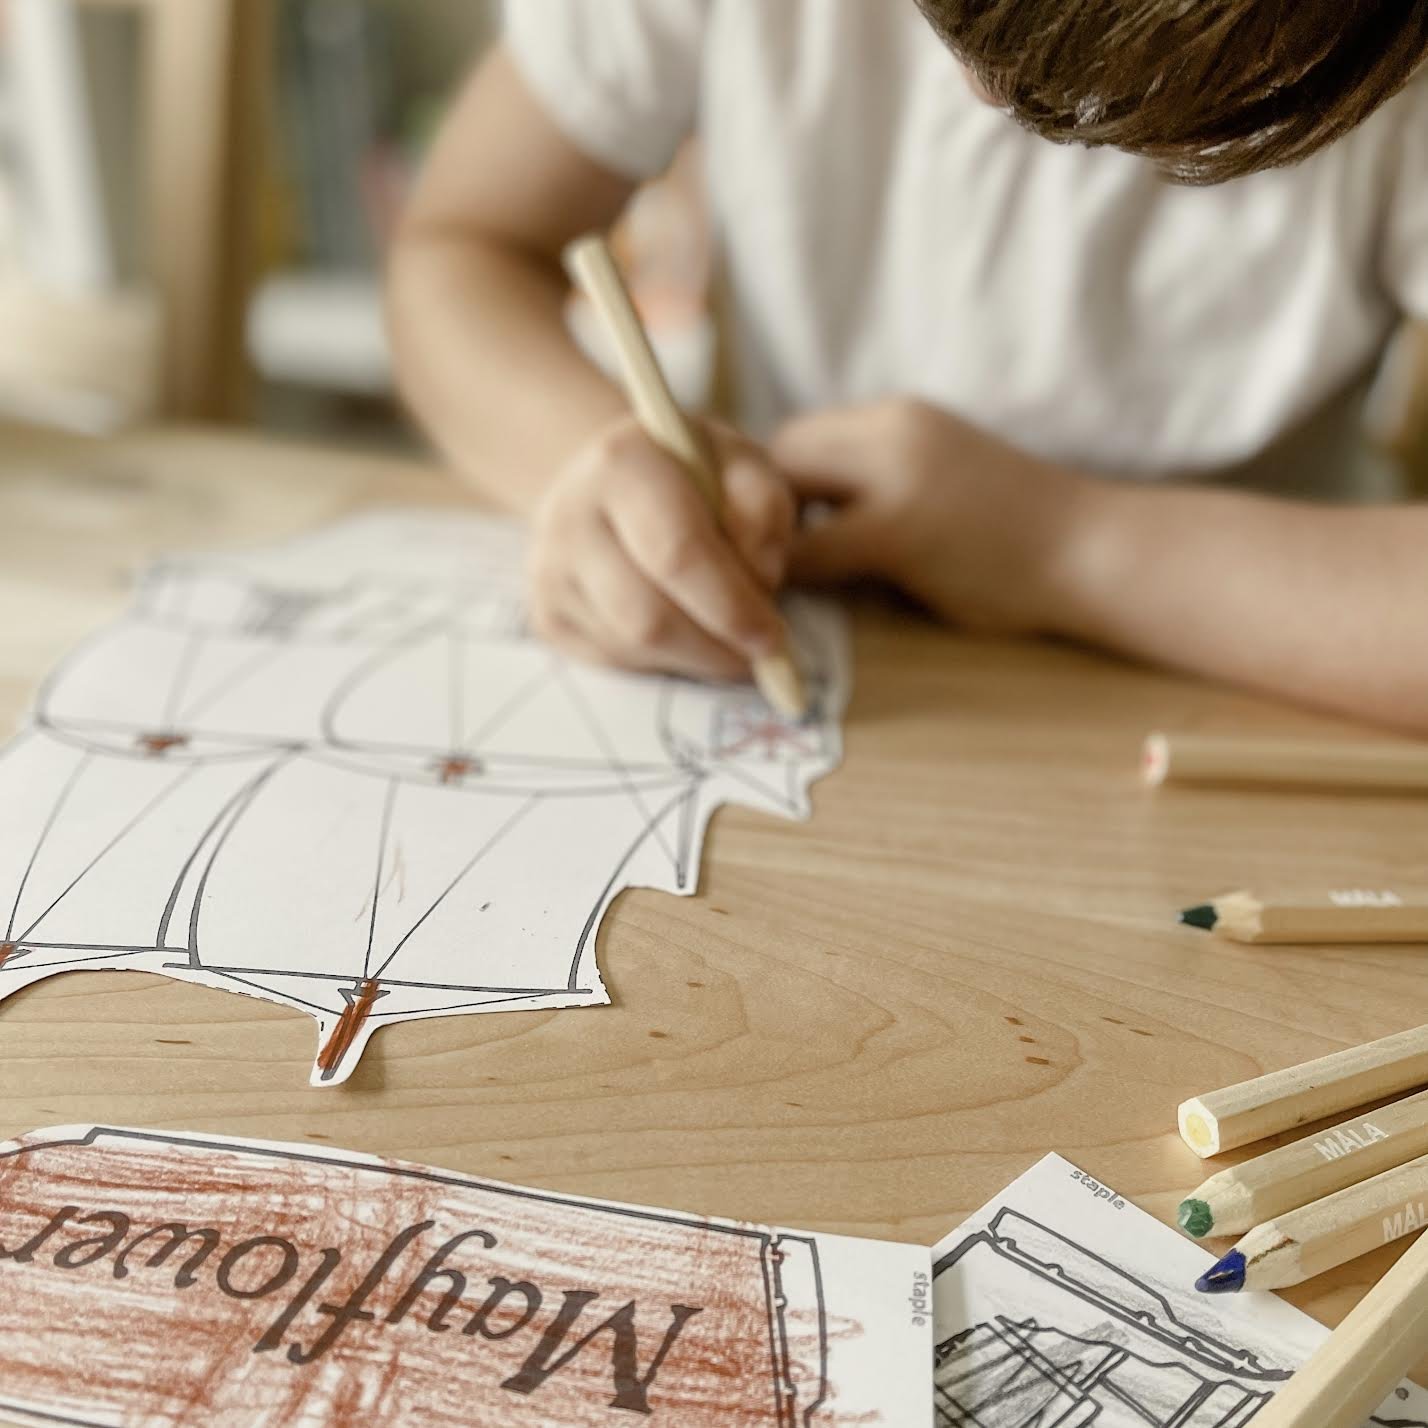
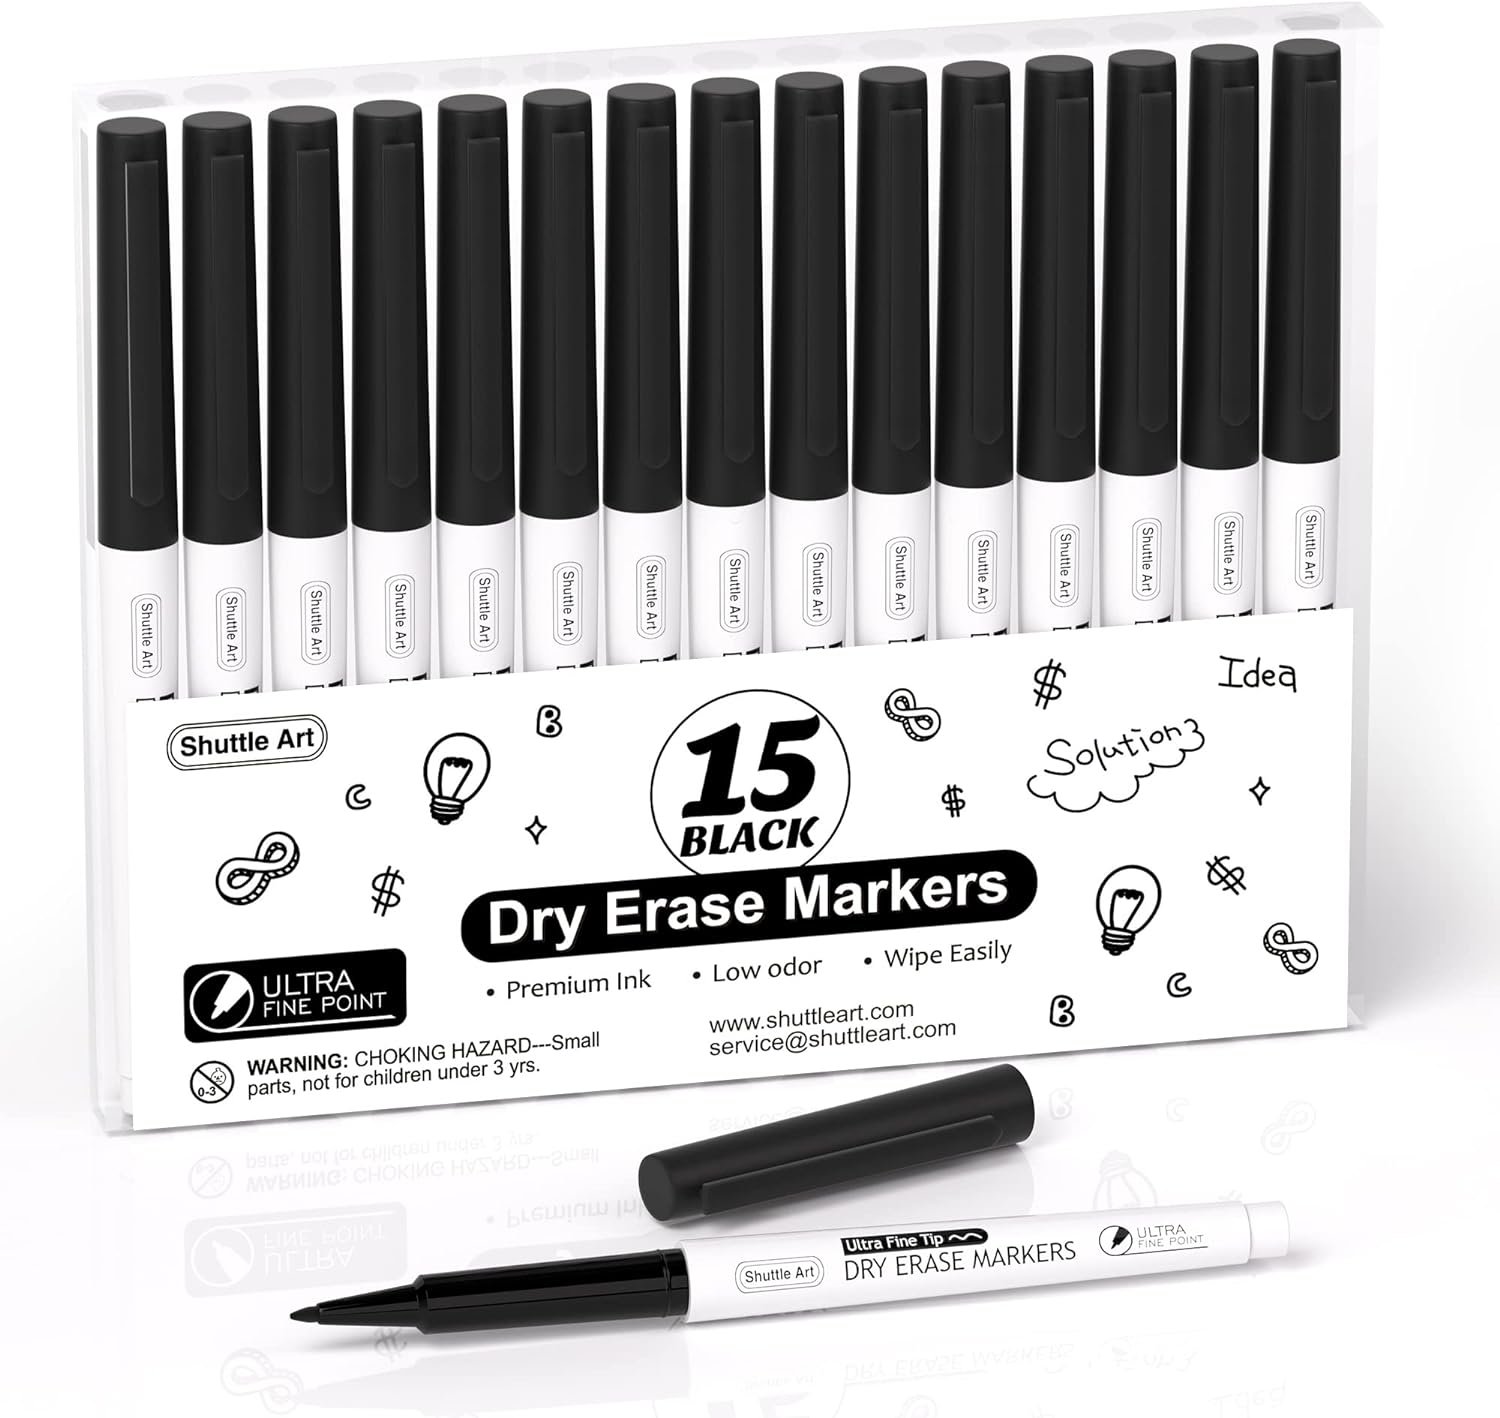
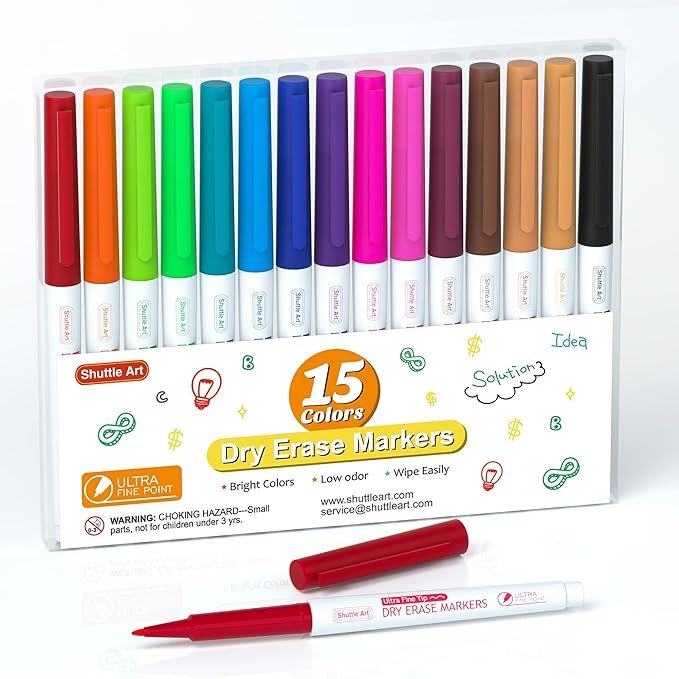
Gather additional supplies. Dry Erase markers and cardstock are two things I keep on hand for our Morning Menu. Ultra fine-point dry erase markers work best, in my experience, so a neat area for copywork is maintained. While you can print on standard printer paper, I find that it is easier to slide a thicker weight paper, such as cardstock into the pockets.
Some of our Favorite Morning Menu Resources
Rooted Bible Curriculum by Treehouse Schoolhouse
Morning Time Bundle by Treehouse Schoolhouse
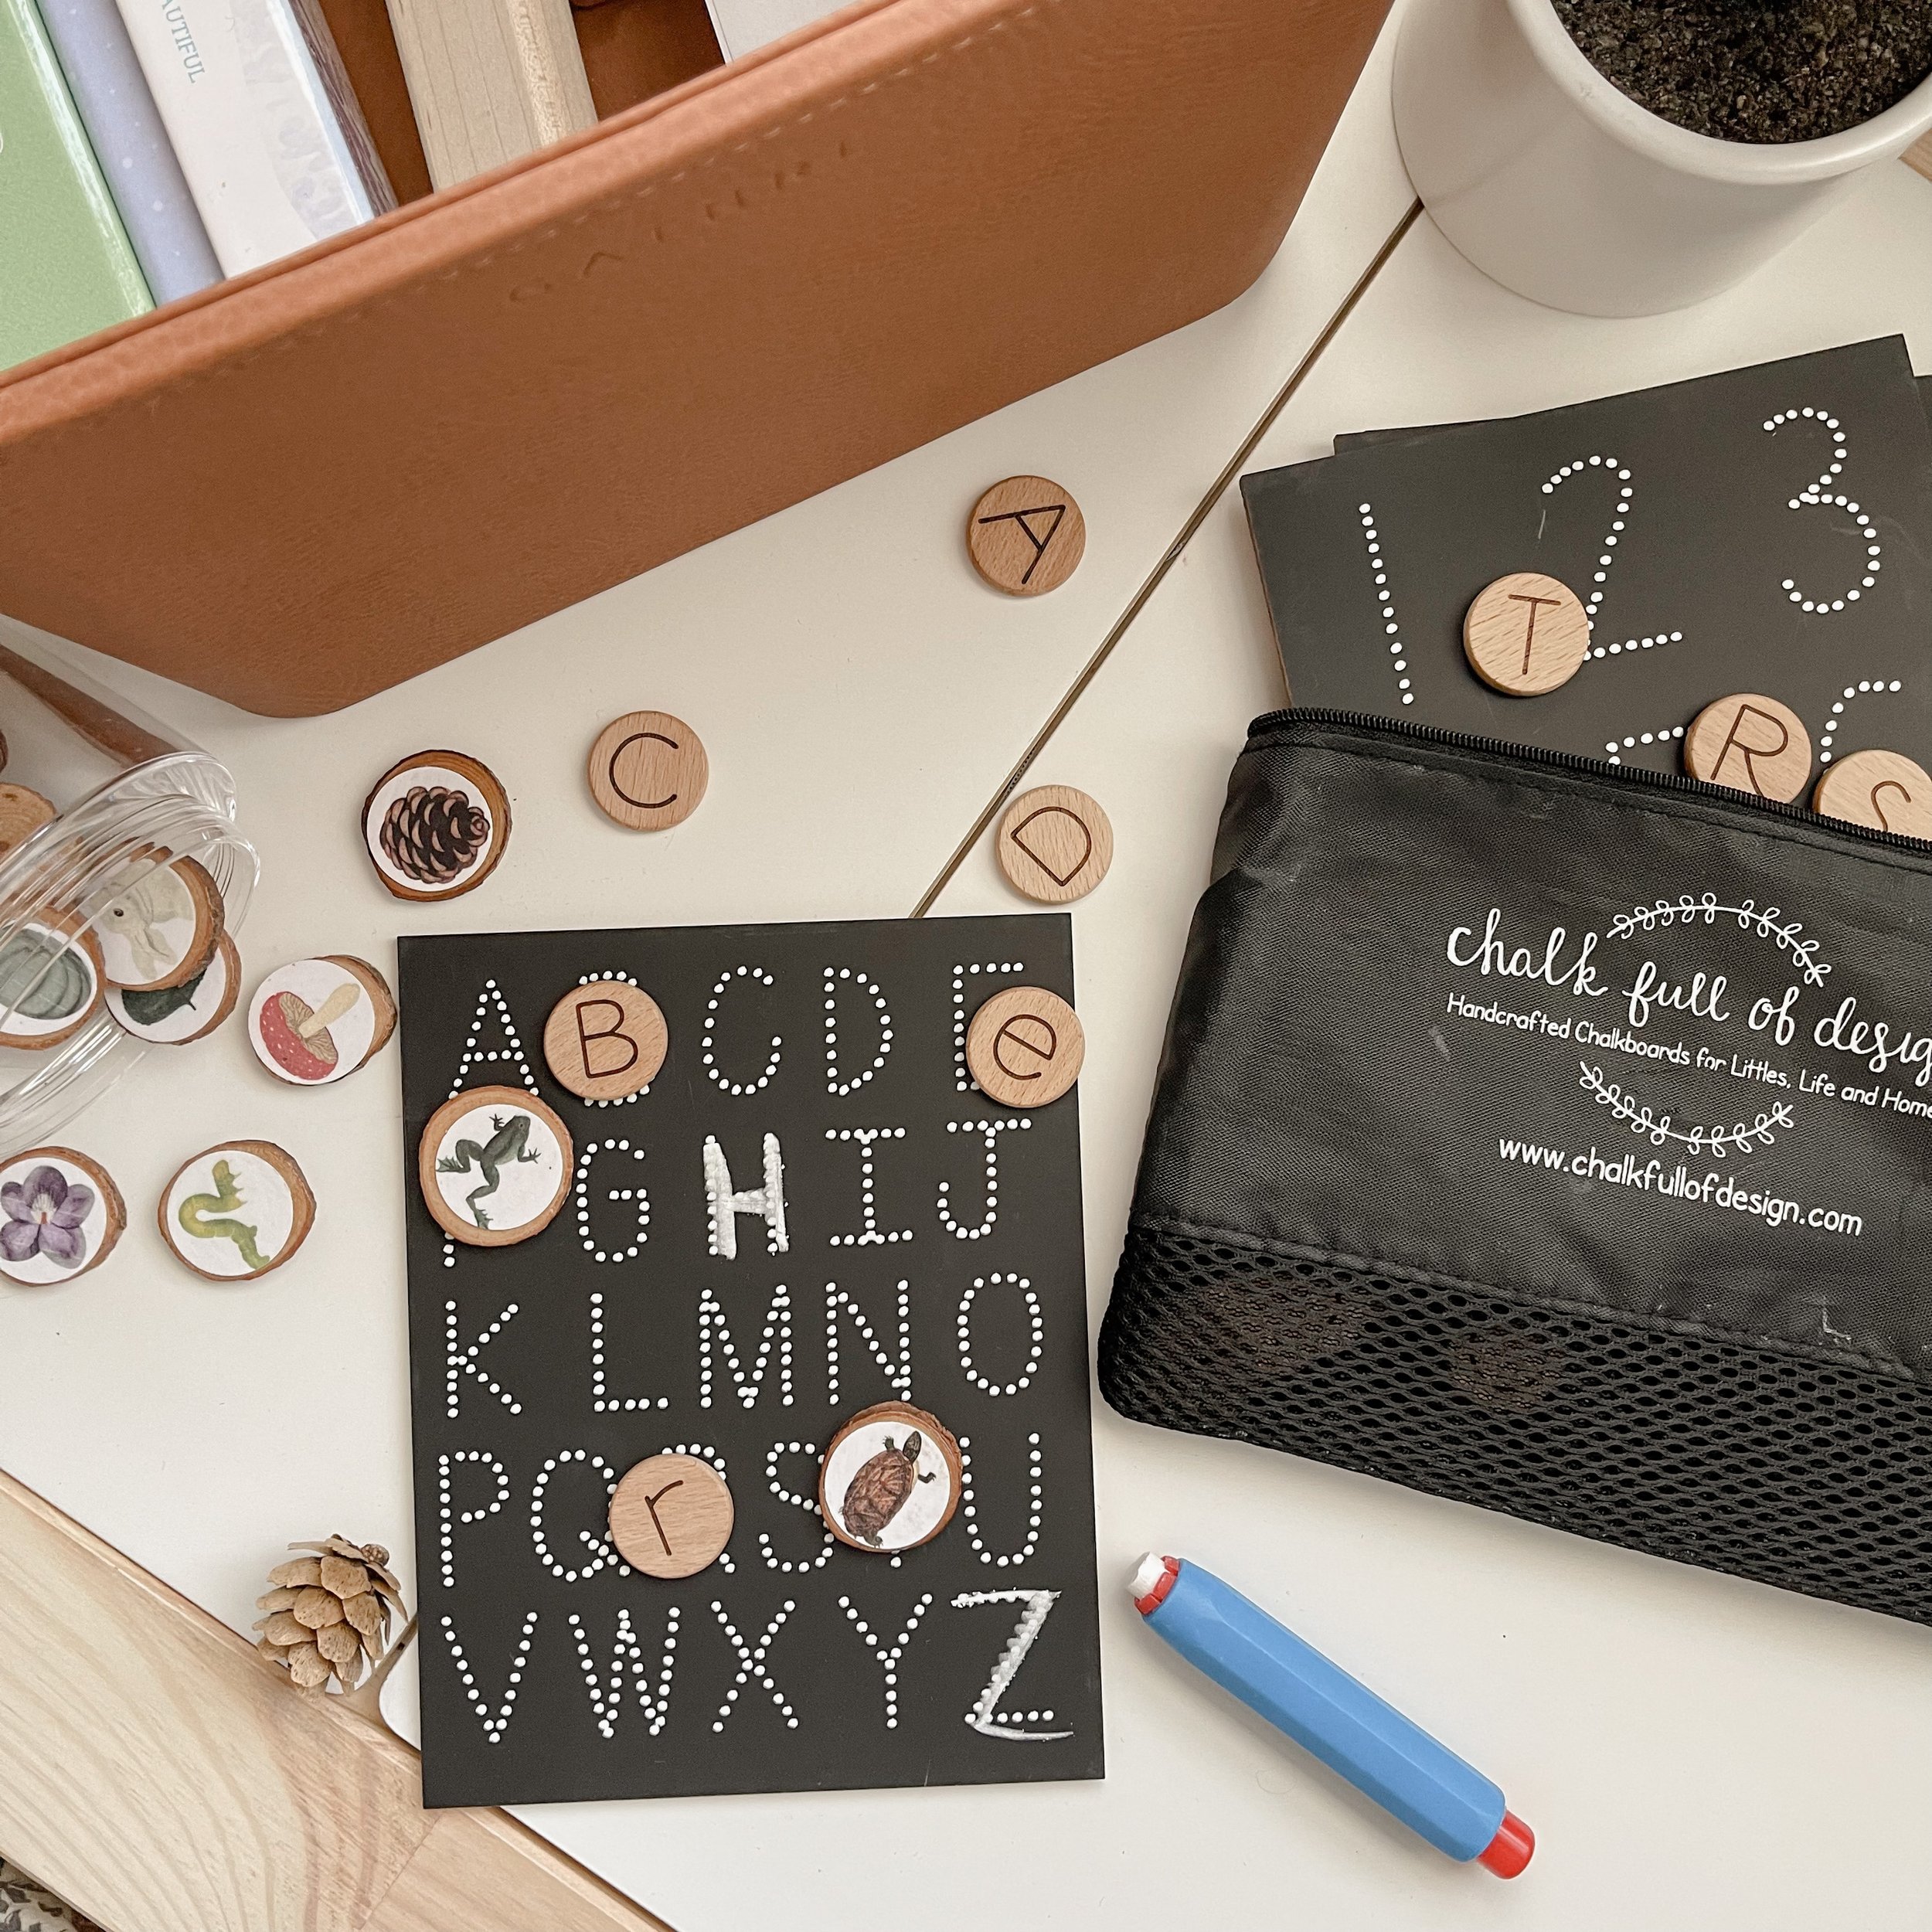
Wonder of Nature Alphabet Sheets by Treehouse Schoolhouse
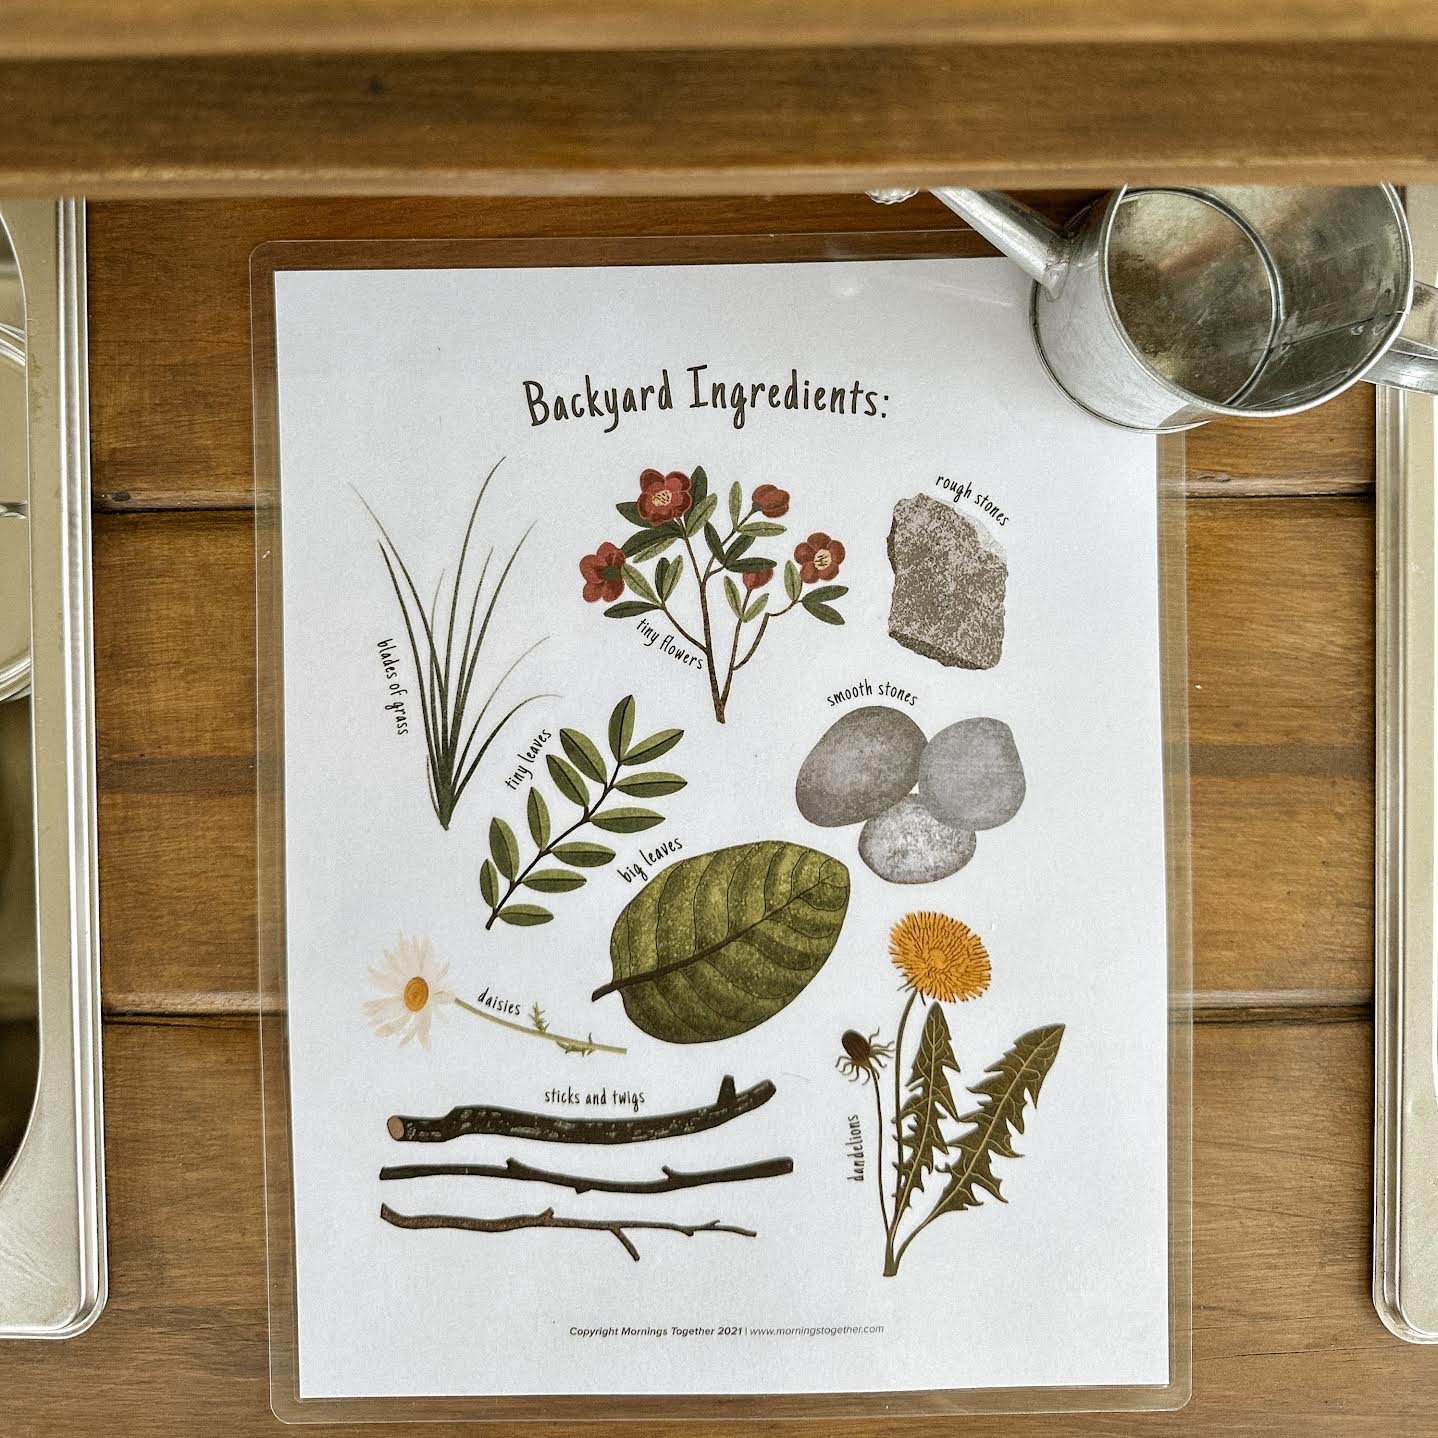
Themed Morning Books by Mornings Together
morning Menu Supply Checklist
Gallery